We made this video to show you how to convert color images to stunning black and white photographs using Exposure. Watch the video and learn how to control the conversion process, prepare the color image for conversion, and which editing adjustments to make after the image is in black and white.
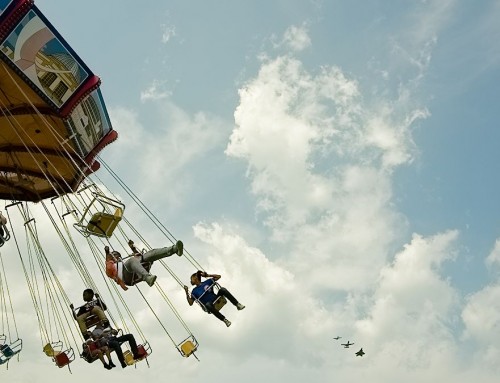
Photos: Kariann Photography
Transcript
When converting to black and white, study the original photo. Look at textures, lines, forms and the quality of light in different areas. Without color, these qualities often become even more important.
You can use one of Exposure’s customizable black and white film presets as a starting point for the conversion. In this video however, we’ll create a black and white conversion from scratch. You can learn about Exposure’s B&W presets in the Applying Film Looks video on our website.
Preparing for Conversion
As a first step, apply any basic adjustments to the original RAW. Conversion works best when the image has the correct exposure, white balance, and has strong colors and contrast. Also, apply noise reduction while the image is still in color.
Whenever you can, use a RAW image because it contains all of the unprocessed sensor data from the camera. This enables you to make more dramatic changes to the look of a RAW photo without noticing a loss in image quality.
A quick way to get started editing the photo is to use Exposure’s intelligent auto adjustments. Once applied, you can make additional tweaks on the Basic panel. The Histogram is a great way to see at a glance if the image is too bright, dark, or if there are any clipped tone values.
Converting to Black and White
Now I’m ready to convert the image to Black & White. In the Basic panel, the option is at the top. This change will keep all the adjustments that have been applied so far and it sets the image to the default color sensitivity settings in the Color panel.
With the image in black and white, adjusting clarity has a stronger impact. When working in black and white, the Hue, Saturation, and Luminance controls on the Color panel convert over to color sensitivity. Now, instead of adjusting color, you control the brightness for each of the color channels.
Default converts the photo to black and white with the following settings. There are several presets that you can use to emphasize red, blue, green tones, and more.
Exposure’s Targeted Adjustment tool enables you to brighten or darken specific colors in your entire photo by clicking and dragging a chosen location in the preview window. Selecting the tool and then clicking on the image enables you to boost the impact of those colors in the image. Moving the mouse upwards increases the color sliders to fine tune the corresponding tones.
The Tone Curve panel is where to make detailed adjustments to contrast, shadows, midtones, and highlights. Raising the shadows and lowering the midtones is a simple way to recover some detail in the shadow values without blowing out the sky.
Creative Touches
The Vignette panel enables you to focus the viewers attention to a location in your image by subtly darkening the areas around it. Exposure’s vignette panel gives you a lot of control over the appearance and placement of the effect. In addition to the panel tools, Exposure’s layering system can be used to control the placement of the vignette with more detail.
If the image benefits from creative sharpening, use the controls in the Focus panel. The Low Radius preset applies a moderate amount of sharpening, which can easily be customized to work with the shot.
Exposure’s grain is an integral part of bringing an organic, analog look to your image, and works great for black and white photography. Exposure’s grain tools enable you to separately control the strength of grain in the shadows, midtones, and highlights, which is essential for emulating grain in film looks. I’ll select the Regular Grain 50% preset and customize it to emphasize the grain in shadows, with a small amount of it in the midtones and highlights.
The IR panel enables you to emulate infrared film, which lends an ethereal look to black and white images, enhancing the contrast between deep blacks and pure whites. Applying Exposure’s IR-High Contrast preset emphasizes the contrast between the white clouds and the darker foreground very nicely. I’ll reduce the Color Contrast slider so that the shadows don’t get too deep.
And that’s it, a successful black and white conversion.