Learn how to build-up thick, dense looks in Snap Art with canvas and paint texture
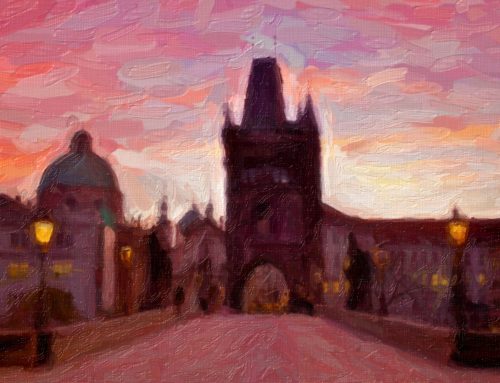
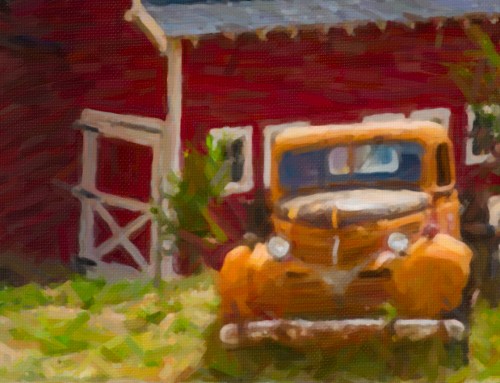
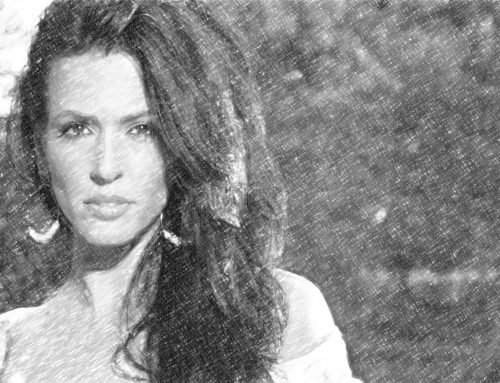
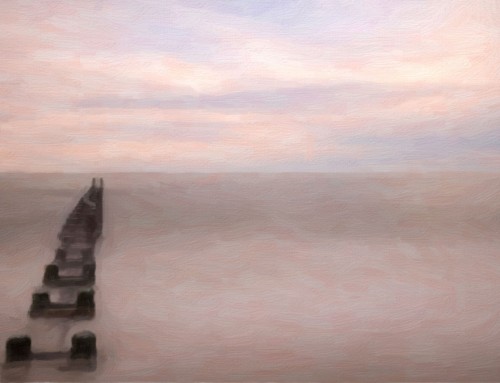
Photo: Michael Gillman
Transcript
Paint Thickness
First, we’ll demonstrate how to create paint thickness in the Oil Paint and Impasto styles. After launching Snap Art, open the Presets panel and apply an artistic look. The Paint Thickness slider is typically set at 50% or higher in these styles. This creates highlights on the brush strokes which is a building block to a textured look.
You can enhance the thick paint texture with adjustments on the Background panel. A different brush style can intensify texture for Oil Paint effects. All of the artistic styles in Snap Art have brush style options to choose from.
Canvas Texture
Selection of the artwork’s paper or canvas type can give the piece more rich depth. In Snap Art, every artistic style can be augmented with this surface texture.
Thicker paint usually works better on canvases with more roughness such as the Textured, Rough, or the Default presets. The fine details in canvas presets like cold or hot press paper are lost in the thick paint. Flatter styles, on the other hand, like watercolor or pen and ink work better on canvases with fine texture.
When adjusting the canvas zoom in to 1:1, so you can see the effects at actual size. The Thickness and Zoom sliders enable you to vary the canvas to fit the look and feel of the artwork. You can also change the color of the canvas for looks that don’t have full coverage.
Lighting Control
Snap Art’s lighting panel enables you to adjust the way light reveals the paint and canvas textures. The presets in the Lighting dropdown offer a variety of looks that can be applied with one click. Oil Paint artwork will appear more wet with a preset such as Specular, or Bright. Crayon, or Color Pencil artwork work better with the diffuse options.
Customize the behavior of the lighting with the controls below. To add shine or a waxy look use a high highlight brightness value with low highlight size. Larger sized highlights set at lower brightness levels make the look more diffuse.
Modifying the light direction and angle of light radically changes the appearance of the highlights. Extremely high angles will flood the image with the highlight color, very low angles will make the image dark. You can directly type the angle or use the up and down arrow keys to make small changes.
The color of the highlights will change the appearance of the texture. You can set the highlight color to blend with tones in the image for a subtle look, or you can use a new color to compliment the piece creatively.