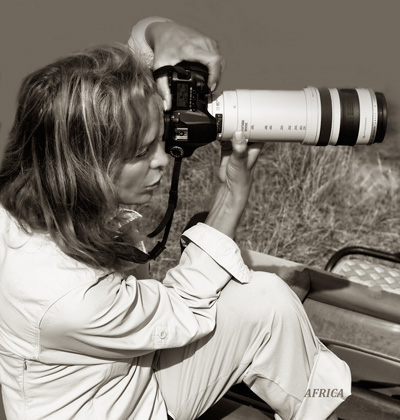
Bobbie Goodrich is known for her fine art imagery. She prefers to focus (no pun intended) on wildlife, and so she often travels around the globe in search of exotic beasts to photograph. Her mesmerizing images are honed in post processing. Bobbie has developed her own unique style for making transformations happen in post. Below is her workflow for a recent image she made using Exposure.
Avid readers of the blog may recall a couple of posts about Bobbie and her work.
—-
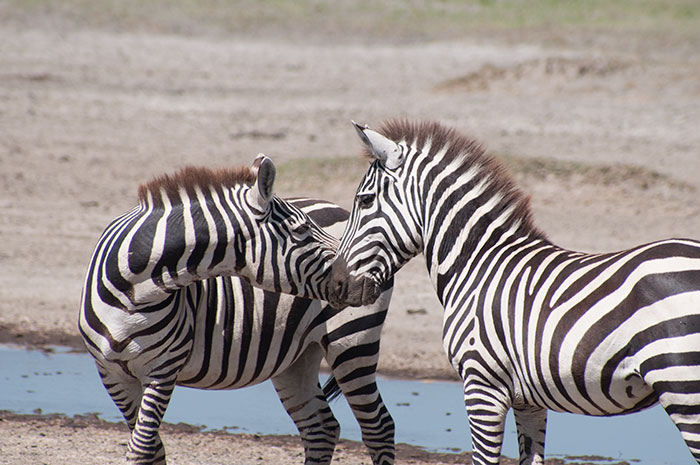
On a recent safari through Namibia, I took a self-driven tour through Etosha National park in search of the ‘big five.’ I snapped off a shot of a couple Burchell’s zebras affectionately smooching. I instantly knew that the shot would translate into an endearing portrait, especially after I had my way with it in post. Read on to see what I did.
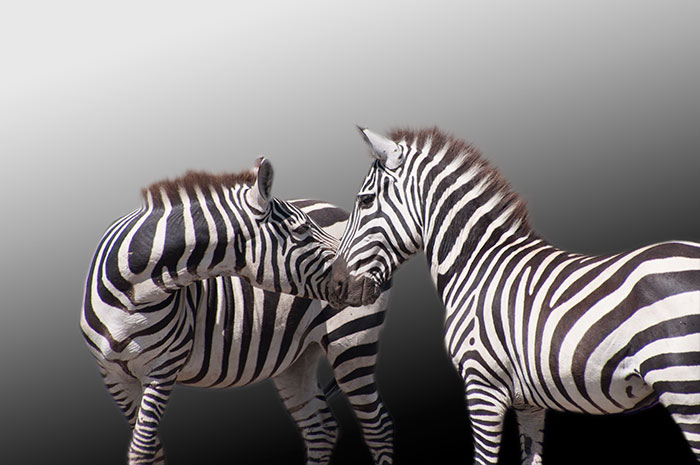
I wanted to focus the image on the loving gesture between the creatures. What better way to do this than with a simple crop. Next, I replaced the background as it didn’t significantly add to the image. A gradient fill adjustment layer in Photoshop did the trick.
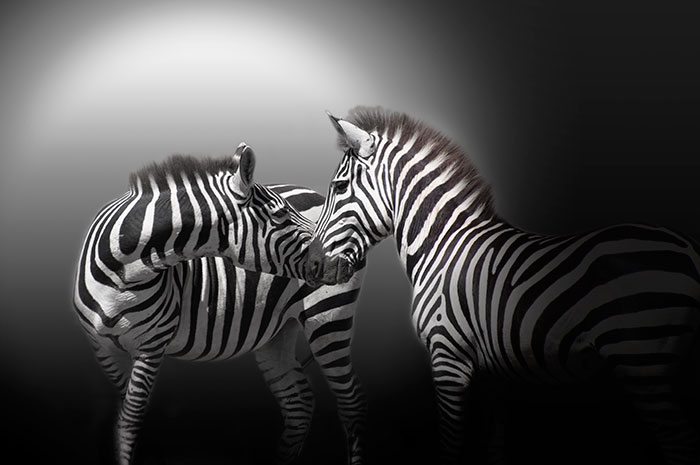
Being an artist at heart, I’m excited when I open up Exposure. It’s quickly become my go-to program for creative B&W conversions. It’s easy to scroll through the presets and I’m always amazed by the choices at my fingertips. This image could drastically be transformed in so many ways.
For this shot, under B&W Focus, I used Sharpen Moderate – Radius 50. It made the image really pop.
Adjustments can easily be made on the right-hand pane. I spend a lot of time over there. I never apply the effect without a little experimentation first. Whether it’s just basic tweaks or using a preset effect from the pick-box drop down that I couldn’t dream up on my own, I’m always delighted by the results of my efforts. :-) On Tone Curve panel, I adjusted the contrast to enhance the zebra stripes.
From the Vignette drop down I chose ‘Rounded, Hard Edge’ and spent some time adjusting sliders until I liked the shape. I knew I had the look I was after. Exposure helped nail my vision for this shot.
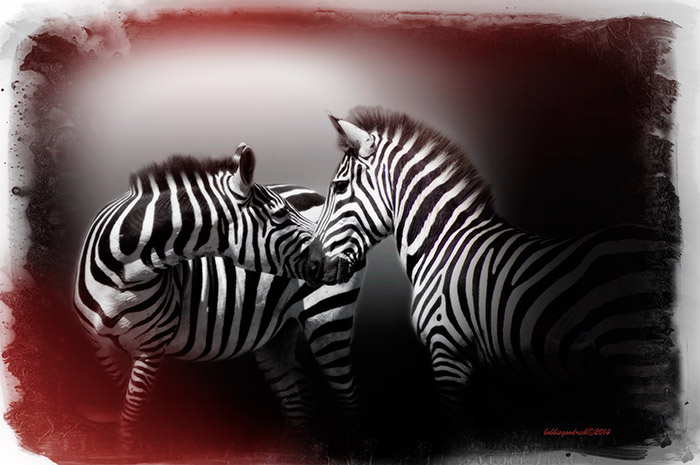
Saving the best for last, I applied effects from the Borders & Textures. These adjustments seldom disappoint when I’m looking for a unique effect. I swapped back out of B&W mode to shake things up. This gave me a nice warm light leak.
As a final step, I ran Exposure again to add a border and another light leak. Now I’m in wow mode!
Alien Skin’s Exposure and Snap Art provide innovative effects in easy-to-understand interfaces. I am absolutely in love with the effects I can get from these programs.
Great stuff, Bobbie. Thanks for sharing.
Bobbie leads inspirational workshops that teach on artistic post processing. Head over to her website and blog for more info. While there, check out more of her work, too.
Try Exposure Today






Always great to see how another photographer approaches an image – thank for sharing!
Thanks for the detailed settings and the beautiful image.
It is nice to know that you can change things so dramatically in so few steps.