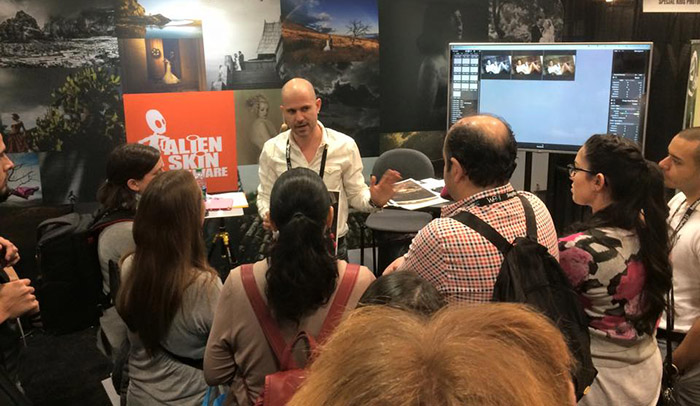
A bit ago–like 6 or 8 weeks–we went to WPPI. Such a fun and exciting time was had by everyone. It was, after all, in Las Vegas, NV. Which was surprisingly a little chilly. To be honest I was expecting heat. Not to bore you with details about my lack of forward thinking. #packedatthelastminute I will instead turn your attention to Salvador Carmona. He spoke at the Alien Skin booth during the trade show. Sure, he demoed using our software both as a Lightroom plug-in and in standalone mode, but he also lectured during a live shoot with some friendly faces.
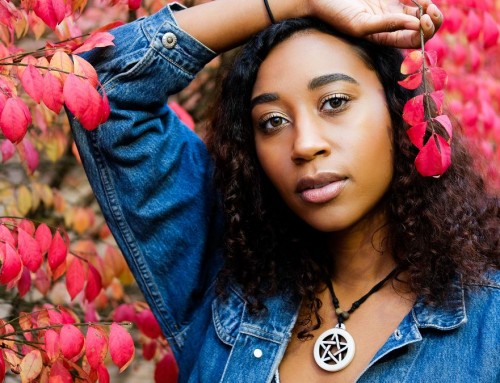
Naomi, a model with the TMP, took place as our talent. The TMP is a modeling group who help promote young developing talent. Melanie Myhre introduced us both and we couldn’t of been happier. Naomi did a great job.
Cindy Galdamez took her turn in front of the lens during one of his live shoots, too. Recognize her? She played part in our head-to-head video series. If you missed out, check out the videos, here.
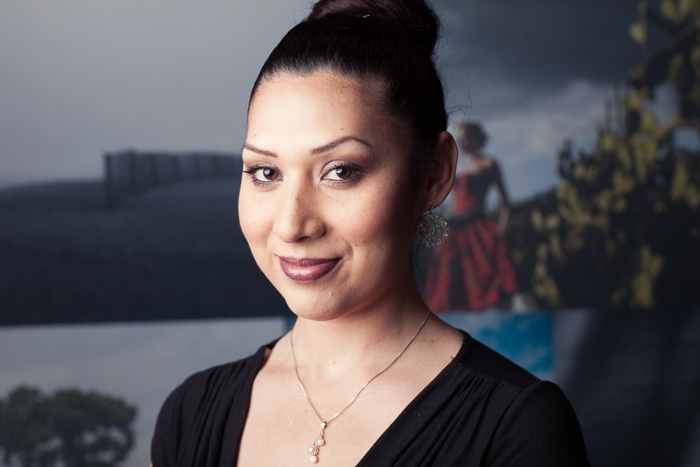
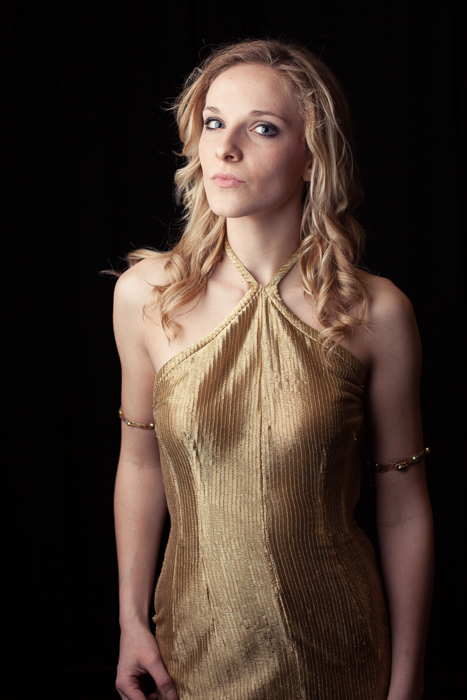
While at the booth, Salvador shot tethered to the good ol’ #pinklaptop. Thanks to a sweet monster sync cable from our friends at Tether Tools. Guess who has the files? ME! So that means I get to plink around with some of his RAW’s.
Gearheads:
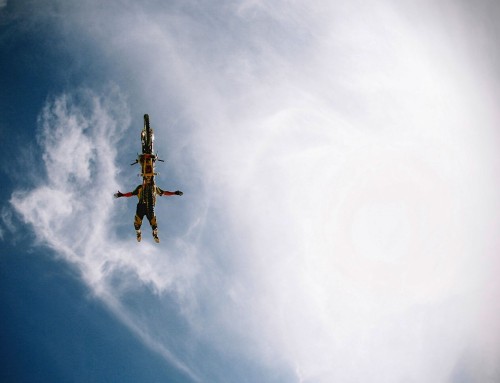
He shot with my good ol’ 5dII. Naomi was photo-ed with a 50mm f1.4, and Cindy with an 85mm f1.2. There is a bid war on Ebay for the camera, btw.
Workflow:
He shot tethered to Lightroom, so I kept the images in there and used Exposure as a Lightroom plug-in. So I took the images through Lightroom and into Exposure. Quickly sorted through a few of my fave film looks and had an idea of where I wanted to take these shots in no time. Don’t forget favorites, folks. They save you time.
Two of the best popped up. Kodachrome-Cyan Shift, one of my most commonly used color film favorites, and good old Tri-X usually gives me the look I prefer in B&W. I will usually tweak the look of the grain, though. #graintinkerer
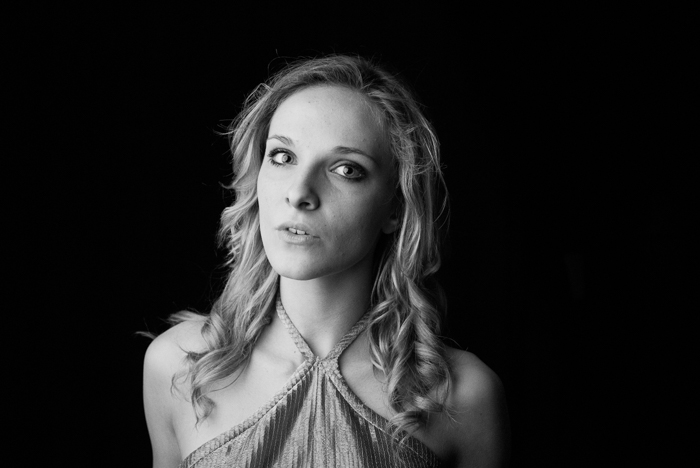
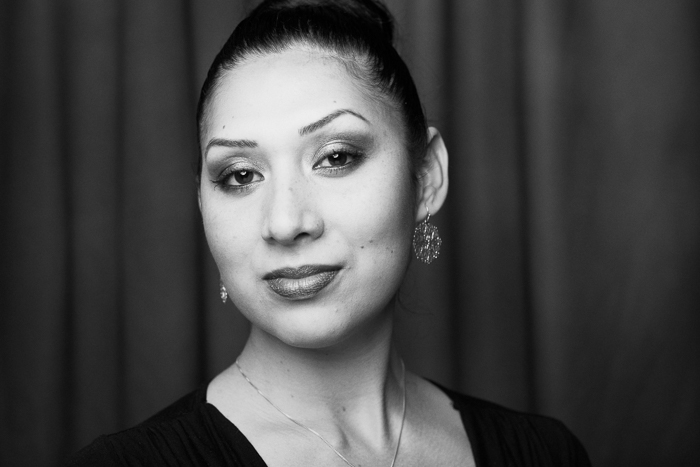
Both shots took a little tweaking to get them just right. I made adjustments for the skin tones. Naomi looked a little pale from the original preset because it was adjusted for Cindy’s shot, so I used a color overlay to true it up. Next, I added a slight bump of spit toning to warm up the highlights. I felt that this added a pleasing color pop to separate her from that background a little bit more. Not much more was done.
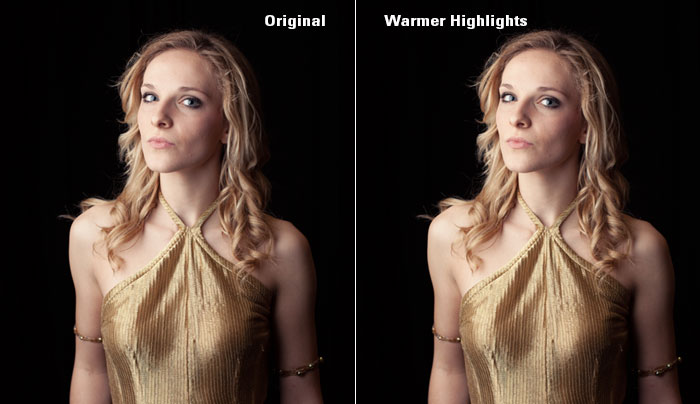
Next was B&W. It was a similar process, but I wanted the toning to be similar between the shots of Cindy and Naomi. Like they were pulled from the same roll of film. I was concerned that it would be tough to do because each model has very different coloring. Turns out, it’s a breeze. Couple of tweaks in the color sensitivity controls fixed it.
I elected to go with 4×5 grain and turned it up to 120. This produced nicely visible, teeny-tiny grain. Parker Pfister likes to play with the grain size, too. He does in this video. I added a touch of vignette to the look, too.
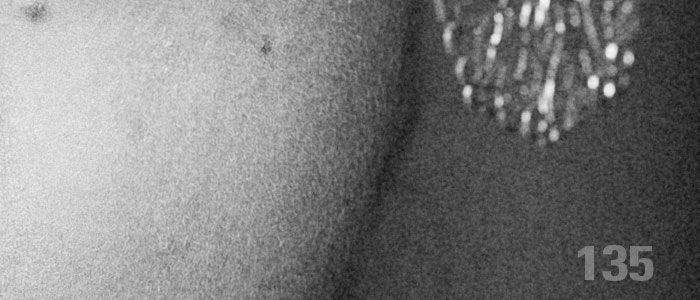
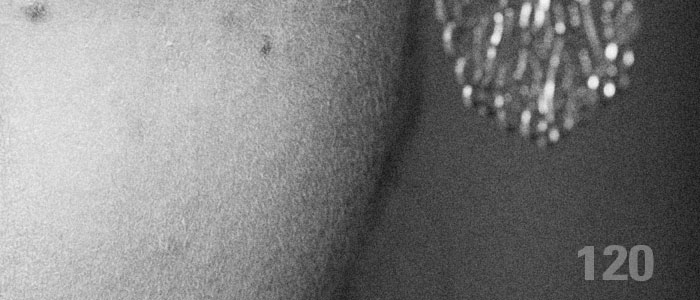
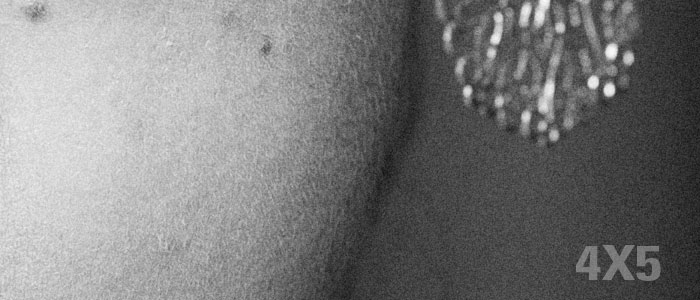
I saved out the presets if you’d like to try them out yourself. I usually tweak a bit for each shoot, so feel free to tinker. Right click on this {link} and choose ‘Save As.’ Once you save the file–may as well use the Desktop–unzip and simply double click on the F1s files. DON’T BE TEMPTED TO DRAG THE FILES INTO EXPOSURE’S SETTINGS LIBRARY. Double clicking on them will install them into Exposure 7.
You will need Exposure version 7 to use the presets. If you don’t have it, give the free trial a go.
Oh and–I did ask Salvador before taking the liberty of editing his work. And yes, I asked him if I could use his photos on the blog. Guess what? He likes the way they turned out. How about you?
Try Exposure Today






Was totally stuck until I read this, now back up and ruignnn.