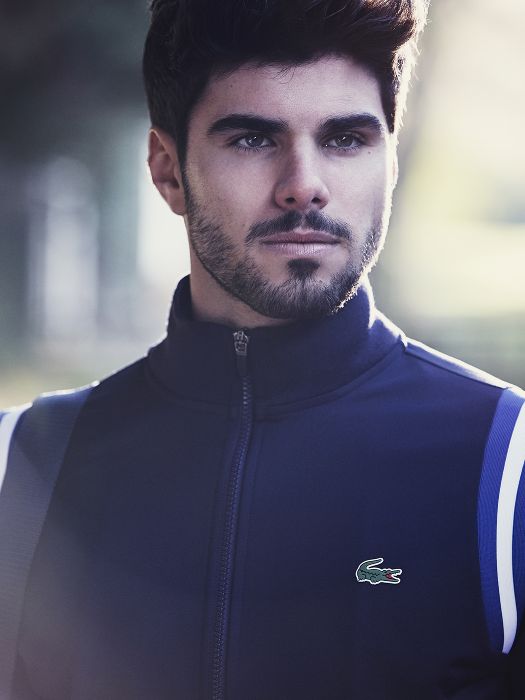
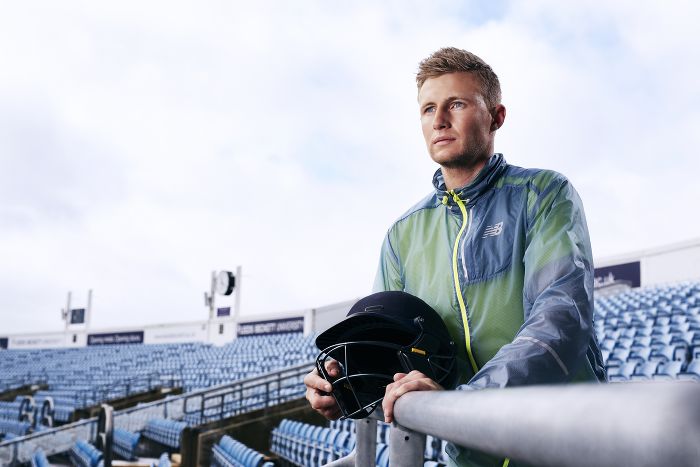
Commercial portrait and sports photographer Duncan Nicholls is based in London. He’s been an Exposure user from the very beginning of his ten year career in photography. Duncan shoots portraits and sports photography, so for any given shoot, he delivers just a handful of carefully crafted images. Each one is painstakingly detailed, from prepping for the shoot, to lighting, gear selection, makeup, hair, and wardrobe. A lot of the emotion in his work is expressed during post processing. Exposure’s tools allow Duncan to edit images taken in widely varied lighting conditions, to achieve a cohesive look and feel to deliver to his clients. In the interview below, Duncan explains how Exposure gives his work an edge.
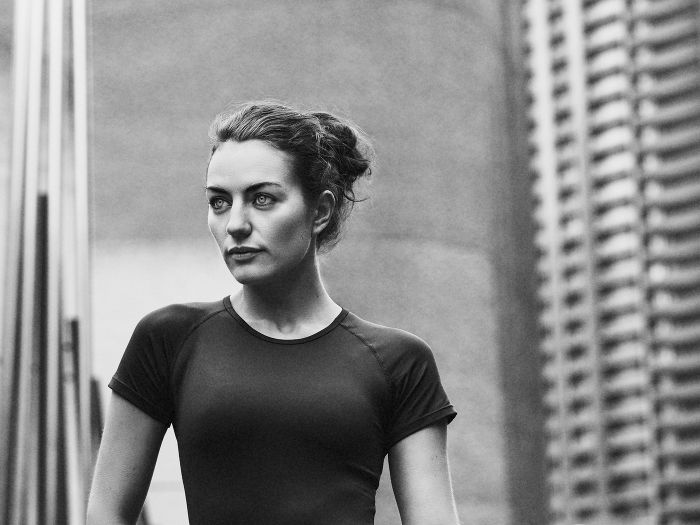
What is your editing approach? Do you begin with a goal in mind?
The aesthetic goal for each shoot is decided long before I ever get the camera out. The editing final finish is something discussed heavily in pre-production meetings with clients. This is where they talk about aspects such as ‘in the Miami sunshine,’ for example. By the time I have an image open in Exposure, I already know what emotion the finish will need to express. Equipped with that knowledge, it’s easy to make happen.
When I begin the retouching process, I rely on a selection of presets that act as starting points for the transformation to the aesthetic goal for the shot. Because I’ve been using Exposure for so long now, when clients make emotional suggestions in our pre-production meetings, I’m already envisioning how to tweak the contrast, or apply a lens flare effect to enhance that aspect of the photo.
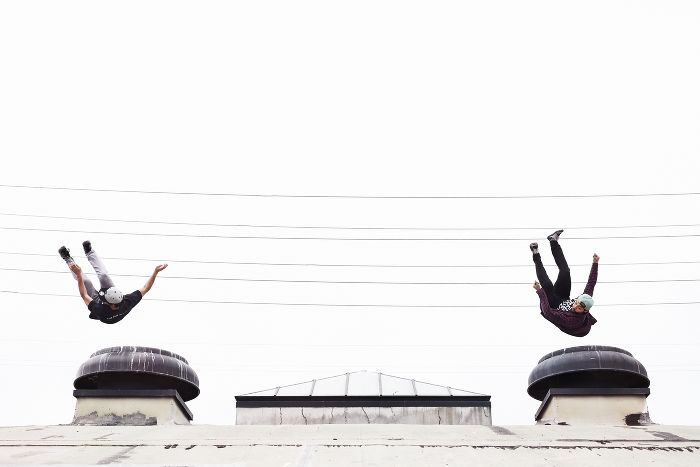
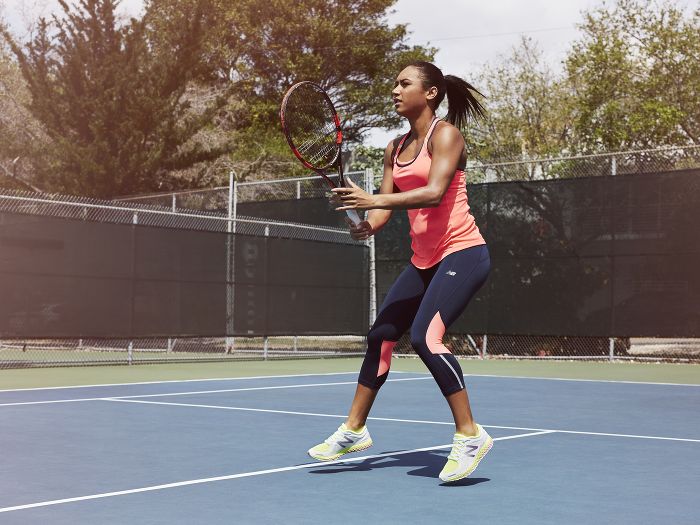
Why Exposure? What does it provide for you?
I have been using Exposure since the very beginning of my career as a photographer. It’s an integral part of my editing workflow. I depend on it for all of my color grading, and for developing the aesthetic that I want in my work. I think in terms of Exposure’s tools, so I know how to get the image where I want it to be right from the start.
One of the best aspects of working with Exposure is that it allows me to see multiple editing elements simultaneously, which particularly helped when I first got into digital editing. Photoshop curves and layer blend modes are difficult to understand, especially when I was just beginning. Exposure visually illustrates editing actions working together, which is much less technical and gives me a better understanding of the process.
Adjustments can be made to contrast, vibrance, or clarity, then they can easily be readjusted to work together harmoniously. Exposure takes it a step further with its extremely useful selection of preset looks, which combine more advanced adjustment arrangements. This makes quick work of color grading, and it works especially well in my black and white work.
Exposure gives me full functionality to tweak and adjust how the images look. It’s the perfect tool for me. At a high level, Exposure’s presets easily start the process of editing, and get the ball rolling in terms of creative direction. Customizing is simple, which allows me to very finely edit to my personal style and aesthetic goal quickly. It’s been a perfect partner for my workflow.
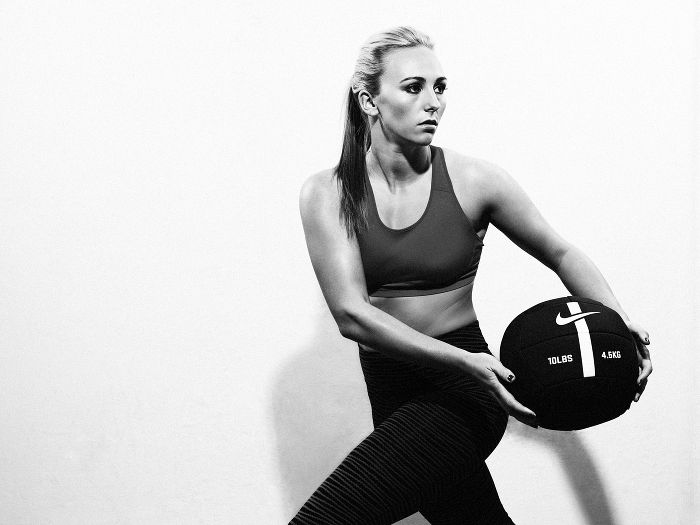
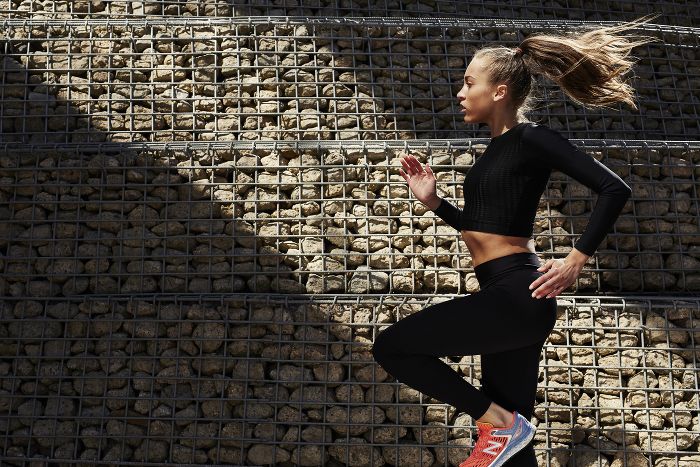
What features in Exposure give you the most editing control over your images?
As a Photoshop user, I couldn’t live without Exposure’s basic controls such as clarity, vibrance, contrast, and saturation. It’s easy to see how each effect impacts the image when they are used in conjunction with each other. Visualizing the effects as I’m making tweaks lets me fine-tune the look with small adjustments until everything is just perfect.
New brushing and layering features allow me to perform much more of my editing workflow inside of Exposure, which makes editing even quicker and more simple.
Are there any editing tools in Exposure that you haven’t found in other apps? What are they?
Absolutely! The controls on the Grain panel are unique to Exposure. It has the most feature-equipped grain engine of any software out there. I couldn’t do without the grain in Exposure. Especially in my B&W work, where one of the first things I do is get the grain in order.
How important is speed when your volume is low?
Even though my image volumes are low, efficiency of every aspect of my life behind the lens, especially editing time, is incredibly important to me. I believe Exposure is the most effective and efficient way to deliver my vision. I love editing and crafting my final images, and happily spend hour after hour retouching. However, time is a precious commodity when you’re running your own business. Exposure gives me what I need to deliver high quality results fast, so I can get the camera in my hands again.
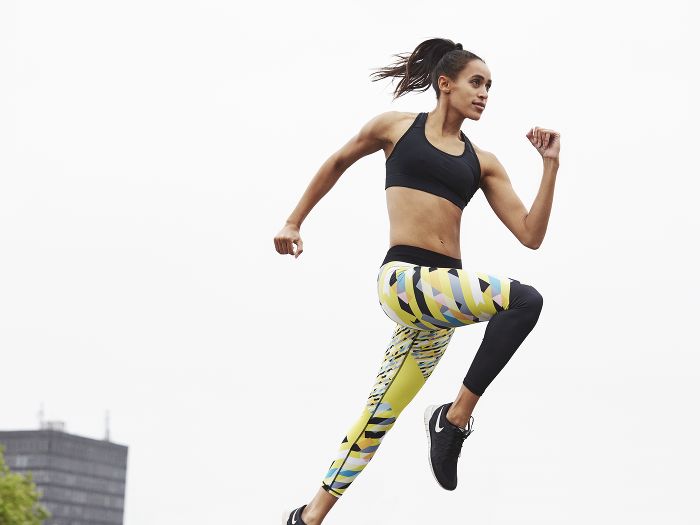 How do you keep your photo editing/finishing consistent?
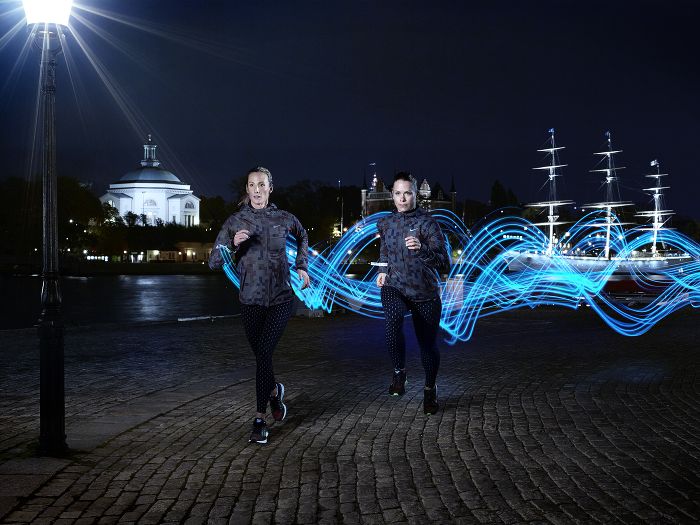
Consistency is an important topic. Especially when shooting sports photography. For example, I could be shooting in all kinds of scenarios for a single job. Sometimes it’s inside using strobes, other times I’m outside, or I’m shooting high speed to catch action. Combining the lighting with the outside ambient light depends on the client’s desires for the look of the final photos.
To make them consistent, I start with a few initial steps, such as applying my favorite bleach bypass preset. I do this regardless of where the images are being taken and what the shoot looks like (indoor, outdoor, etc). The next steps are applying my own Exposure presets, then masking and playing with treatment opacity of each one. I craft each layer in Exposure for that individual shot. I use a few layers with different effects, each is brushed on or off to apply the look of each effect to specific regions.
Brushing and layering gives me the power to edit each look consistently between my images, regardless of the shooting and lighting conditions. I can customize each layer and dial each effect in to display only on a portion of the image, such as the skin, or the shadows, or the highlights. Exposure allows me to deliver a consistent look regardless if I’m shooting at golden hour, or in the studio.
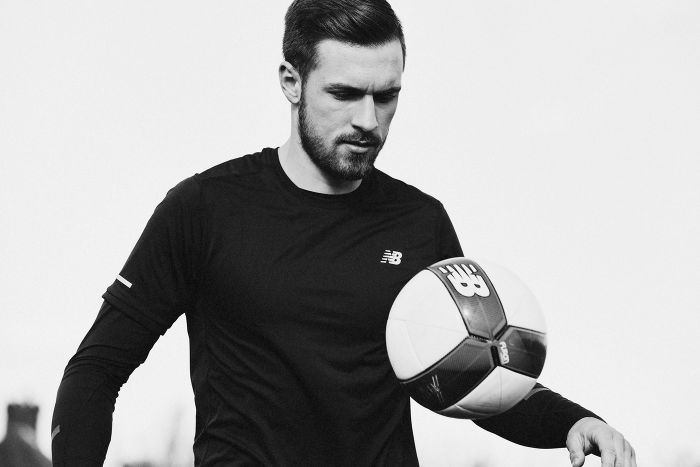
Over the years, I have developed a procedure for applying effects to varying locations in the image. It’s the opacity of each applied layer that brings the photos together to speak a consistent language based on my client’s’ desires. For example, in my male fitness work, the look will be stronger and more metallic, but with a female it will be more transparent and softer.
Try Exposure Today


