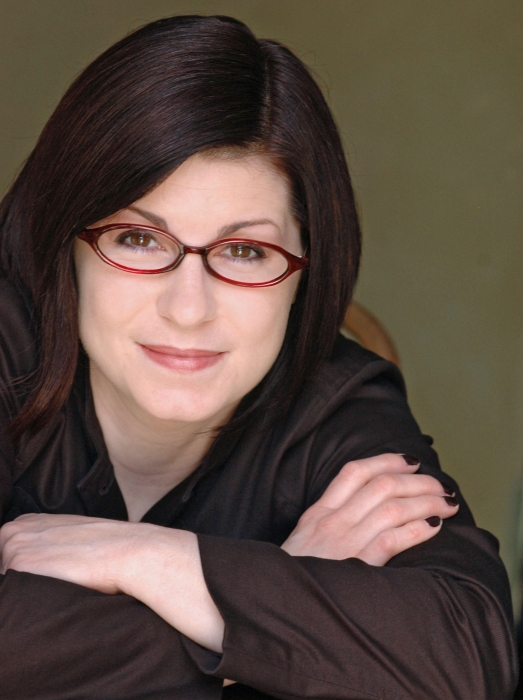
Last month we interviewed three working photographers for our Exposure X2 introduction video to learn how they’re using Exposure to handle their editing workflow.
Bobbi Vinson was one of the photographers who joined us. Bobbi is a Raleigh, NC-based professional portrait photographer and owner of Frolic & Co. Photography. Because she lives near us and uses Exposure for her full workflow, we were delighted to have her participate.

Here are the highlights from our chat with Bobbi.
Why Exposure?
Exposure is by far the most intuitive, easy to use editing software. I’m not stuck at my computer editing for hours and hours, and I get amazing-looking images that my clients love.
Where Exposure fits into her workflow
I use Exposure immediately, from the moment I copy the images from the SD card. Exposure keeps me organized and streamlines my entire workflow.
Non-destructive editing allows me the freedom to try new things without worry of a permanent change to my image. The new layers feature takes it a step further and allows me to brush on specific edits to take my images from “okay” to “wow.” The Layers panel also allows me to add multiple presets to an image without exporting into other programs. This helps me be more creative while working on my images.
Learning curve
I feel like Exposure just makes sense. I was able to get started and learn to edit on Exposure with virtually no learning curve. Anytime I had a question, I was able to find the answer in the video tutorials.

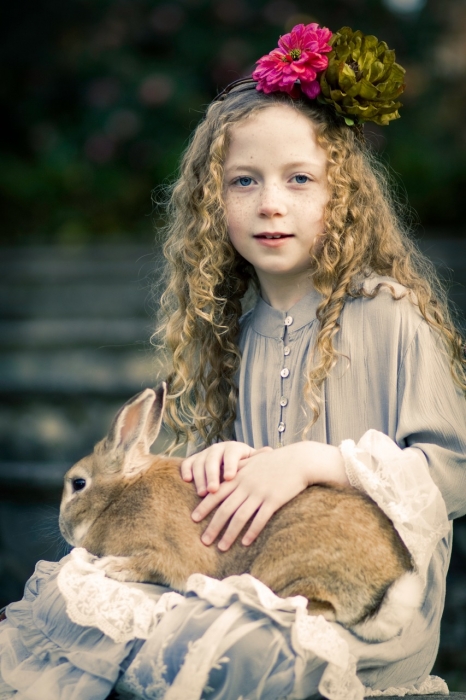
Image © Bobbi Vinson
Efficiency improvements
The fact that I can copy my images from my camera card using Exposure is fantastic. The flagging works great, and the editing tools within the layers are quick and intuitive. I’m able to make the adjustments I need: adjust the skin, brighten the irises, whiten the teeth, and apply presets.
Exposure’s presets
They give you a great starting-off point. I like to adjust them to make them my own.
Favorite editing tools
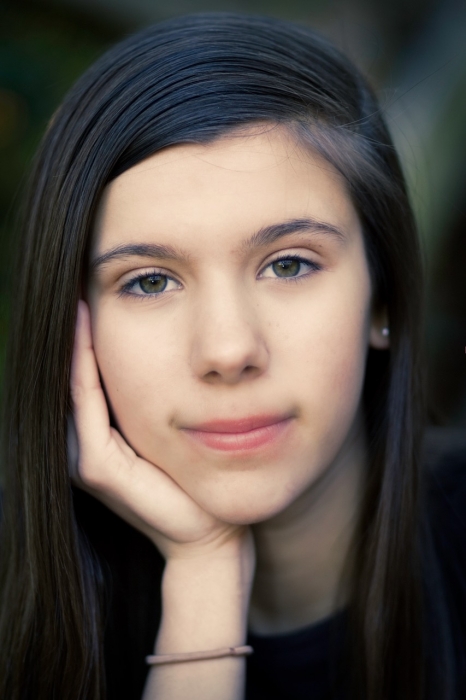
The Layers panel for me is like being a makeup artist. I’m looking at the face to see where it needs to be darkened, lightened, where blemishes need to be concealed, where the skin needs softening. I use the Brush tool a lot. After I use the Enhance Iris brush preset on my portraits, I lighten the area under the eyes, just like you would apply concealer. A light brushing with the Soften Skin brush preset is just like applying the best foundation. These tools help my clients looks their absolute best in my images.

Image © Bobbi Vinson
Creative possibilities
There have been a few cases where I would have passed on an image, but something kept calling me back to that image. I was able to play with Exposure’s presets, layers and adjustments, to then transform the image into something very interesting and artistic.
Focus
If I didn’t quite get the blur I wanted, I will use the tools on Exposure’s Bokeh panel to help separate my subject from the background. I can also warm up the temperature to give a sunset glow to the background.
To see more of Bobbi’s work, visit her site.
Try Exposure Today


Beautiful work! Great article! Exposure is an azpmazing product!