Creating images is more than just pushing the shutter button down on your camera. There is a process, there are settings to configure, light to find or hide from, and you have to consider composition to make the best story.
An important part of the process is editing. Editing allows us to finalise the image; adjust, perfect and imbue it with our final artistic stamp. It’s also the time in the process where we push the pixels on the screen to more closely match what we saw when we captured the moment. We all know that the camera isn’t always correct!
Let’s start with some images I created during a desert excursion at the Dubai Desert Conservation Reserve in the United Arab Emirates. There are a mix of portraits, landscapes, and wildlife photos.
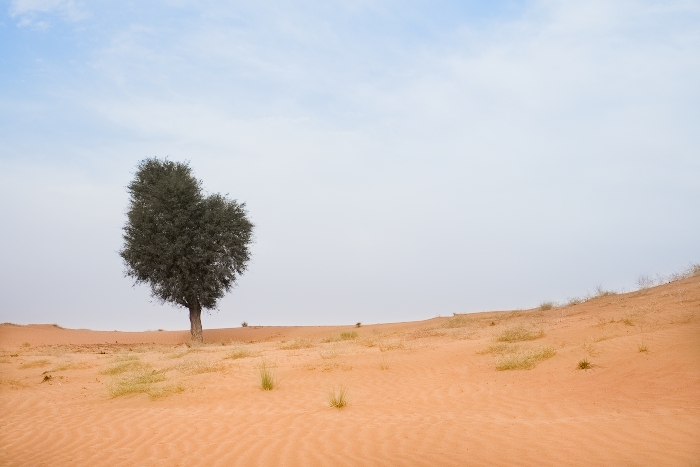
All photos in this article © Kate Hailey
For the past few years, I’ve been using Fujifilm cameras for the majority of my portrait and travel work. I’ve grown to love these cameras. They are compact for travel, they have fantastic lenses, and they record photos with impressive quality.
If you know me at all you know I crazy-love the Fujifilm Camera system. I have very few complaints, but there are some challenges. One issue in using the Fuji lineup is that some software programs don’t offer the same support for Fujifilm cameras as they do Canon or Nikon. This applies in particular to lens correction. I’ve been using Adobe Lightroom since the first release, which is a long time now. After you learn and get accustomed to a post-processing workflow, you kind of stick to it. However just like a camera, when you’ve reached a limitation, you look for other, better options.
I’ve been using Exposure for over four years. I first used it as a plug-in for Lightroom and Photoshop, but now I use it as a standalone app. When I view my Fujifilm files in Exposure, I see some differences in how the images appear on the screen. Of course, various software programs render the appearance of the RAW files in different ways. I prefer the rendering in Exposure a bit over Lightroom.
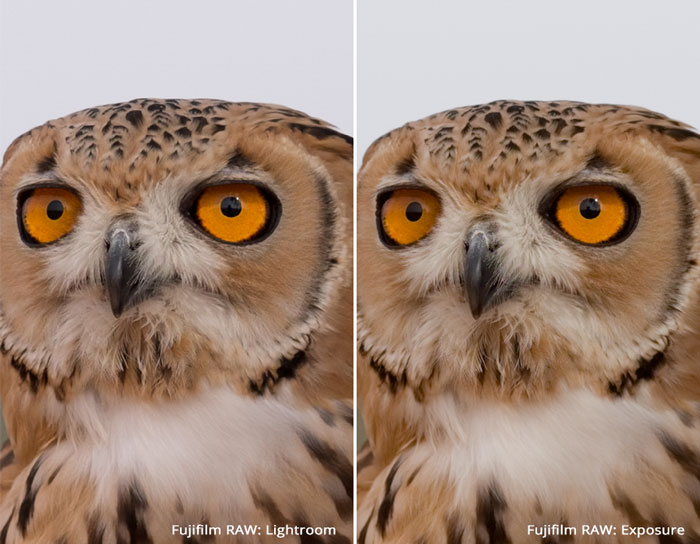
This is just one example of the differences. The Exposure RAW has more balanced contrast and great-looking highlights. It’s also a little brighter and and it has a tinge more saturation. At a deeper view, I see the tans and oranges being a little warmer, and the greens are a little more green.
One of the other reasons I really dig Exposure is the huge selection of film emulations and presets. I have a handful of looks that are my go-to choices. For instance, if I want to convert an image to black and white, ninety percent of the time I start with B&W Films – Fuji Neopan 100 Acros. I love the look of it, and it’s still my favourite black and white film to shoot with! Exposure does a lot more, though, so I can always try something fresh and new. For these images, I dug through the Bright presets and settled on Creamy Highlights as the starting point for my editing.
Typically I will apply a preset, then make adjustments with the Overall Intensity slider. You can easily reduce the impact of the effect if you feel it’s too much. I appreciate working with Exposure because it provides me with lots of control over the look and feel of my photos. Sometimes I want a hint of the effect, and sometimes I want it all.
Next is a portrait of Khan, a very kind gentleman and Falconer in Dubai. Straight out of the camera, the image looks just fine, but it’s significantly more bright and engaging with a few tweaks. I added the Bright – Creamy Highlights preset and performed a subtle dodging on the eyes to enhance the shot.
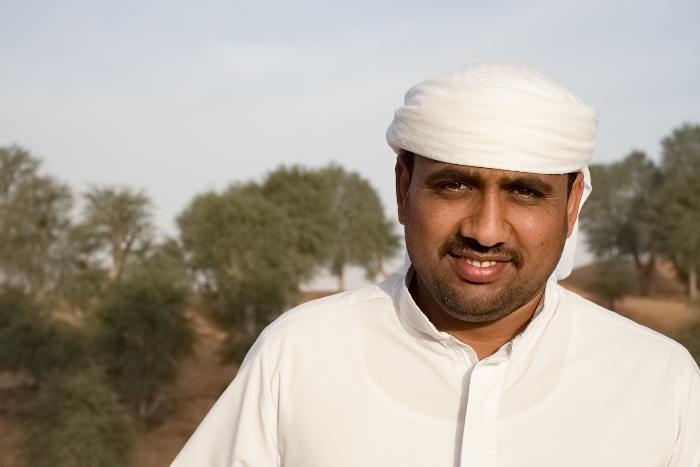
One of the features that’s really great to work with in Exposure is the layers. Layers let me work on bits and pieces of the photo however and wherever I choose to. Exposure’s presets provide me with starting points to build on for my own style of finish. This creative process retains more consistency in the final look of the images.
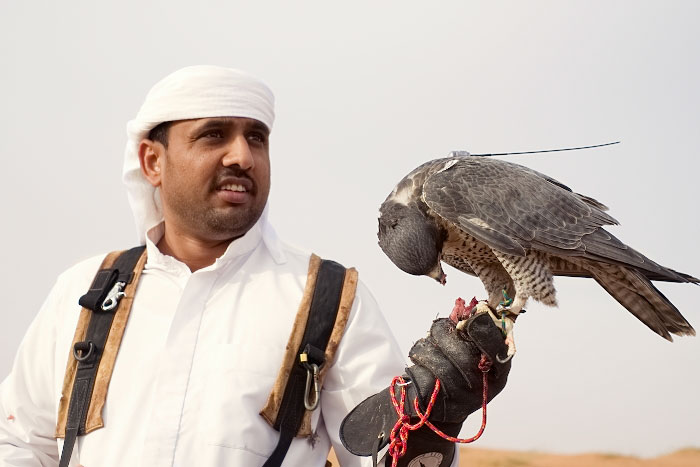
Below, Pandora the Falcon grabs a snack from Khan’s hand. Again I used the Creamy Highlights preset. I like the slight warmth the preset adds. I also added a little overall brightening.
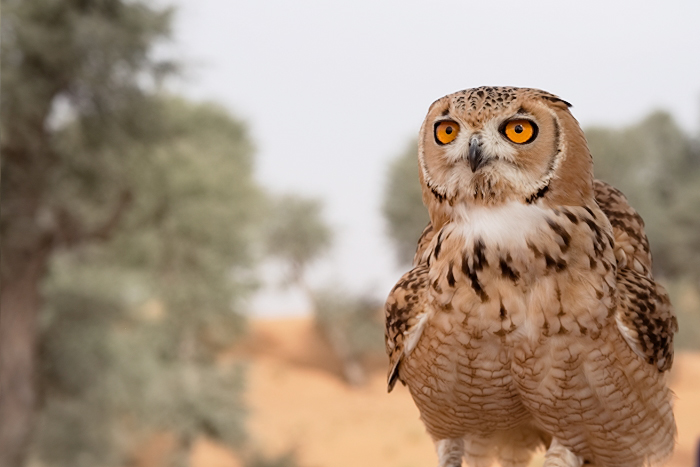
Xbox the owl, is a chatty guy with some fantastic, piercing eyes. He was perched on the arm of another person, so I grabbed the snap, below. I am still in love with the Bright – Creamy Highlights preset. This time, I added it as a new layer, then added a second layer for essential edits, especially with contrast and tone curve.
The fellas in the photo below are called Oryxs, which are a distant relation to the Antelope. We passed a heard of them as we were leaving the reserve, so we stopped to take some photos. I stayed in the Jeep, which didn’t give me the exact framing I would have liked. As a result, I cropped this first frame and spent some time cleaning up the sand with the Spot Heal tool set to clone. With the power combo of the Layer panel and the Brush tool, I can work to clone out all the little footprints in these images, which were abundant!
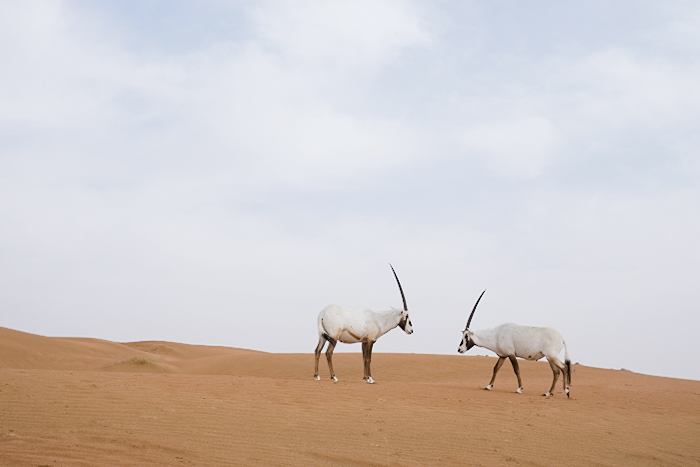
I appreciate that I can turn the layer off and on to display the progress I’m making during editing. Using layers is the easiest way for me to undo something. I can simply hide or delete the layer if I no longer need it. I also make an effort to rename all my layers, naming them to the task they are being used for. If I’m cloning/healing, then that’s what I name the layer. If I’m playing with tone curve, that’s what I name that layer. The reason I do this is that I can go back in a year, or more and if I want to re-edit a particular layer, I can get to it!
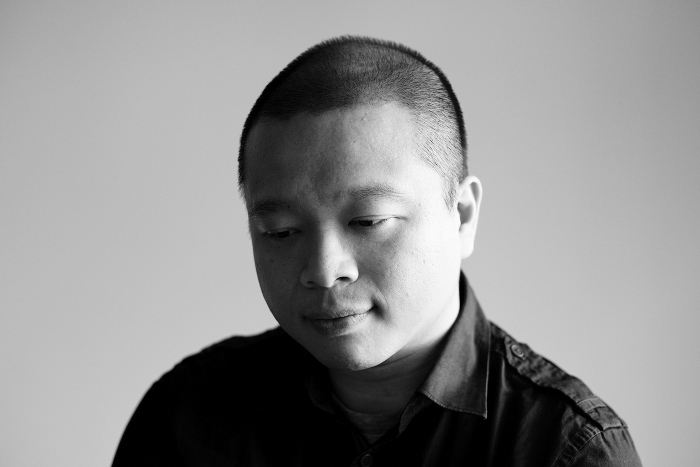
Using Exposure for editing portraits makes sense on many levels, including all the elements I’ve already mentioned such as editing consistency of the look and style, and the large selection of presets. Again, the Fuji Neopan 100 Acros preset is one of my absolute favorite B&W presets because of its lovely contrast. In this photo of my good friend Stephen, I used brushed the background to make it a little brighter. When editing, I think about the mood of the image. Stephen always has a smile on his face, so the edits were made to emote the happy, bright vibes he brings with him.

The following image is much moodier. I started with the same Fuji Neopan 100 Acros preset, but I kept the original mood of the highlights and shadows as I captured in the camera. With the emotion in the image, a more dramatic look makes sense. I made a few minor adjustments to the exposure and contrast, and I retouched a few areas with the Spot Heal tool.
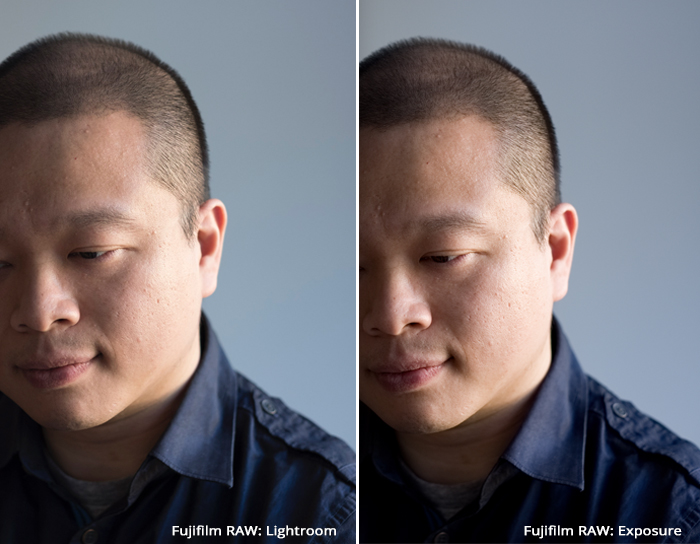
The original images show slight differences in the colour rendering. The tones in the face are slightly warmer in Lightroom, but I prefer the cooler skin tones and better contrast of the Exposure version.
I find the more I create images, the more care I want to take in creating a final product, especially to the fine details we often overlook. This is also something to keep in mind when we consider printing out work, the larger we print, the more issues we will find. So attention to detail can be quite useful in these scenarios.
Fortunately, Exposure is there to help is make this process easier!
All images from the Dubai Desert Conservation Reserve were captured on the Fujifilm X-T1 with the 35mm f/1.4 or 56mm f/1.2 lenses. The portraits were captured on the Fujifilm X-T2 with the 35mm f/1.4 lens.
Try Exposure Today




Great article Ms. Hailey. I found it very useful.
Glad you enjoyed it!
I just purchased a Fuji X-T20 and could not open the Fuji RAW files in LR. The RAW converter was not compatible with the older OS I run. I switched to jpeg and thought oh well, it can wait till I upgrade…….Then I read your latest email and Hurrah! Exp2 opens the Fuji RAW files. Thanks Guys!!!!
That’s awesome, Jeff! We’re glad Exposure was able to help.
Great news Jeff!
The only issue I have had with using Exposure for Fuji RAW files (I shoot with the XPro1) is that with at least one lens (the 18/f2) chromatic aberration is not corrected. (CA is a known issue with this lens.) To deal with that I use Silky Pix, which is what Fuji provides for its cameras, via free download on Fuji’s site.
Other than that, I agree that Exposure works wonderfully with Fuji files.
Hi Earl,
Thanks for commenting. I’m glad to hear that you’re enjoying using Exposure with your Fuji files!
You are correct. Exposure doesn’t have a chromatic aberration correction feature, but it’s a good idea. We have it on the list of features to consider including in a future release.
Can I still catalogue my image in Lightroom 6 once I’ve edited in exposure x2?
Hi Nigel,
Yes, you can still use Lightroom’s catalog with Exposure X2. Here is a link to our Getting Started with Lightroom video that shows you how.
It truly makes a difference. I couldnt spot the difference at first time, and then followed the comments oh yeah it is much warmer and balanced. Nice shots also!
Hi Jon,
Thanks! In some instances the differences will vary. Of course RAW processors will look different as well.