Denise began her career as a professional film photographer. When digital cameras took over the industry, she had to give up what she knew and relearn photography using a radically different workflow. She wasn’t too happy about the long and cumbersome post-processing workflow of digital photography. She discovered Exposure soon after moving to a digital camera and fell right at home using it. She tells us why she has loved Exposure from the first time she used it in the article below.
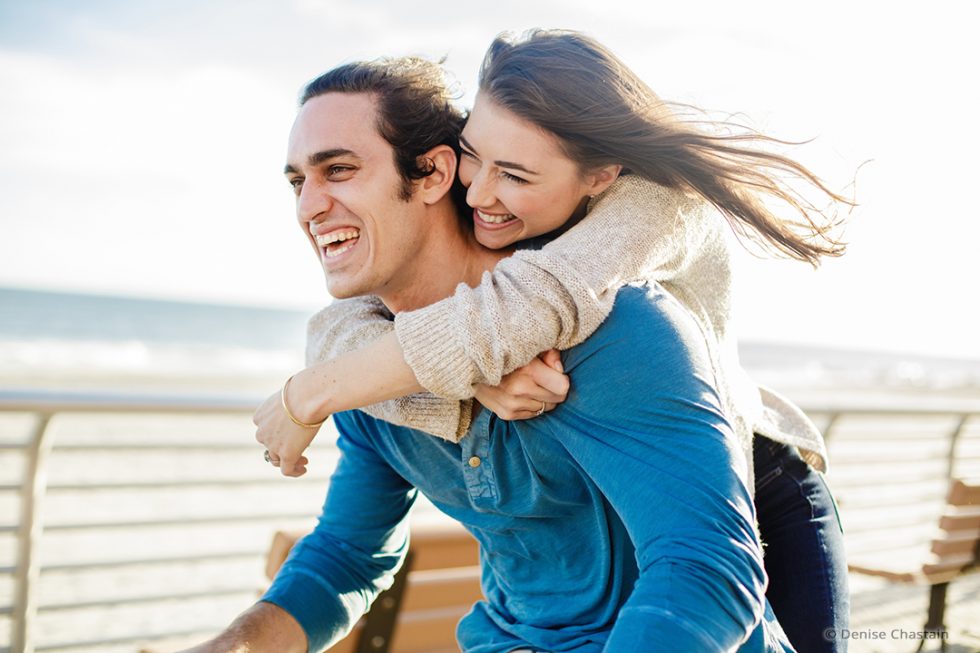
Exposure Gave Me My Film Back
In photography, film was king for a long time. During that golden era of film, chemicals, enlargers, and paper were so popular they could be found almost everywhere. The thought of film disappearing was unthinkable in the late 80’s. Digital cameras eventually overtook the popularity of film equipment, and slowly even basic film resources grew scarce. I knew the change was here when labs I worked with for years retired.
When I moved over to digital photography, the new workflow had a steep learning curve, which made post-processing particularly difficult. It was radically different than processing film, and the software at the time wasn’t very user-friendly. That is until I found Exposure.
Exposure was like a dream come true. It was an exciting discovery that made my photos look great, and it cured my post processing headaches. The first version, back in 2005, gave me instant access to the look and feel of the films I loved using. Exposure enabled me to give my digital photos the organic soul unique to film photographs.
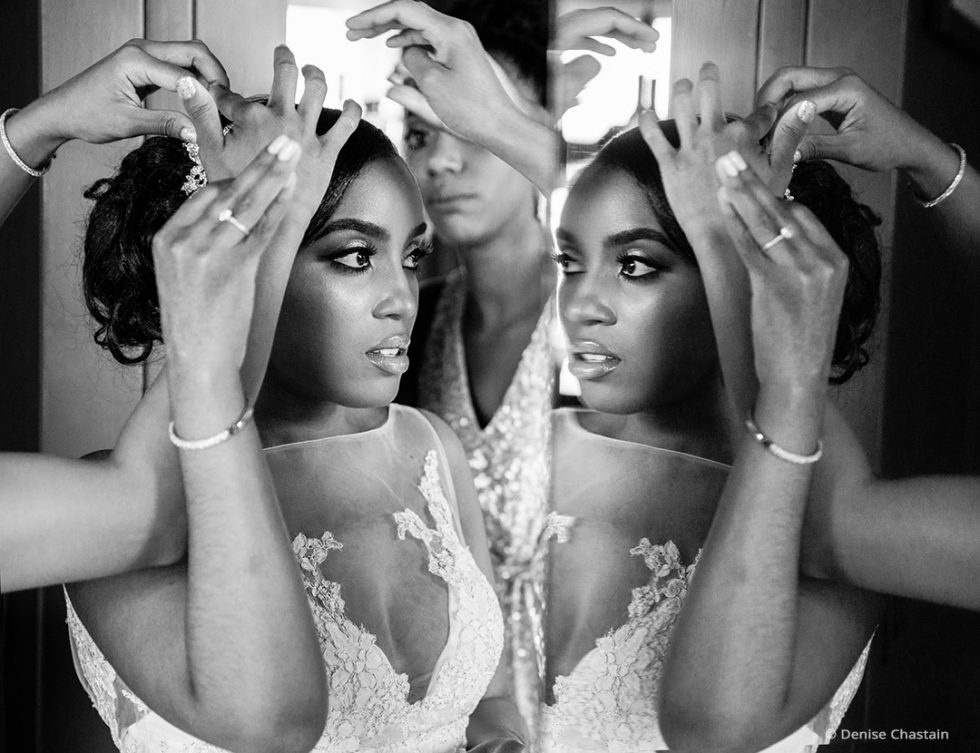
I have been a fan of Exposure since the first time I used it. One specific aspect of Exposure I appreciate is the consistency of the effects. I want to give my photos the look I’m after, every time. I don’t want the look to change, unless I choose to modify it, of course. The presets I used in the first version of Exposure gave my images the same great looks I achieve using the latest version, today.
Resurrected Lab Methods
Push processing was a lab technique used for increasing the speed of films with chemistry. Pushing film would enhance the visibility of grain, and it would strengthen the image contrast. I always had film labs push my photos a half stop to give them more presence and make the grain pop.
I can do this exact technique in Exposure, and it even out-performs the same processing technique with analog film. In Exposure, I have absolute control over the behavior of grain placement, visibility, size, and more. Further, I can make adjustments to contrast or exposure, independently of the grain settings.
Access To My Favorite Darkroom Processes
Burning and dodging was something I did all the time in the darkroom. I learned about dodging and burning when I took photography in high school, and since then it’s been an integral part of my workflow. I massage each print I make with burn and dodge effects to some degree. Exposure gives me access to this staple of my analog film workflow. And it makes improvements to doing things by hand in the darkroom.
Precisely replicating an image when you do a lot of burning and dodging work in the darkroom is a challenging task. Saving your dodge and burn effects as presets in Exposure solves this workflow problem beautifully. All of my developing notes, which I used to scribble in my development notebook, can be easily documented right within the preset. Saving your presets ensures that you always have an accurate reference for the looks you apply to your photos.
Unique Analog Looks
I genuinely enjoyed experimenting with combinations of cameras and film in analog photography. I used to disassemble Polaroid cameras to cobble together a more versatile version. For example, I would mount a leaf shutter lens to a Polaroid pack film camera. The leaf lens came from an older model that used heavier glass. It gave my instant photos a clean vintage look. This camera and lens combination provided me more flexibility when shooting on location.
Exposure gives me this same type of flexibility in post-processing. I can use one of the gorgeous Polaroid presets, such as my favorite preset Polaroid 669 with Creamy Blown Highlights to recreate the look of the film. I can apply a preset, and I have lots of options for adding sharpening, realistic blurring effects, and other creative tools to recreate a look with a vintage feel.
Exposure provides access to film options that I used and loved. It makes it easy to instill the soul of analog film in my photos, and it encourages me to experiment with creative options to take my work to exciting new places. For those who appreciate the look and feel of film photography, I highly recommend Exposure.
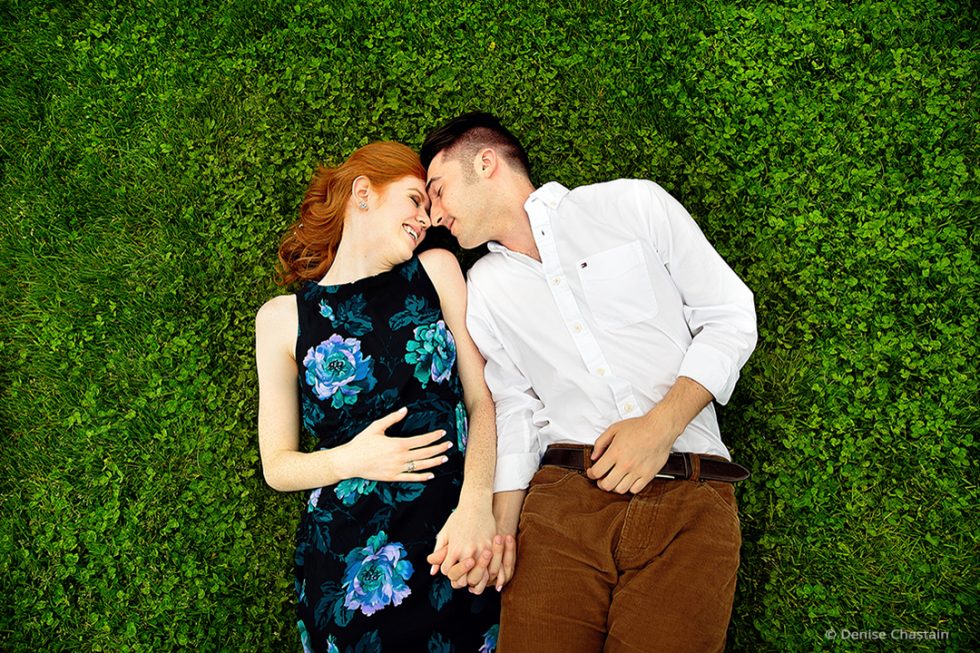
Try Exposure Today




Thanks for this article. Which grain preset does Denise use in exposure ? Tri-X Salt and Pepper ? Regular grain ? Does she use the same grain settings for every image ? Thanks.
Thanks for commenting, Darren. I chatted with Denise about her grain workflow preferences. She said, “I usually use the default grain for the selected film preset. Most of the time the default grain is perfect, especially if I am applying a preset to a bunch of images. It is one of the ways that Exposure makes my life easier, and not more complicated.
I tend to go with less grain rather than more if I am working on that one hero image from a shoot. I prefer the look of the regular 25% and 50% grain options rather than Salt and Pepper variety. I came from a world where grain was not a photographers friend. Film companies were always trying to invent faster films with less grain.”
Thank you Alien Skin and Jimmy for featuring me your your blog. It was a lot of fun working with Jimmy on the article. I love using Exposure. It has been my saving grace in the digital photography age.