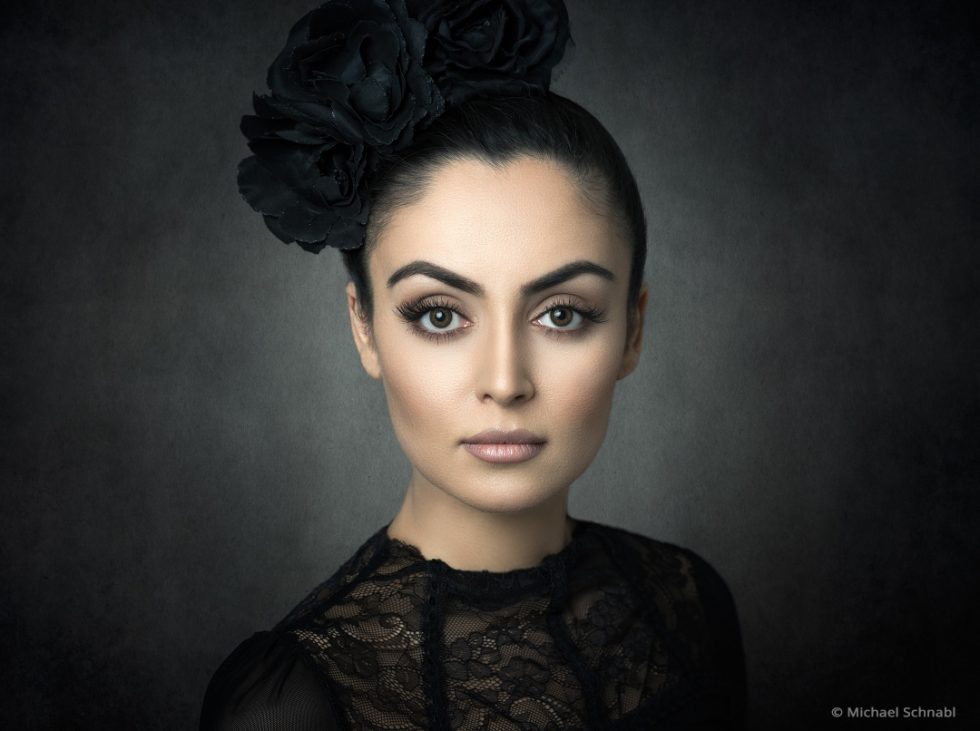
When I started to work intensively on image editing about twelve years ago, I quickly realized that a cool color look or first-class black-and-white conversion is enormously important for the first impression of a picture. A favorable first impression is what leads viewers to take a longer, more careful look at an image.
Let’s consider that every day, hundreds of millions of images are uploaded to social media, photo communities and photo agencies. We have to deal with hundreds, even thousands of images we see every day. And then think about it, how many of them can you still can remember the next day? One, two, or maybe three. Average photos have absolutely no chance. An image that remains in our memory must have something special. This can be a breathtaking landscape, a particularly beautiful or striking person, or even provocative image content. A beautiful color look or an impressive black and white conversion support the image statement and increase the impact enormously.
So we must find tools that help us achieve this level of impact.
Lightroom and Photoshop very quickly became my constantly used tools in image editing, but I was always on the lookout for software that could better support my desire to create perfect, memorable images. I bought several different plugins, downloaded tons of presets for Lightroom, but I could not quite reach the classy look I imagined. Color Efex, Viveza, and Silver Efex from Nik were already a huge step forward and my pictures improved quite enormously through the use of these three plug ins. In 2012, Google took over Nik with the negative side effect that, at the time, the software was no longer developed any further. I do not need to explain what this means in a time when the digital world is spinning faster every day.
I think it was early 2014 when Alien Skin’s Exposure was recommended to me by a friend. He used the software in all his pictures to give them the finishing touch and was really excited about it. I did some research and quickly realized that Exposure was being used by some of the top photographers I followed. Many of these photographers had exactly the color look in their pictures that I liked so much. So I downloaded a trial version of Exposure 5 and started experimenting with it.
I quickly discovered that Exposure combined the functionality of multiple plug-ins while being well-arranged and easy to use. It was soon very clear to me that my search had come to an end and I finally had a plug-in with Exposure that enabled me to produce exactly the color looks I wanted.
In contrast to Color Efex or Silver Efex, Exposure has been continuously developed since that time, and the currently available Exposure X4 is now an excellent RAW developer and organizer with countless presets in color and black and white. But Exposure can do a lot more, replacing a whole range of programs and plugins that were needed in the past to achieve something similar. In addition, Exposure is very intuitive and has a very attractive price-performance ratio.
Exposure is particularly recommended for users of Fujifilm cameras because it clearly gets more out of Fuji RAF image data than Lightroom.
The extensive functionality of Exposure, which also includes layers, makes Photoshop superfluous in many fields. You will probably find Exposure to be an all-in-one program that leaves nothing to be desired.
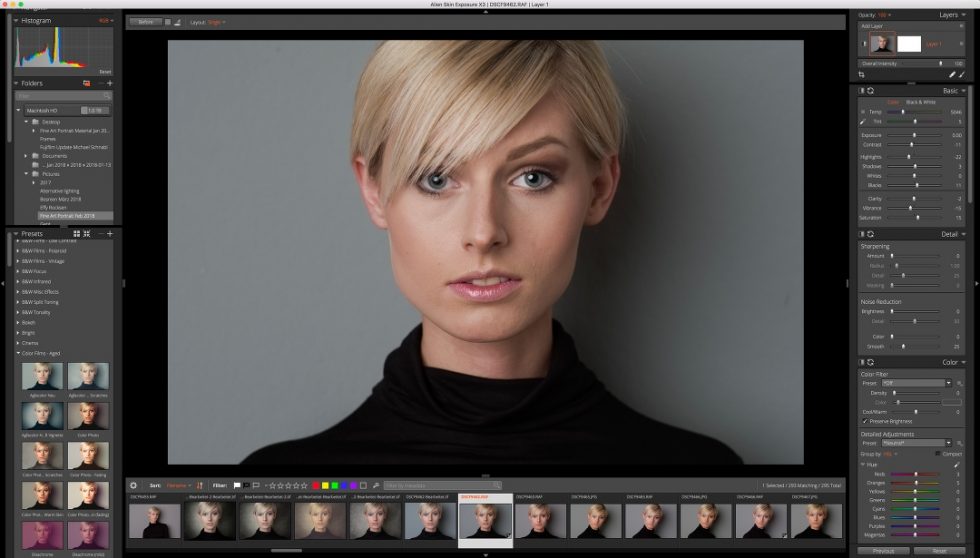
RAW development with Exposure is really intuitive and the image quality you get out of your RAW files is amazing.
My Exposure Workflow
I’m currently in the process of completely switching my RAW development to Exposure, making Lightroom unnecessary in the future.
After copying the pictures from a shoot to my hard drive, I open the folder with the browser in Exposure. I rate the top pictures that I want to edit with five stars, so that I can quickly find them later. Anyone familiar with Lightroom will find themselves comfortable with Exposure immediately, as the basic structure is quite similar. The big difference is that Exposure does not create catalogs, but uses the folder structure of the operating system via browser, as it is known, for example, from Bridge. This is a point many will welcome who could never make friends with catalogs.
With the RAW development, I’m only interested in adjusting the white balance and making some minor changes in saturation, colors, and exposure. The final color look or the black and white conversion I make only at the end.
First, I send the picture from Exposure to Photoshop as a TIFF, for some beauty retouching features that go beyond Exposure. These would be the liquify filter and also advanced retouching methods such as the frequency separation to obtain even skin. In addition, I usually insert a different background in Photoshop, preferably a texture from my Fine Art Textures Collections.
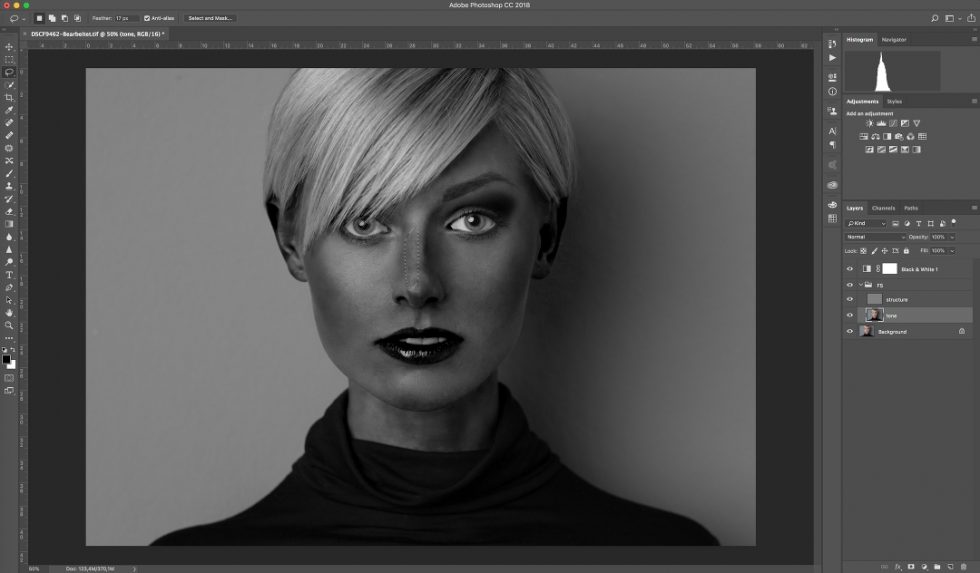
For skin retouching, I still use Photoshop for some advanced techniques that aren’t currently in Exposure, but you will also find some great retouching tools in Exposure, like skin smoothing, blemish removal, and eye and teeth enhancement.
After this work, the image goes back to Exposure where I create the final color look or alternatively the black and white conversion. This switching between the programs works absolutely seamlessly and quickly.
In Exposure, I love the possibility of quickly comparing the effects of different presets and one of the biggest advantages over Lightroom is being able to adjust the opacity of the presets or to combine several presets. When it comes to achieving the final image look, there is in my opinion currently no program that comes even close to the variety that Exposure provides.
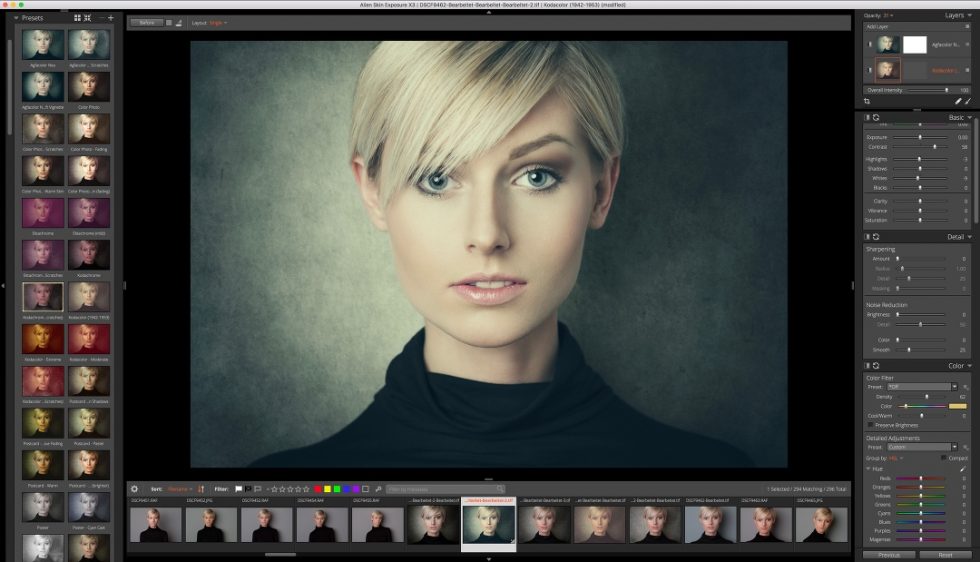
For the final look I use Exposure again, where I combine presets in Exposure’s layers.
Since I discovered Exposure, I have gradually uninstalled one plugin after the other, which makes post-production much clearer. Exposure is the only program I use in addition to Lightroom and Photoshop, and the final look of almost all my pictures bears the unmistakable signature of this ingenious software.
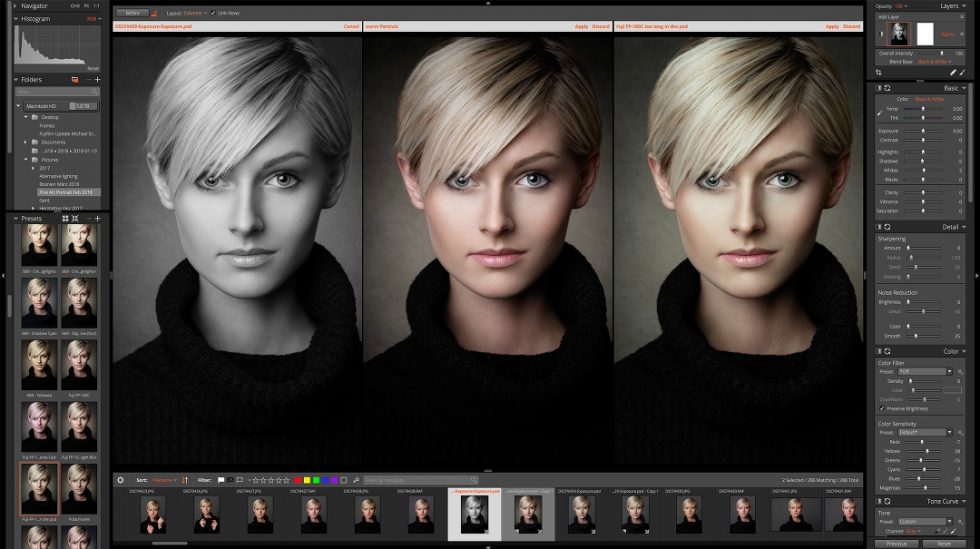
I particularly appreciate being able to quickly compare the look of different presets.
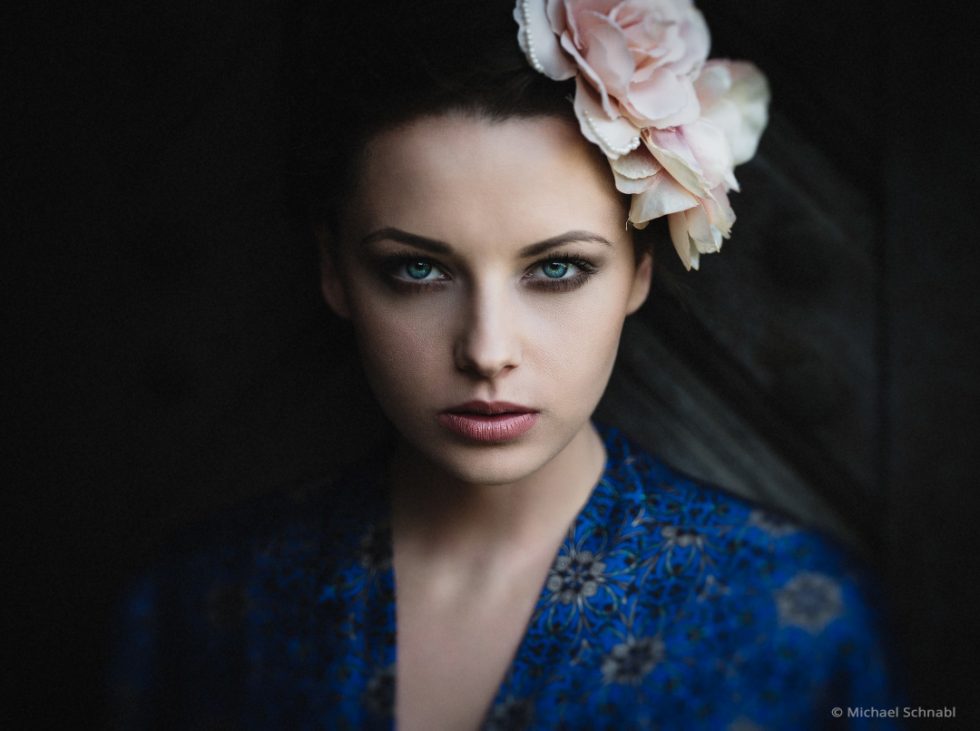
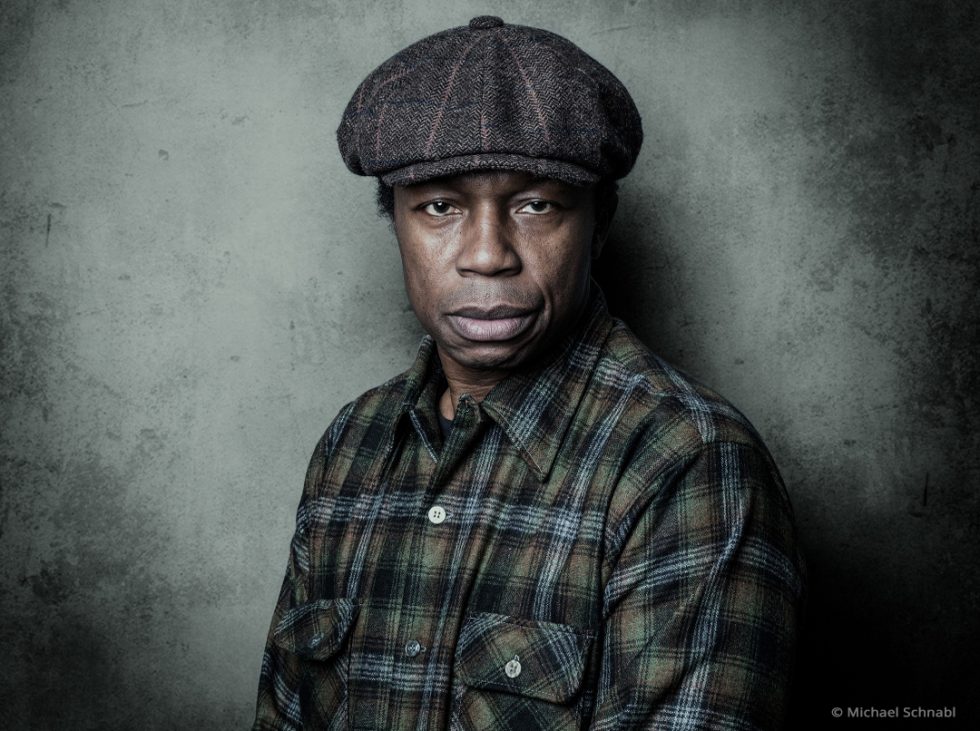
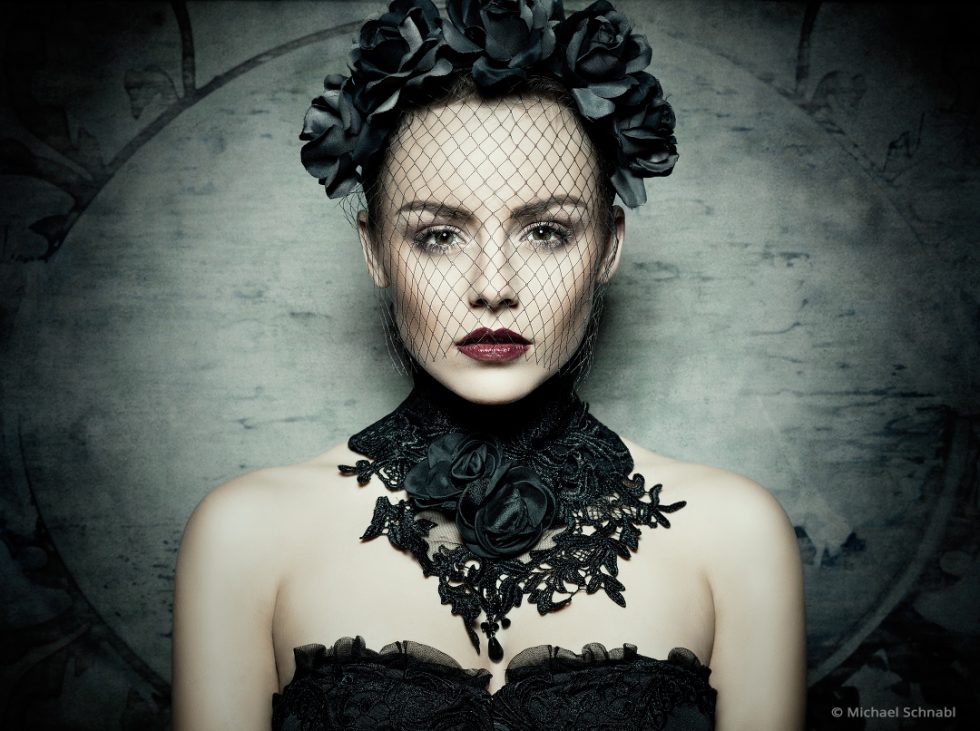
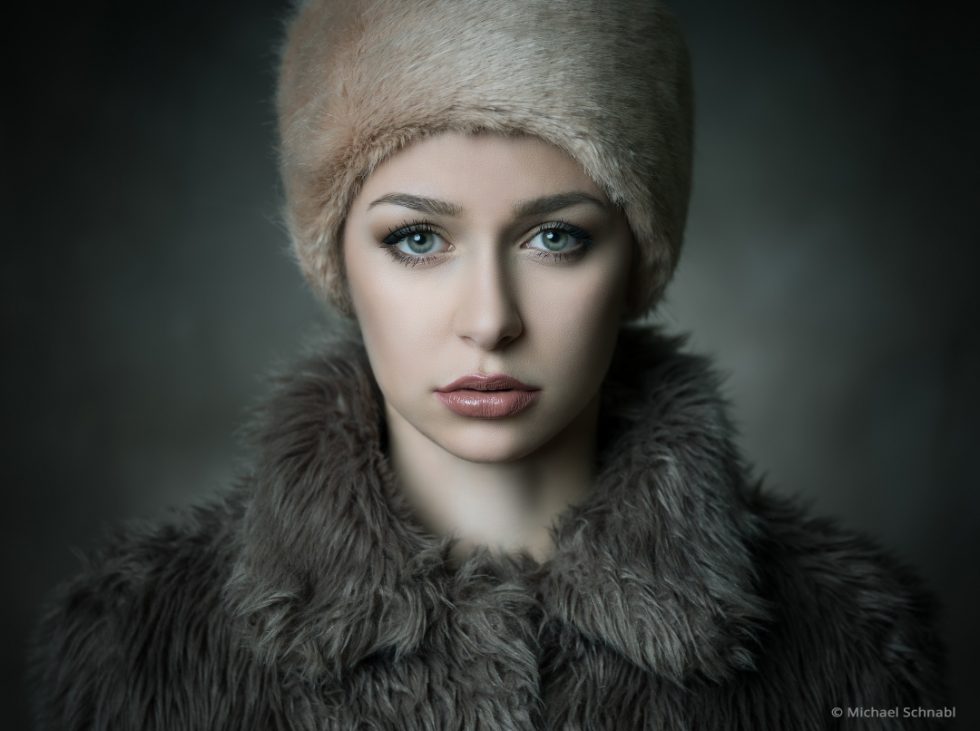
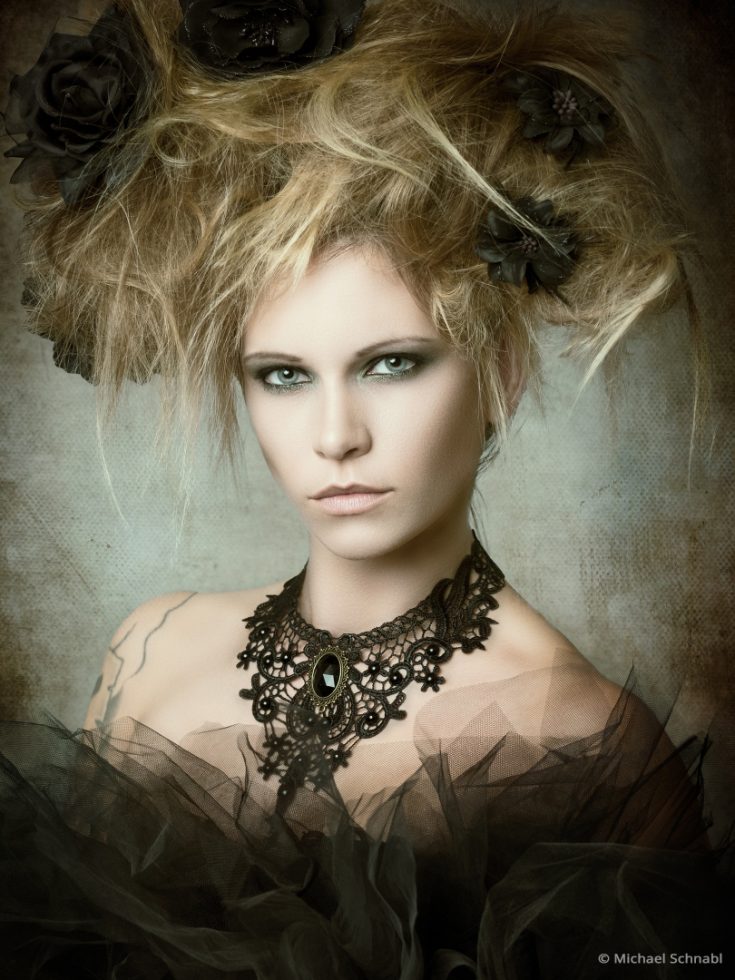
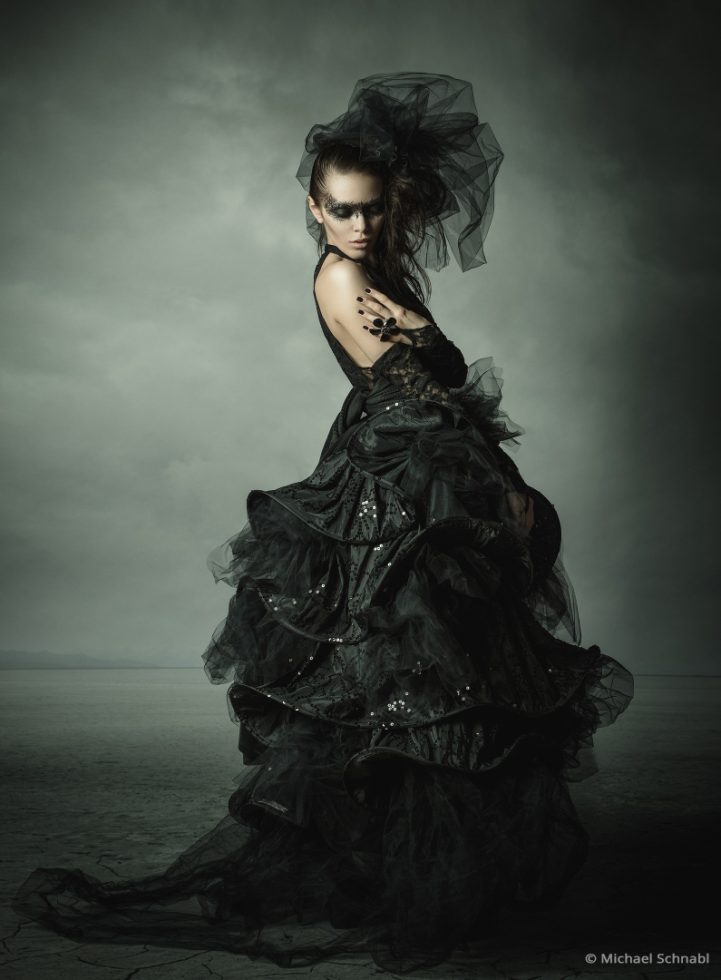
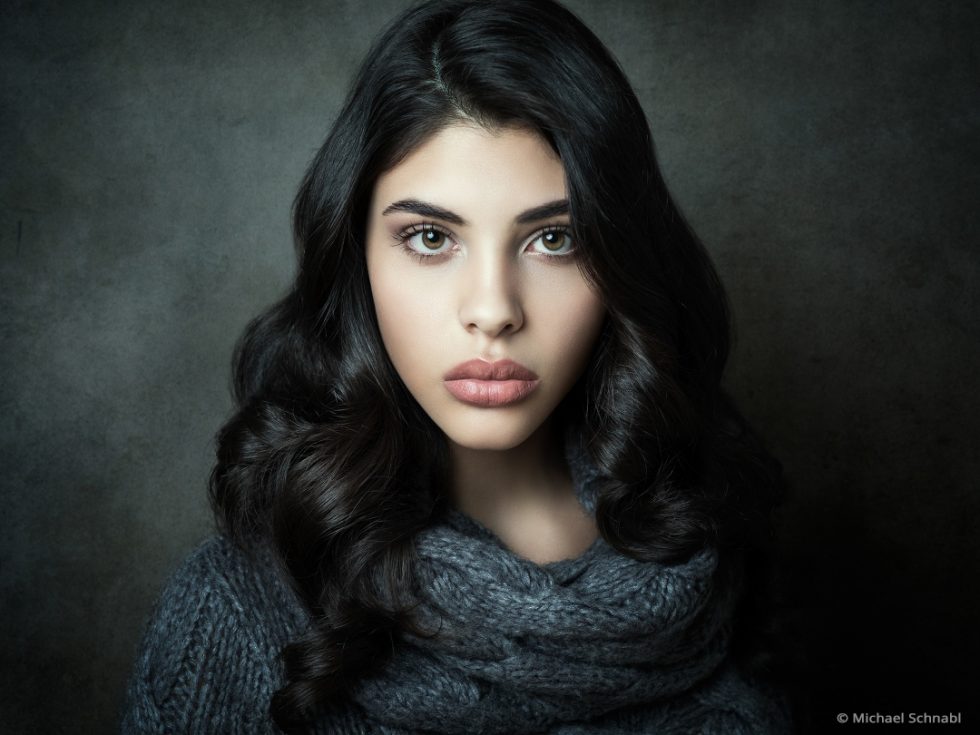
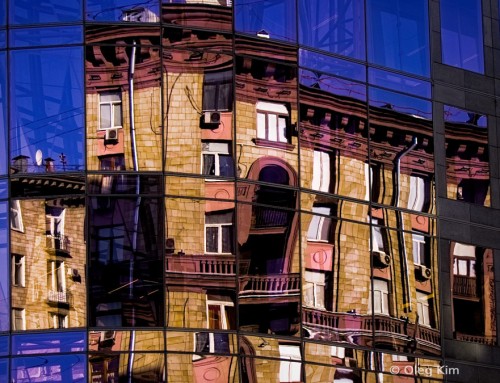
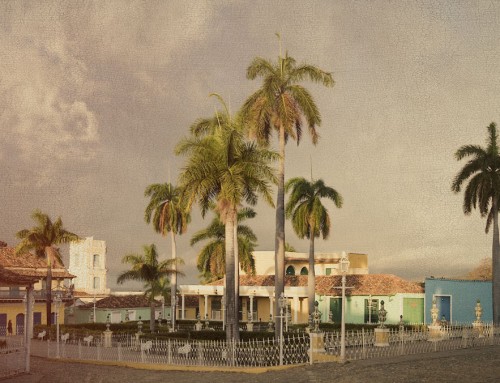
Here are some of my images with the final look made with Exposure. I hope you enjoy them, and find that they stand out.
Try Exposure Today


I can’t agree, that X4 recovers Fujifilm Xtrans sensor RAF images better than Lightroom. Tried with many pictures and X4 can’t recover shadows and turn down highlights as much as Lightroom, but in all other aspects it is already pretty good replacement for Lightroom. It is good that it has one payment but with Adobe you get as well Photoshop so it is pretty hard to decide if to switch or not :)
Thanks for commenting, Andrus. We’ve received good feedback about Exposure’s rendering of Fujifilm RAW files. One aspect of that feedback is that you don’t see wormlike artifacts or blotchy areas with Exposure, even when you add sharpening.
One unique aspect of Exposure to note is that its RAW profiles are calibrated to be neutral as possible, which enables the preset simulations to be more accurate.
You can create effects in separate layers, which will enable you to make stronger adjustments to your photos. Here is a link to a video that teaches about that.
How well does it handle Fuji medium format RAW files coming out of their GFX cameras?
We’ve received a lot of positive feedback about Exposure’s rendering of Fujifilm RAW files. You won’t see wormlike artifacts or blotchy areas with Exposure, even when you add sharpening. The RAW profiles are calibrated to be neutral, which enables the most accurate simulations when using Exposure’s film presets.
Is it better to work directly on the RAW files? At the moment I send the file as a tif from LR to Exposure……
Maik
Yes. RAW files are the best type to use. Working directly on RAW images in Exposure gives you access to the highest amount of image data. The more data you have to work with, the better.