
Landscape photography can be extremely powerful. Quality landscapes transport the onlooker momentarily into a world of wonder and awe. Each shot can benefit from adjustments made in post, but the extent of which you enhance nature’s true scene is creatively up to you. In this article, we put together a list of the best post-processing tips specifically for landscape photography.
From Good to Great
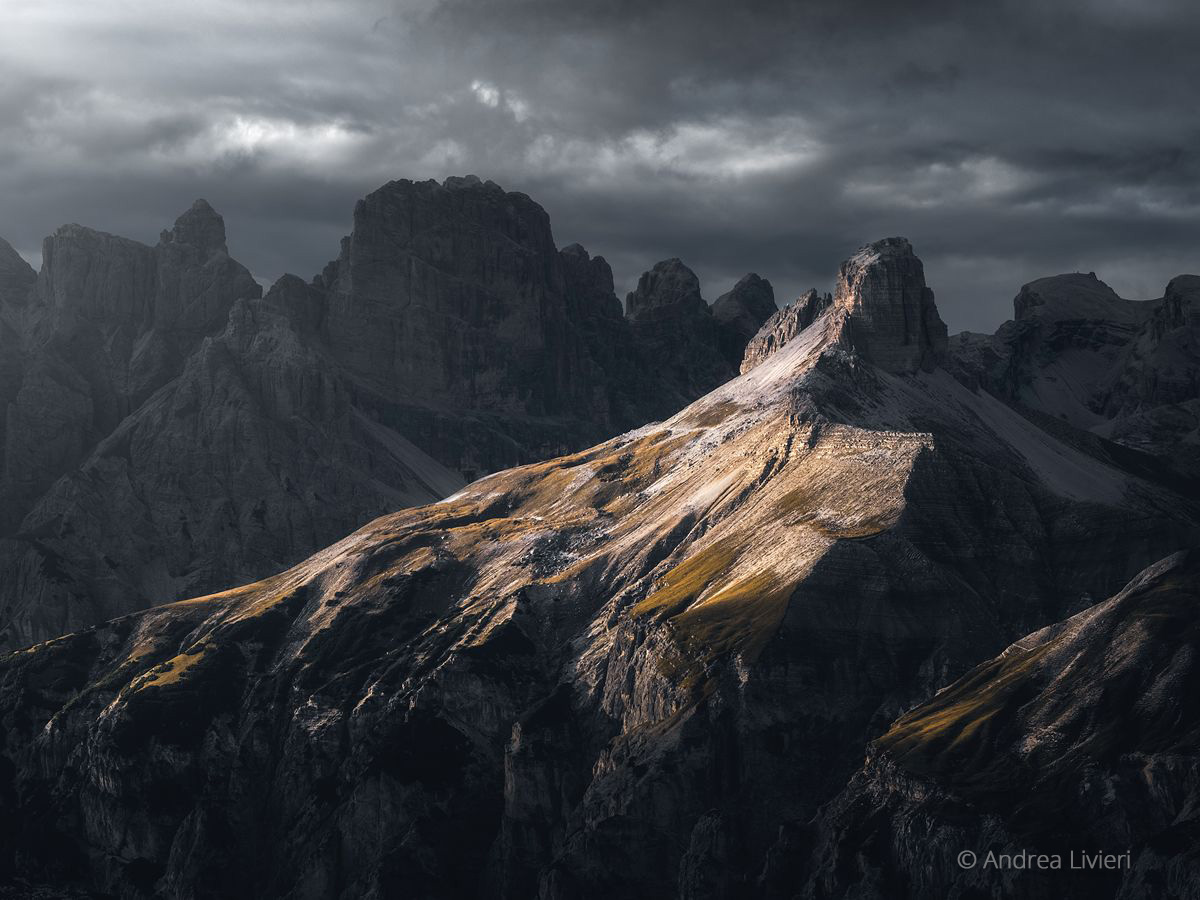
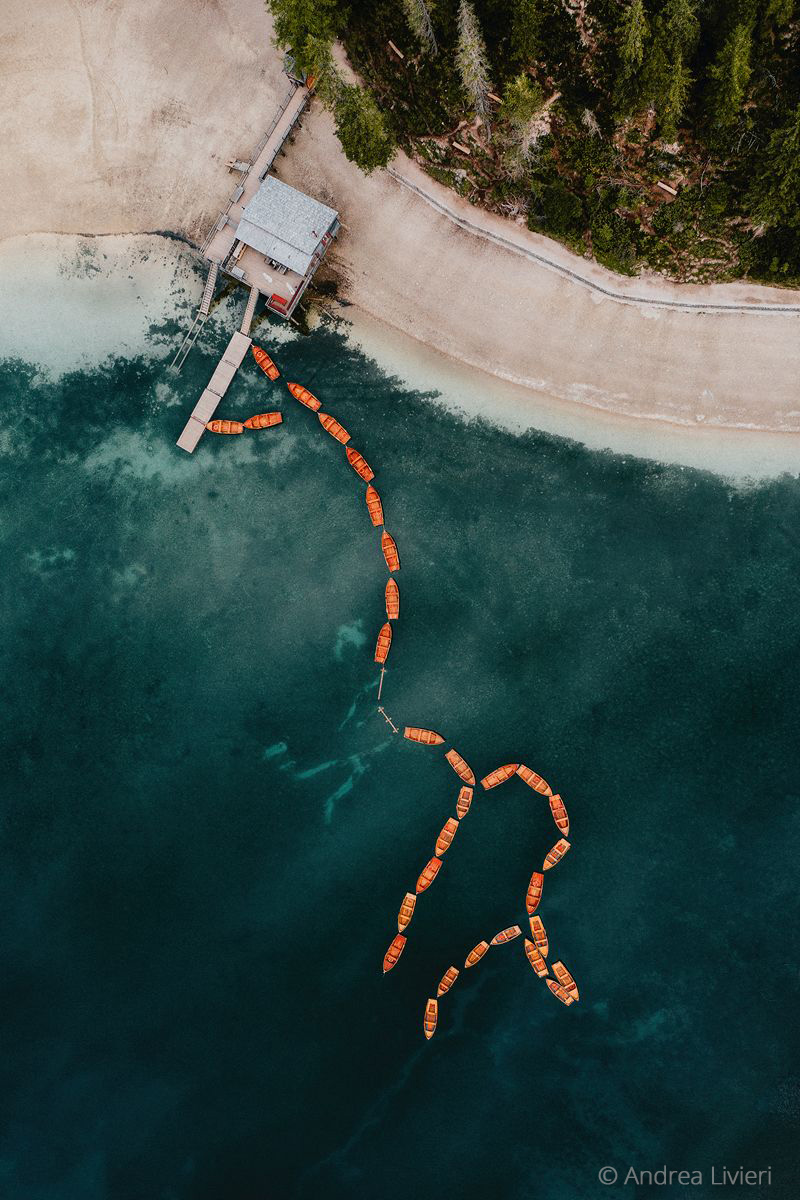
Strong composition, like the rule of thirds used in this photo by Andrea Livieri, is a good example. It is clear to see the balanced qualities in the photo, specifically between bright and dark values. All photos in this article © Andrea Livieri.
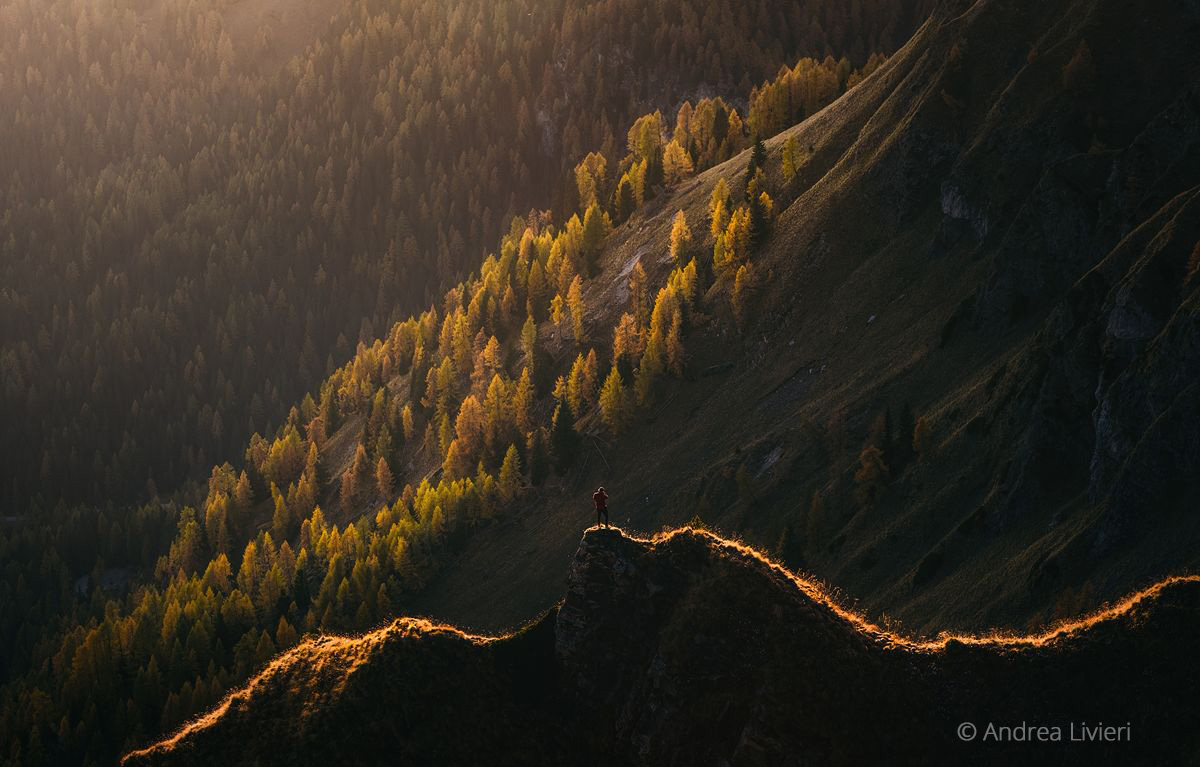
When choosing which shots to edit, use a few different criteria to evaluate them. Selecting a good image in the beginning can drastically improve the way it reads when edited. That change is even more impressive when those tweaks play off the original image’s strengths.
Firstly, demand strong composition when selecting which photos to edit. However, don’t reject a photo before making a thorough evaluation. Apply several cropping, rotating, or perspective corrections. Those adjustments can dramatically impact the composition of the shot.
Another point to consider when selecting images to process is balance. That means balance in composition, colors, and between highlights and shadows. Image exposure is also important. Of course you can change the exposure value of an image in Exposure, but the less you have to “fix” the image, the more you can focus on applying creative edits.
Balance Tones
Notice the brightest values in this image are adjacent to the darkest values in the bottom of the frame. That contrast draws your eye to trace along the bottom of the scene and toward the subject in the center.
Limit how much image data you recover from bright highlights or dark shadows. Exposure can easily bring back detail in areas that are too dark or light. And, it can make intelligent adjustments to the image tones with its auto feature. When you make adjustments by hand, remember to maintain the balance of the original shot. Recovering too much of the light and dark areas can make the photo read muddy or flat.
The sun is a brilliant, glowing ball of pure light. If you put the sun in the frame, remember to maintain balance. The sun should be the brightest thing in the photo. Don’t let reflections, highlights, or anything else overpower the sun in the image. If the sun is not glowing, add a local adjustment layer and brighten it. Also, when editing shots that include the sun, be mindful of lens flares. Landscape photographers usually don’t want them to distract from the scene.
Maintaining balance also applies to color saturation. Limit the amount of saturation you add with the saturation slider as it can block up where the image is oversaturated. For more natural-looking saturated colors, use the Vibrance slider.
Lots of Flavor
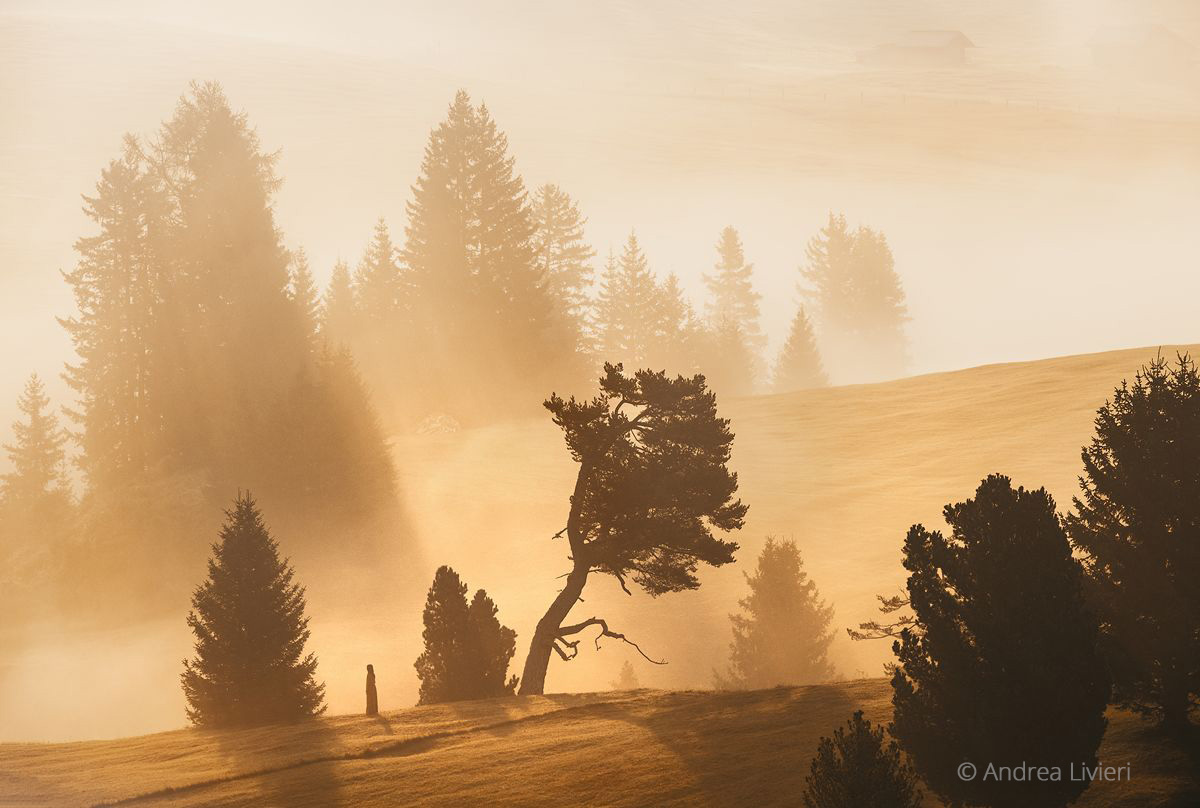
Exposure’s wide range of creative presets can breathe new life into photos with a new gorgeous mood.
There are hundreds of great-looking Exposure presets that will work great for landscapes. The looks in the Slide film category have much more contrast and saturation than the Print film categories, which can give landscapes more punch. Also, the Vintage category, Cross Processing, and Graduated Filters categories are great options for landscape photography. You can use a single preset to punch up the drama in a shot, or mix and blend several presets on separate layers. For a tour through the presets in Exposure, check out the Applying Film Looks video.
The Viewer’s Eye
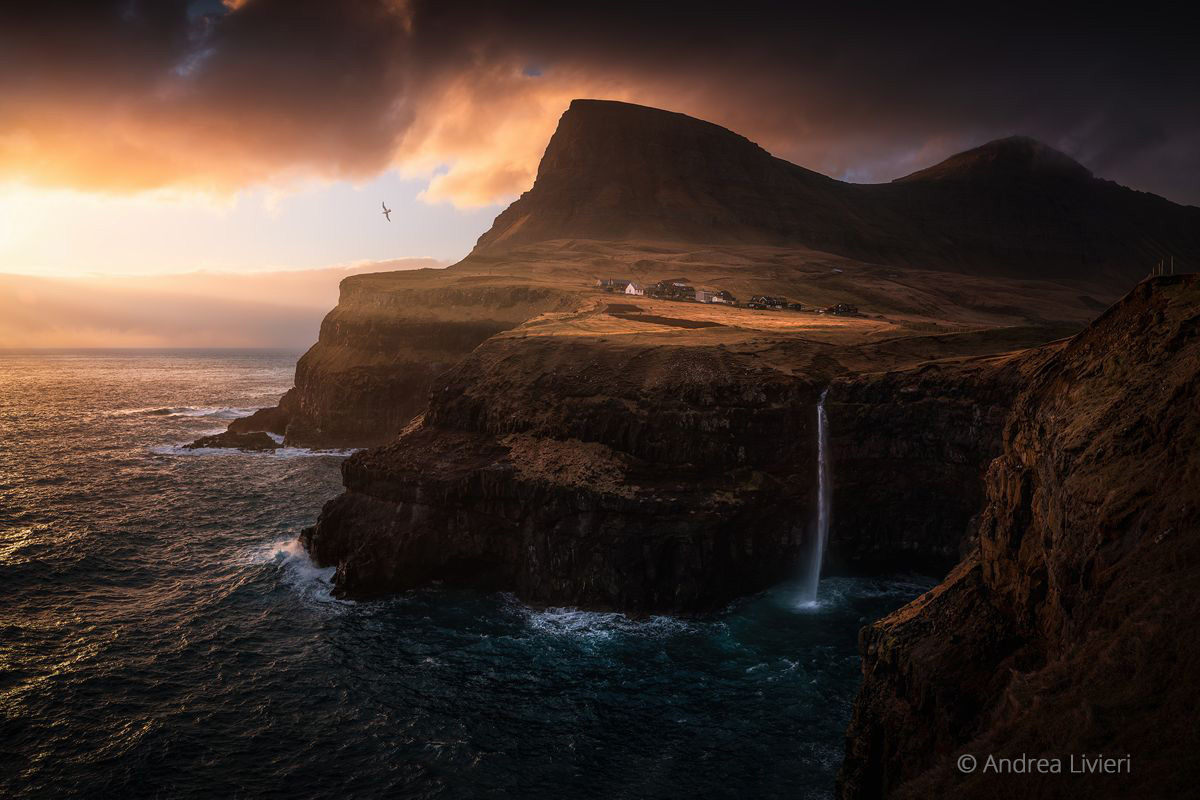
Notice the subtle darkening of the crashing waves along the left side of the frame. Those waves don’t visually grab your attention like the waves that crash on the rocks. This is a clear example of minimizing distractions near the frame edge.
The goal of any photo is to keep the viewer’s attention, and one of the easiest ways to do that is by removing distractions. The edges of the frame are hugely important for keeping the viewer’s eye in the photo. When editing your landscapes, pay close attention near the edges. Look for bright objects, contrasting colors, or specular highlights that can draw attention away from the center of the shot.
Make local adjustments to remove or reduce the impact of any distractions in the scene. Use the Spot Heal tool for this only when it’s absolutely necessary. You can use the Burn preset in Exposure to subtly darken areas with the Brush tool. To smooth over specular highlights lower the Brightness slider.
A quicker option is to use a vignette. Vignettes help draw the attention to the subject by lightening or darkening the edges of the photo. Landscape photographers are no strangers to applying vignettes of all shapes and sizes. Exposure’s tools make it easy to create beautiful, organic vignettes. Check out our Vignettes video for an in-depth look at all the creative options available.
In the end, remember to compare your ending photos with what you started with. Reviewing the before and after focuses your eye on the changes you made to process the shot. It also gives you an opportunity to temper the edited image with reality. The purpose of landscape photography is to take the viewer to a place they haven’t ever seen. A strong landscape takes a good shot and the right blend of polish from editing with your creative vision. And, there are tons of great tools in Exposure that help you breathe life into your landscapes.


