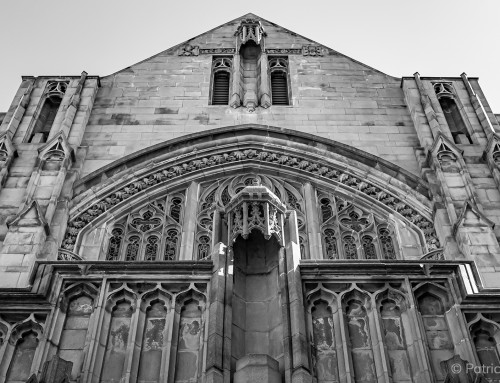
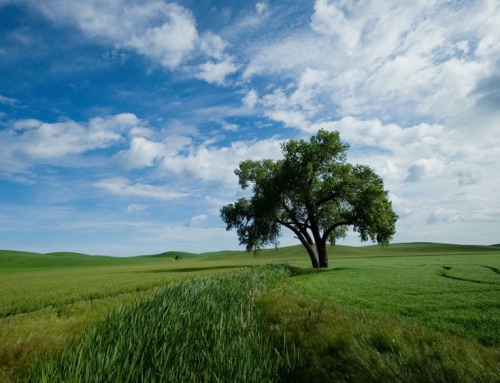
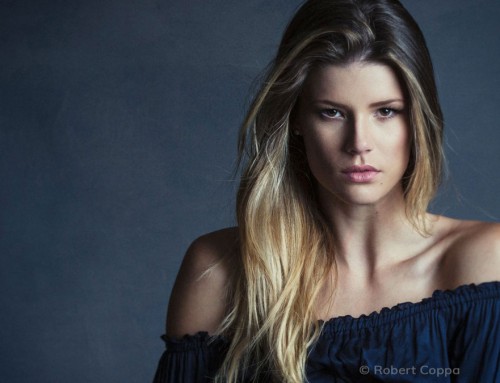
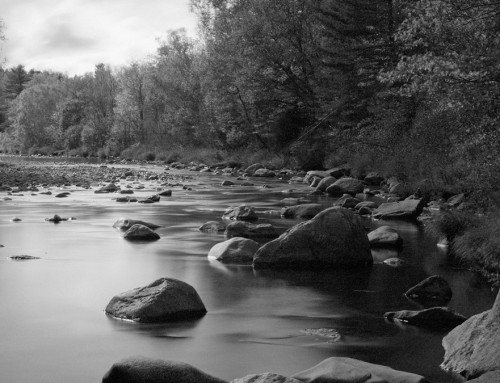
This video teaches the fundamentals of applying and controlling grain effects to enhance your photos. If you love the look and feel of grain, or if you’re drawn to the nostalgia of analog film, check out this tutorial. Learn how to spot the differences between digital noise and analog grain.
Photos: Tony Sweet
Transcript
Film grain vs. digital noise
The term film grain refers to the visible texture of real photographic film. Digital noise and film grain are not the same thing. Film grain is color neutral, and consists of mostly brightness differences. Digital noise is made of both luminance and color differences, so there will always be color present.
One notable difference in the appearance of digital noise is that it’s much more uniform than the clumpy grain of analog film. Exposure provides several sliders to control this behavior. Grain can be emphasized in the highlights, midtones, or shadows. These tools enable you to create grain that behaves like real photographic film in the darkroom.
There are 3 criteria to consider when evaluating grain effects. They are: where the grain is present in the image (as in a specific tone or hue), how much of the grain texture is visible, and the texture’s appearance.
Controlling grain effects
Customizing grain behavior is one of Exposure’s strengths. Exposure provides unique controls over several aspects of grain effects. Grain panel presets can be used as a first step rather than building the effect from scratch. Exposure’s presets are customizable, so after the grain is adjusted to suit the image, it can be saved as a custom preset. From the menu, select Save As Preset to use this grain again in the future.
Use the Amount controls to designate where grain effects will appear, whether in the image’s shadows, midtones, or highlights. The decision of where to emphasize the grain is largely an artistic choice, but an even distribution of grain will usually look more like noise than real grain from analog film.
The Type section controls the visible texture of the grain effect. Push processing makes the film grain more pronounced and increases the image contrast. A few balanced examples of this are the variants of pushed B&W Kodak Tri-X film in the B&W Films presets category.
Lastly, the size of the grains themselves are controlled at the bottom of the panel. Under the dropdown are popular film formats, such as 35mm, or 135. 120, or 50mm medium format film, and 4×5 film. The larger the film format you choose, the smaller the grain size. Larger film types will produce a more subtle grain look, so 4×5 grain may work better on a portrait or an architectural shot, whereas big 135 film grain might look amazing on a dark and moody street photography scene.


