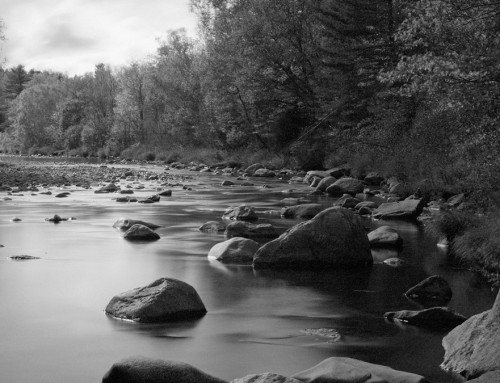
Photographers use color to enhance mood, add depth, or to reduce distractions in images. This video demonstrates methods for applying color toning to photos in Exposure.
Photos: Paola Paz
Transcript
Most of Exposure’s presets perform color grading, giving you beautiful looks in a click. This video shows how to use the color editing panel on the right. When combining manual adjustments with presets, we recommend always applying the preset first.
White Balance
Achieving the proper white balance for the image is usually the first step in the color grading process. Whenever possible use RAW format files when editing. They contain unprocessed sensor data, which enables you to make more dramatic adjustments without losing image quality.
The white balance data recorded in RAW images are controlled by the Temperature and Tint sliders in the Basic panel. The white balance presets adjust both slider values. An alternate way to set the white balance is with the color adjustment tool. Simply click on a sample point in your image to set the white balance. When using this tool, it’s best to choose neutral gray, or a white that isn’t blown out. Exposure will automatically correct the temperature and tint based on the area sampled.
Color Adjustments
The color panel contains controls for adjusting color. The Color Filter tools simulate a color filter attached to the end of the lens. The density, color, and an additional cool or warm tone of the filter can be controlled. Unlike the Temperature slider in the Basic panel which is used for white balancing, the Cool/Warm slider is used for creative effects.
To simulate a lens filter, use the Density and Color sliders. First set the density, then choose the filter color. Preserve Brightness prevents the filter from darkening the image as a real color filter would.
The lower section of this panel contains hue, saturation, and luminance controls for each color. These controls can also be grouped by color rather than type. The Compact option is helpful for smaller monitors.
The Hue category sliders control shifts to each color. For example the Reds slider will add magenta or an orange hue to the red values in the image. These can be used to achieve very subtle, gradual color shifts within each color. Toggling the panel off and on is a quick way to compare the adjustments applied to the photo.
The Saturation sliders enhance or reduce the intensity of the color. Saturation can also be adjusted for all colors in the shadows, midtones, and highlights.
The Luminance sliders brighten or darken specific colors. The color spectrum displayed on each slider gives you a quick visual preview of the adjustment.
Notice the targeted adjustment tools for Hue, Saturation, and Luminance. Select the tool icon, then click a color sample in the image to adjust. Exposure identifies the colors, and adjusts them over the entire image as the mouse moves up or down. This is a great way to target in-between colors and adjust the blend needed for precise color control.
To reset a slider, double-click on it.
Tone Curve
Open the Tone Curve panel for making adjustments to the overall brightness. Select individual color channels for Red, Green, or Blue to tweak tones at specific ranges.
There are several presets available in this panel for common editing scenarios. The curves they apply are completely customizable. For example, control points in the curve can be added, removed, or manipulated. The sliders below the curve are a simple way to make refinements at a very detailed level. Any editing performed in this panel can be defined as a preset to use again.
Split Toning is when multiple colors are introduced in the image. Split toning creates a divide between the light and dark values of an image by coloring them independently. Check out our Split Toning video to learn more about using these controls for toning.


