Culling down to the best images from a shoot or finding the perfect creative effect is a simple process with Exposure. In this demonstration, we show you how to use Audition mode to compare several images or several different looks on the screen all at once.
Photos: Kyle Ford
Transcript
In this lesson, we will demonstrate using side-by-side views for comparing images and editing treatments. We’ll first locate the best image out of a group to edit using this feature, and then we’ll use it to compare multiple presets side by side to find the one that works best. Being able to do this easily is really helpful when culling and editing.
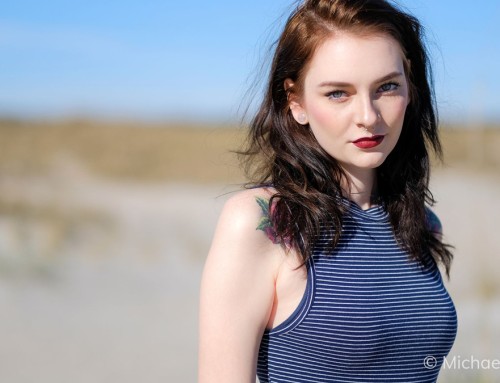
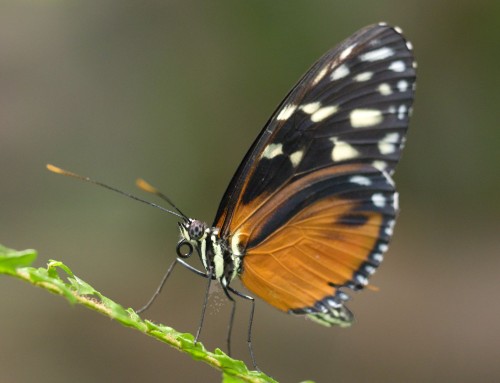
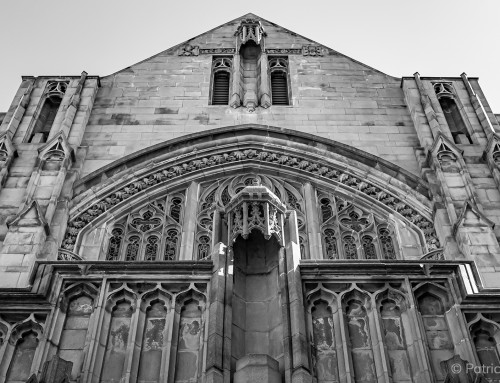
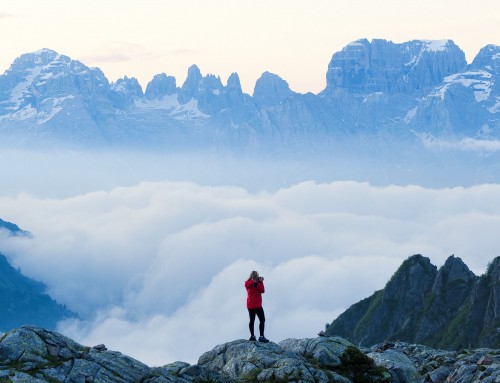
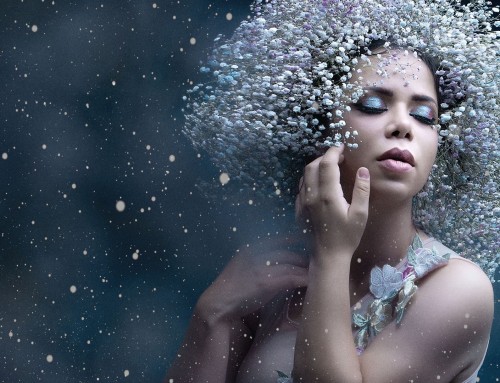
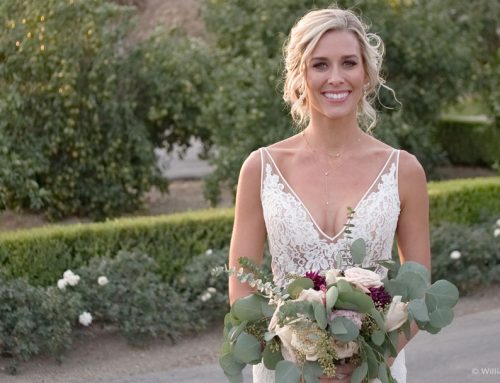
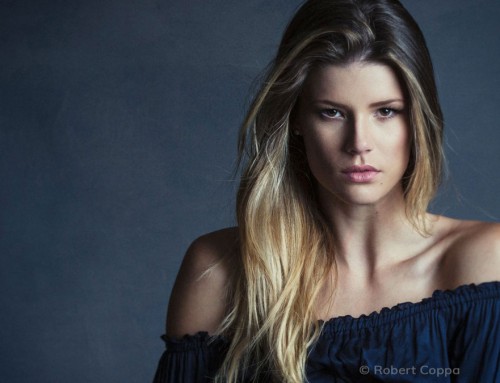
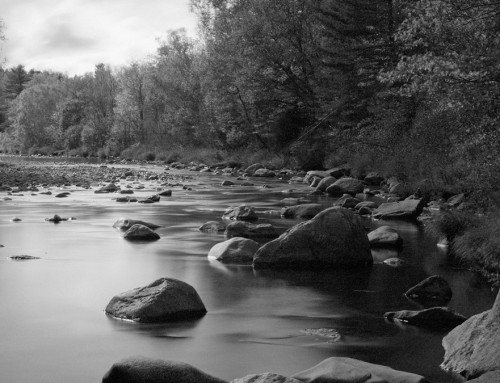
This shoot has been pared down to four top finalists. When they are viewed as smaller thumbnails or full screen one at a time, it can be difficult to decide on a clear favorite. Exposure’s side-by-side view enables you to compare all four and really study the subtleties of each one.
Select a view from the Layout menu at the top of Exposure’s main window. Quad works for comparing four images, but there are different viewing options that work for different image orientations. Wide landscape panoramas work well with Horizontal or Rows views. If you are working with portraits, Vertical or Columns views will likely be more beneficial.
Note the Link Views option. This enables you to pan and zoom all the images at once. This is useful to zoom in on the subject’s face in all of the images on the screen to compare the expression in each one.
If you have two shots, use Vertical to compare them side-by-side. Seeing them on the same screen like this is much easier than switching back and forth, or looking at small thumbnails.
Side-by-Side view has other helpful features. The Pin locks the image so it will remain in your view. Pinning sets the image as a reference, so you can navigate through the remaining images.
Pinning an image isn’t the same thing as selecting it. An unpinned image can be selected for editing adjustments or to receive creative presets. After an image is pinned use the arrow keys to navigate through the other images. With the filmstrip panel at the bottom, you can multi-select images to make them appear within the Quad view.
You can drag and drop images from the filmstrip into any of the quadrants. Doing so automatically pins it since Exposure assumes you want it as a reference image. If you later decide you don’t want to use it as a reference image, turn the pin off.
Now that I have an image picked out, I’ll compare presets using Audition mode to find the best look. Click the Audition button to begin comparing. You will see three blank quadrants where you can drag and drop Exposure’s presets. When you do so, Exposure will show a version of the selected image with the preset applied.
To remove a preset that doesn’t work, click Discard. Until you click Apply, none of these presets have been applied to the image. You can apply a preset at any point during the preset audition process. Doing so will automatically discard the other presets you’ve auditioned.
Now that a preset is applied, finishing touches can be made with the editing controls in the right dock.


