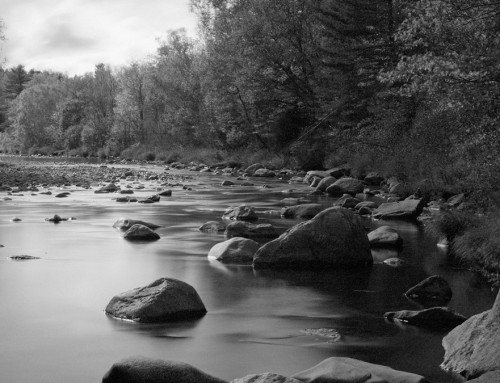
Basic photo edits can be just as important to the success of your images as choosing the right lens to shoot with. This video demonstrates how to perform basic edits to get the most out of your RAW images.
Photos: Bruce Cotton
Transcript
I am working with a RAW file. Straight out of the camera it looks great, but with a few simple adjustments it will really shine. The first thing to do when processing images is to apply corrective edits. Those are tweaks made to fix any issues in the photo.
Basic Adjustments
In the Basic panel, the first control to use is to select the mode–either color or B&W. This photo will stay color for this demo. The Black and White Editing video on our website demonstrates the process of converting images in Exposure.
Before making adjustments, use Exposure’s auto adjustment tools to quickly apply optimized edits to your images. In a single click, you can intelligently correct white balance, exposure, corrections to tones, and more.
The menu enables you to customize automatic adjustments for your own editing style. Once you have them dialed in, your basic adjustments are faster than ever.
Cool down or warm up an image with the temp slider. This can add a little warmth to the skin in portraits.
Exposure has lots of keyboard shortcuts that speed up your workflow. For example, the E and R keys adjust the temperature. You can see a full list of Exposure’s keyboard shortcuts from the Help menu.
Presets to the left of the Temp slider provide a helpful selection of options that adjust white balance for various lighting conditions. Use the Tint slider to shift the tint toward red or green.
The white balance color picker automatically adjusts white balance. It sets a point in the image that will become the neutral color. A good place to choose is a white area, like teeth or eyes, or clothing. To compare your edits with your original image, simply hold down the backslash key.
Adjust the exposure slider to lighten or darken the image overall. Then, work your way from here down through the rest of the controls.
Add more contrast to give a photo more dimension and impact.
When adjusting the darker areas in this photo. It’s a good idea to adjust the shadows to recover or enhance shadow details first. Then, use the Blacks slider to make refinements to the darkest areas.
In case there’s clipping, where detail has been lost in the darkest part of the original RAW photo, set the Blacks slider to the point just before the detail is lost.
The tones in your images can also be adjusted in the Histogram. The histogram shows at a glance if there’s any clipping, or lost detail, in the selected image. If there are overexposed highlights, simply drag that region in the histogram to fix it. Notice that the corresponding slider in the Basic panel is adjusted. This helps make editing even easier.
Increasing the clarity amount will give the photo more presence.
Another great way to enhance images is to boost vibrance and saturation.
Vibrance controls the intensity of the more subtle or muted colors, without adjusting colors that are already strong. It’s a good choice when adjusting skin tones, so it works well on portraits.
To intensify all the colors in the photo, adjust the saturation slider. Notice the effects appear as the value is increased.
After making adjustments, you can compare the edits with the original image with the backslash key.
Crop & Rotate
Cropping and straightening is another important adjustment. The crop helps focus the attention on the subject. It can also remove distractions near the edge of the frame. Click the crop button on the toolbar. The image can be straightened with the Angle slider or by drawing a line in the image that should be horizontal or vertical using the straighten tool. Exposure will then rotate the image appropriately.
Sharpening & Noise Reduction
Next, check for blur and noise. It’s best to zoom in to 100% or 1:1, for an accurate view of how the adjustments will look on your photo. At no magnification, you can identify if there are corrections needed for softness or noise. Use the navigator panel to move to a place in the image with small details and hard edges where the sharpening effects or noise will be easy to see. This image could benefit from some gentile sharpening.
On the Sharpening panel, temporarily moving the Amount slider to maximum lets you easily see the results from changing the other controls. The Alt key is helpful when sharpening. Hold it down for a real-time visualization of your adjustments. Pressing Alt and adjusting the radius will display the sharpening area around each edge of the image.
Detail controls how much of the fine textures, like pores, wrinkles, or fine body hair on the skin are boosted; as well as grain at higher levels. The Masking slider controls how much contrast there needs to be between colors for them to be sharpened. A higher amount means only higher contrast areas will be sharpened.
Again, to compare your edits with the original version, hold the backslash key. Comparing the before and after makes it easy to see how the shot pops more than it did straight out of the camera.
One nice thing in Exposure is that any edits made in the Basic, Sharpening, and Noise Reduction panels remain unchanged when a preset is applied, so you can edit in these panels right at the start of your workflow if you want, without later losing them when you apply presets. Or, for more advanced control over the effects, you can use multiple layers.


