If the skies in your images need a boost, check out this video. We demonstrate how to improve washed-out daytime skies in photos. Learn how to recover highlights in clouds, balance adjustments between the sky and the foreground, and more.
Photos: Jean Francois Muguet
Transcript
When shooting outside, the camera will overexpose the sky to balance the exposure for the subject. This can wash out all the rich details in the clouds. An overexposed sky creates the unique challenge of only needing edits on some areas of the image and not others. We call those local adjustments. We have a video on our website that talks about local adjustments in detail if you want more information on the subject.
Enhance Skies
To enhance skies, consider the order of which you adjust the sliders. The recommended workflow is to start making adjustments at the top of the Basic panel and work your way down. That includes the auto adjustments that apply intelligent edits to the image. Some adjustments you make can affect other controls. For example, lowering exposure can increase color saturation.
Histogram
The histogram is useful for monitoring brightness levels during post processing. It will update in real-time as you make adjustments to sliders. Toggle the clipping warnings on and off by clicking the arrows in the top corners of the histogram. Clipping warnings indicate that the image values are close to losing detail.
Controlling Tones
The Exposure slider controls all the tones in the histogram. The Highlights and Whites sliders control smaller segments at the bright end of the graph. Lowering both highlights and whites will reduce the contrast in the bright areas of the image, resulting in an extremely flat look. To enhance detail, a balance between these sliders is needed.
Separate Edits
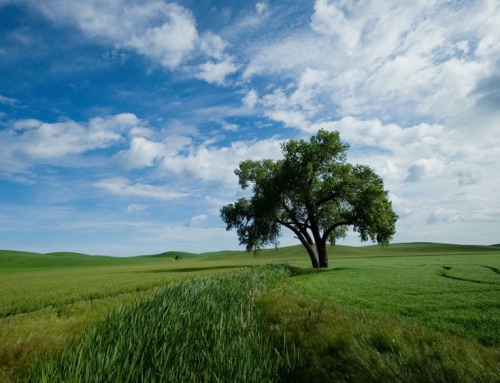
Applying adjustments globally is a quick way to dial in the image’s editing. It simply means that the changes you make affect the entire photo. In this image, the sky specifically needs adjustments that the rest of the image does not, meaning global adjustments won’t work. To separate the adjustments to only affect the foreground or background, we will use a new layer and control where it applies with a fully-adjustable gradient.
The Half-Planar gradient option has a smooth fall off in one direction from the center line. It’s perfect for images with strong linear components, like this horizon. Once the gradient is placed into position, editing adjustments to reduce Exposure, or add Clarity or Vibrance made on this layer will only be applied to the sky.


