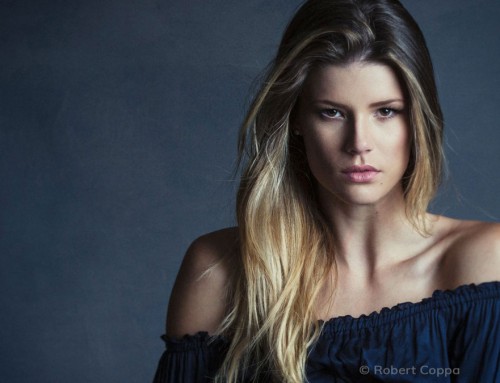
Photo culling is a crucial, front-end element of post-processing. This tutorial demonstrates efficient methods for sifting through the good, the bad, and the excellent image selections from a portrait session.
Photos: Kyle Allen
Transcript
Exposure does not use a catalog, which completely skips the steps involved with importing images and generating previews. Instead, it’s a streamlined process of copying, applying metadata, and renaming images all at once. During the copy process, you can work with the images immediately. If you already have the photos on your computer system, you can use Exposure to simply navigate to them and begin working.
A great place to start paring the images in a folder down to the top selects is by assigning flags.
The mouse or the shortcut keys can be used to cull through a photo shoot. Shortcut keys cover most of the culling steps in Exposure, and help you work faster. You can view a map of all of Exposure’s shortcut keys in the Help menu.
Press the minus key to assign the reject flag. Or press the plus to add a pick flag.
Hold the modifier key Shift and press minus to assign the reject flag and have Exposure automatically cycle to the next image in the folder. Shift and plus will do the same but will apply a pick flag.
Browse through images in the grid, or one by one to inspect them at a detailed level, or use the Grid view to mark multiple photos at once. Press the CMD on the Mac, or Ctrl on Windows to select the images, then apply the flag (minus on the keyboard) to all of them. Rejected photos are dimmed in the grid view.
Unclutter the view by hiding the images marked as rejects. This will display only the candidates for editing. Use the presets in the menu to quickly apply a filter. Then you can refine the remaining selections using star ratings.
Rate images from thumbnails in the Grid view. The thumbnail size can be changed to see them clearly. Use the keys 1 through 5 on the keyboard to assign star ratings.
Full-sized images can also be viewed when applying ratings. When using the fit view, holding the modifier key Shift will cycle through to the next image after you assign a rating.
When the session’s images have been organized and rated, use a filter to sort which images appear in your view.
With the photo session narrowed down to just a few images. Exposure’s Side-By-Side comparison views are helpful.From Fit view, select one of the comparison view options. Use Link Views to pan and zoom all the images at once. This enables you to quickly compare finer details, like expressions or proper focus.
Color labels are another helpful way of organizing your workflow. If you’re working with images for different purposes, having five color labels really helps you quickly classify them.
For example, assigning a red label in your workflow could indicate files to share on social media. A green label could be used to mark images for print.
Organizing your images while you cull your sessions is a great way to keep things tidy. Being able to quickly locate specific images you captured is hugely helpful, whether you’re shooting for a client or for fun.


