Removing unwanted color casts from images is something every photographer has to deal with. With the right tools, color tints or tinges are easy to fix. This video demonstrates a few techniques for how to identify color tints in images, methods for neutralizing them, and more.
Photos: Andrea Livieri, Halftone Studios
Transcript
RAW file type
Our first recommendation for fixing color casts in photos is to set your camera to capture RAW format images. RAW files record white balance information as metadata rather than applying it to rendered pixels. This allows for strong color adjustments without damaging image quality. The unprocessed image data recorded in RAW files gives you plenty of latitude to make significant color adjustments without losing image quality.
A unique point about white balance adjustments to RAW format images is that corrections are not made to the image displayed on the screen. Instead, you direct the RAW software to reconvert the entire image based on the settings you apply. It’s a precise way of rendering image colors.
Adjusting the white balance in JPEG images will make slight changes, but not as strong or as accurately as the color tweaks made to RAW photos.
How to identify color casts
The process of correcting colors starts by identifying the problem. Color casts, also called shades or tinges, are easier to identify in lighter areas of the image. There may be color casts in darker areas where they are harder to see, but when color casts in the highlight areas are addressed, that usually also fixes color correction for the entire photo.
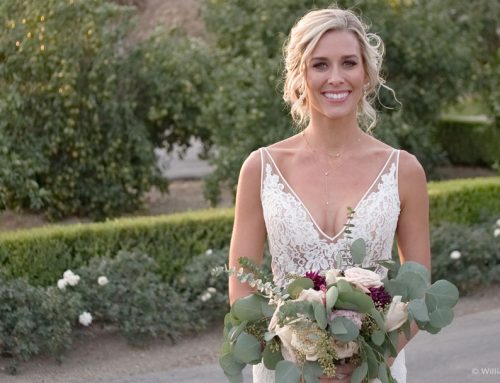
When evaluating color, use a reference that should appear white or grey. Common subjects to use are a white shirt, a wedding gown, a snow drift or a solid neutral tone like a concrete sidewalk. Auto white balance settings on modern digital cameras do a good job, but adjusting the color temperature the camera automatically selects is often needed.
How to fix color casts
The best tool to use for correcting color casts in a RAW photo is the White Balance adjustment tool. For simple lighting scenarios when scene is lit with a single type of light, this tool can make the appropriate corrections in a single click. Simply select the adjustment tool, then click a neutral color in the image to set the color temperature and tint slider values.
Exposure’s color balance tool sample uses a 5×5 pixel grid. Sampling an area smaller than that for white balance will include other colors, which can skew the results. When taking white balance samples, spot check several areas to find the most balanced option.
Additionally, there are several white balance presets to choose from. You can select from common temperatures like Daylight, Cloudy, Shade, Tungsten, and more. These presets adjust both the Temperature and Tint sliders when they are applied.
Tough color challenges, like mixed lighting scenarios with party lights, neon, or color reflections can cause strong color casts in images. If there are so many different color temperatures that you can’t find a good balance, try converting the image to black and white.
No matter how you set your white balance, check the results on your screen at full size and adjust according to your preference. Your creative choices will often depend on the mood you wanted to capture when you captured the photo.


