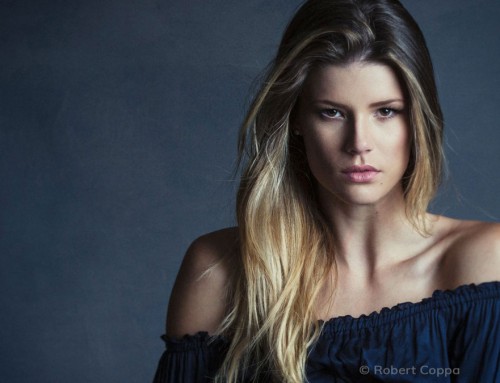
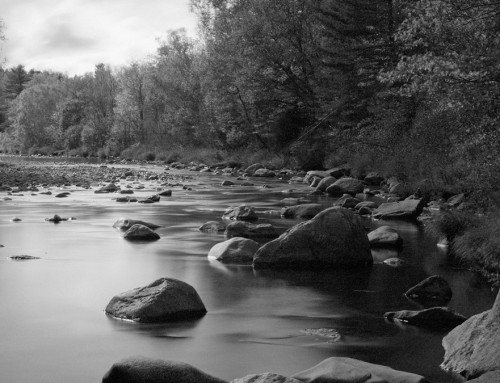
Brightening exposure in darker photos is an easy adjustment to make in post-processing. This tutorial demonstrates methods for properly correcting underexposure, including how to identify problem areas with missing detail, balance the color saturation in adjusted tones, and more.
Photos: Megan Dreyer
Transcript
What is Underexposure?
The term ‘underexposed’ refers to an image that captured too little light. This can be used for a pleasing effect to intensify the color saturation in a sunset, but it normally refers to an image that is darker than it should be. Extreme amounts of underexposure usually result in a loss of image detail, especially in the shadow areas. Shadows in underexposed photos are often blocked-up, meaning the darker tones are muddy and indistinguishable from each other.
The image format can make a difference in how much exposure you can compensate for when post processing. RAW is the best format to use because RAW images contain the most image data, which gives more latitude to make adjustments.
How to Fix Underexposed Photos
Adjusting exposure is the most common tweak made during post-processing. The Basic panel is where to find the exposure slider, along with sliders for adjusting different tone values in your photo. At the top of the panel, click Auto to apply intelligent adjustments to your image. It’s a quick way to get started making edits.
Exposure controls the overall brightness of all the tones in the photo. It’s the strongest adjustment you can make. When editing, adjust exposure first. Brightening the underexposed whole image can reduce detail in highlight tones, so monitor the highlights when increasing this slider.
Shadows will control the darker areas of the image. When you’re missing image detail in the darkest areas of an image, or when the shadows appear to block up into a mass of dark tones, adjust this slider.
Blacks controls the darkest tones in the image. Dial-in this slider after making adjustments to the other two sliders mentioned. In case of clipping, where detail is missing in the darkest parts of the original RAW image, increase this slider to the point just before the details are lost.
Use the Histogram
The histogram is a graphical representation of the tone distribution in the selected image. The ends of the graph are the brightest and darkest tones in the photo. Any portions of the histogram that touch either edge indicates a loss of detail, or what’s known as “clipping.”
Click the right arrow to enable the clipping warning to indicate areas in the highlights that have lost detail. The red warning overlay dynamically updates as you make adjustments. In the histogram you can click and drag directly on tone regions to change them. Notice the corresponding slider values in the Basic panel also update.
Correct Colors
Correcting underexposed photos can make colors ine midtone and shadow areas appear a little less saturated than those in properly exposed photos. After making adjustments to correct underexposure, carefully inspect the colors. The saturation slider may need to be boosted to more closely match the coloring in the original shot.
For more detailed control over the color saturation, use the color saturation sliders for highlights, midtones, and shadows in the Color panel. You can also adjust the saturation of specific colors using the detailed adjustments on that panel.


