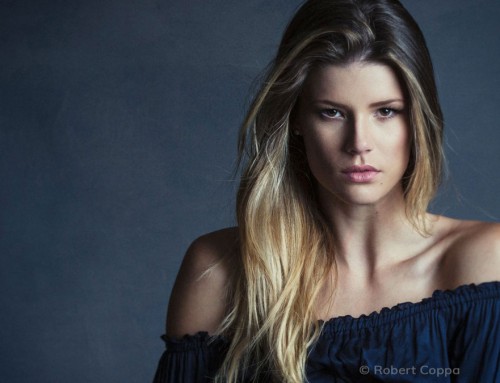
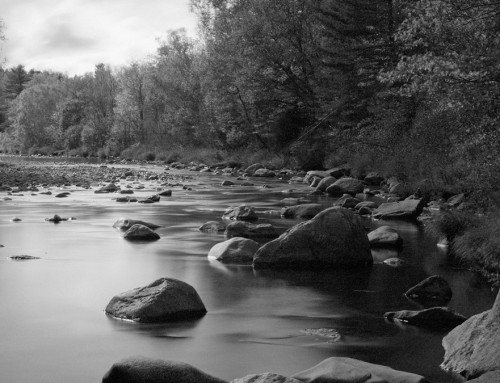
Converting a digital color photo to black and white goes beyond merely removing the colors. This video demonstrates how to create, apply, and control gritty black and white looks. Watch the video to learn what edits emphasize grit and methods for creating unique textures, balancing grain effects, and more.
Photos: Kariann Photography
Transcript
Converting to black and white
Before creating a gritty black and white look, apply adjustments to the RAW image with the controls on the Basic panel. You can do this quickly with the Auto button. Gritty looks are complemented by darker and moodier exposure levels, so be sure to address any overexposed areas or blown highlights with adjustments.
A simple way to convert to black and white is with Exposure’s library of analog film presets. There are loads of contrasty black and white film selections, like high ISO varieties from Fuji and Kodak. There are pushed film presets with increased amounts of contrast and grain. And there are several vintage presets with organic borders and texture overlays.
The conversion to black and white can be performed by hand. A few adjustments to the controls in the Basic panel and the color sensitivity sliders in the Color panel can dial-in the image’s tones with delicate precision. The Black and White editing video on our website gives a thorough walkthrough of that process.
Creating the grit
Once you have a great looking black and white, then make adjustments to pronounce the grit. Strong contrast is an essential characteristic of a gritty black and white look. In many cases, a few small adjustments to increase contrast will add all the necessary pop to give the shot more presence.
Clarity is a great way to give flat images impact. Use more subtle amounts for photos of people because clarity can emphasize wrinkles and skin texture.Noisy photos, like those shot in low light conditions, are excellent candidates for punchy grain effects. For a gritty look, plan to use rougher and stronger grain than you normally would. Use the appropriate type of grain for each photo. Contrasty, harsh grain works better with masculine subjects because it can emphasize wrinkles and texture in skin. It can also make outdoor scenes seem more rough and craggy. Landscapes and architectural shots can benefit from this type of grain, too. Softer, muted grain effects, like the fine grain of 4X5 film, work better for portraits of children, babies, models, or automobiles.
For more info about controlling grain in Exposure, check out the Adding Film Grain video on our website.
Texture from film grain is a foundational component of a gritty look. Elements such as dust, scratches, and paper textures stack together nicely with grain effects. Overlays can be applied in separate layers for an additional level of control.


