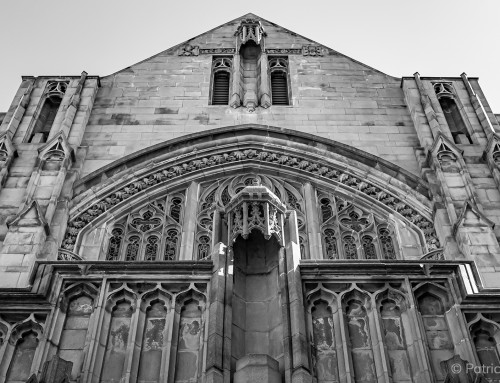
Lenses can frequently cause visual defects in photos such as straight lines that appear to curve, or unwanted darkening near the corners of the frame. This video demonstrates how to address distortion and vignetting issues in your images.
Photos: Randy Kepple
Transcript
Correcting Lens Distortion
Every supported lens in Exposure has a profile designed to counteract any distortion from the lens construction or design. Adjust the Amount to fine-tune the profile’s effects for this photo.
For more precise control, adjust the correction manually to minimize the distortion. When refining optical distortion by hand, look for objects with well-defined straight lines to judge the effect of each control.
The Barrel slider is the only slider needed most of the time. It adjusts for Pincushion distortion, which makes straight lines appear to bend inward, or Barrel distortion, which makes them bend outward toward the edges of the frame. This setting adjusts the overall effect.
Adjust the Midpoint slider to change the shape of the transform. It varies how much of the effect is produced at the image corners vs. near the middle. Wrapping effects can occur when this control is set to extremes, so be mindful of that.
The Asymmetry slider is a similar function as Midpoint, but it has more effect at the image corners. This slider refines the effects of the other two.
Correcting Lens Vignetting
Vignette correction counteracts uneven darkening around the edges of photos that’s caused by the lens. A vignette can sometimes be a desirable creative effect to add in post-production, but not all vignettes are worth keeping.
It’s simple to remove an unwanted lens vignette with a lens profile, and then adjust the Strength as needed for the shot. The darkening effects can be minimized with the manual controls for more precision. After applying corrections for lens vignettes, adjusting the image exposure is often needed as a final step.
Once a set of adjustments are made to correct any issues from a specific lens they can be defined as a custom preset from the gear icon at the top of the panel. Presets can include distortion adjustments, vignetting removal, and even chromatic aberration correction. Once saved, they can be used again in the future.


