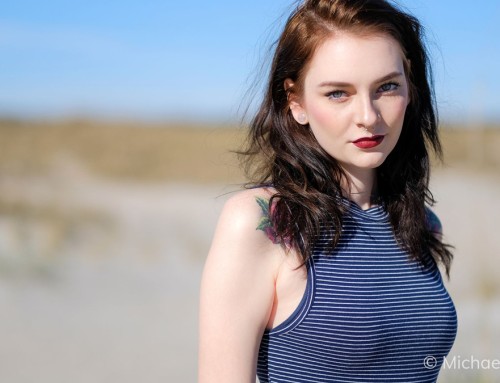
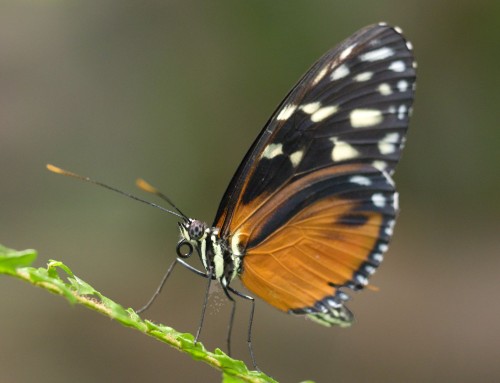
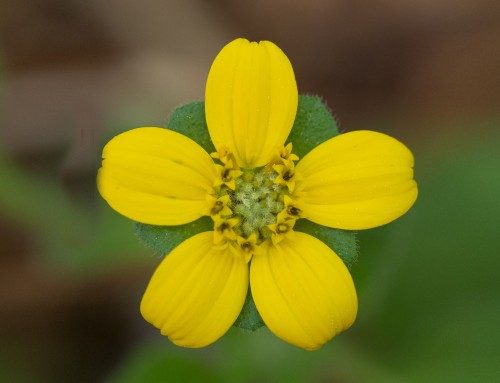
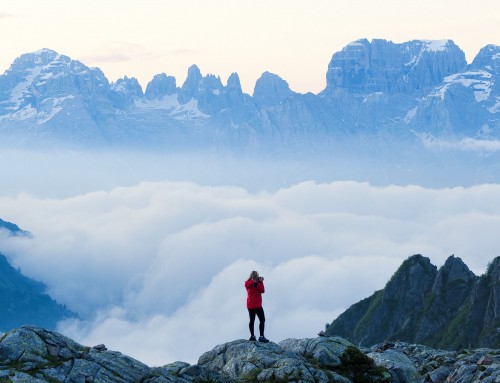
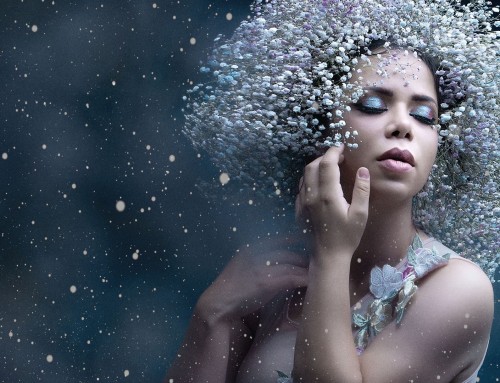
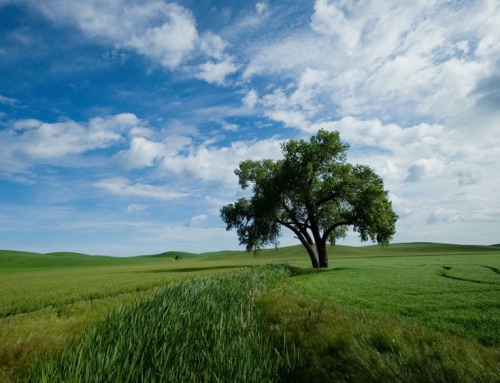
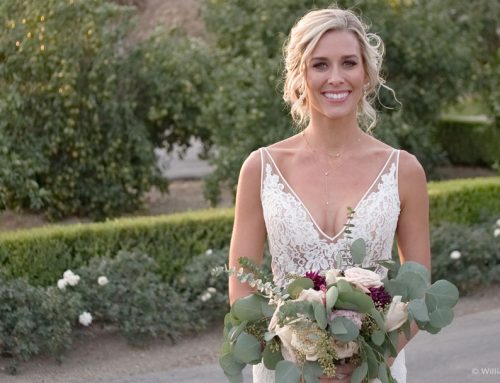
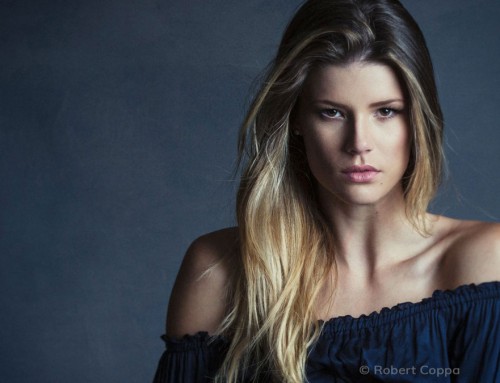
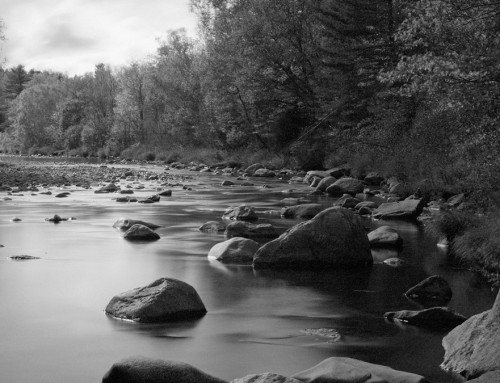
A light and airy look is a popular editing style for all types of photography. The effects make images that are very bright, overexposed, have subtle contrast, and softer colors.
Photo: Eric Cox Photography
Transcript
Generally, a light and airy image is very bright, even overexposed, with slightly lower contrast in the bright tones and softer colors.
It is a popular creative effect for all kinds of photography. Light and airy effects work well when applied to photos lit with even light, such as shooting when it’s overcast, in open shade, or at golden hour.
Applying Light and Airy Looks
There are six variations of Light and Airy creative presets available in Exposure. On the left dock, open the Presets panel. The Light and Airy family of presets are in the Bright folder. Each of them subdue colors and increase contrast in the image in different ways.
The differences between the Light and Airy presets is subtle. The photo you’re working on may not display much change when you preview each look. For more information about the preset, hover the mouse over the preset thumbnail. The hover help window spells out more details for each of the presets. You can turn hover help on and off in Exposure’s preferences.
Creating Light and Airy effects
A light and airy look can be built from the ground-up for more control, or they can be customized to work with specific photos. Here is a basic recipe.
A soft film quality is generally present in light and airy looks. That is easily achieved by assigning one of Exposure’s color film presets. Use one of the portrait presets such as Kodak Portra or Fuji Pro. These film emulation presets include the film’s grain. For a crisp, clean look, consider lowering the strength to make it more subtle or turn the grain off.
Slight overexposure is a common quality for light and airy looks. On the Basic panel, raise the Exposure slider to brighten for the photo. Use the keyboard shortcuts to make it quick. Press F to raise Exposure. Use Alt/Option+F for finer control over increasing exposure.
Another popular light and airy characteristic is softened contrast in the brighter tones of the image. A simple way to adjust them is with the Whites and Highlights sliders on this panel. Raise the Highlights slider slightly and lower the Whites slider to soften the contrast.
Light and airy looks normally have boosted contrast in the middle and dark tones. Use the controls on the Tone Curve panel to make these adjustments. Lower the Shadows slider and raise the Midtones. Optionally, you can adjust the Contrast slider to give the entire look a little more punch.
Contrast adjustments like these can make colors in the midtones and shadows appear overly saturated. The Color panel’s HSL controls make quick work of correcting this. Reduce the impact of the shadows and midtones colors with the saturation sliders.
To complete the look, introduce a subtle color tone. At the top of the Color panel use the Color Filter to give the photo a warmer or cooler look.


