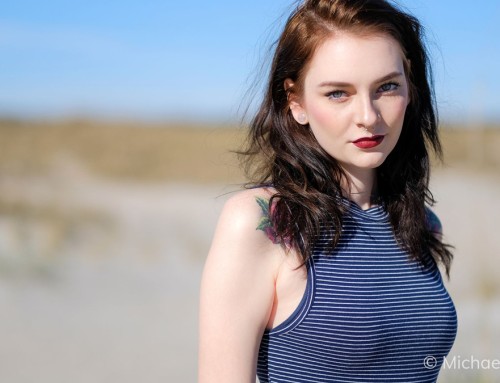
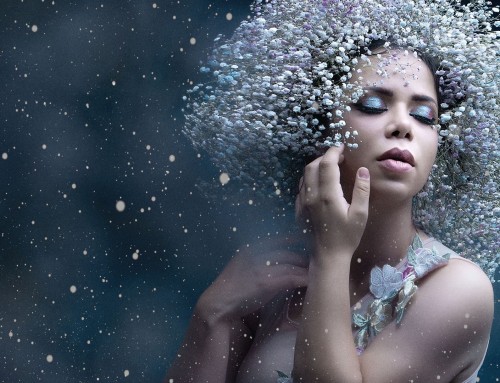
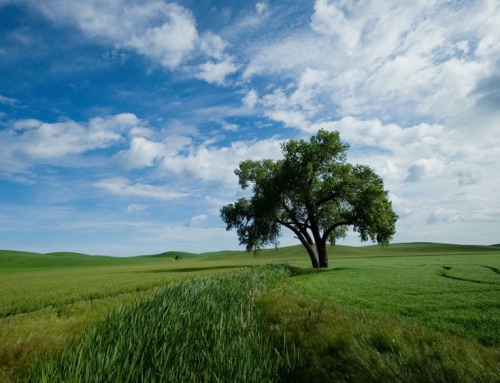
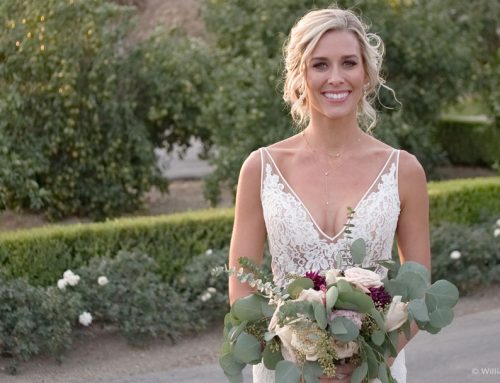
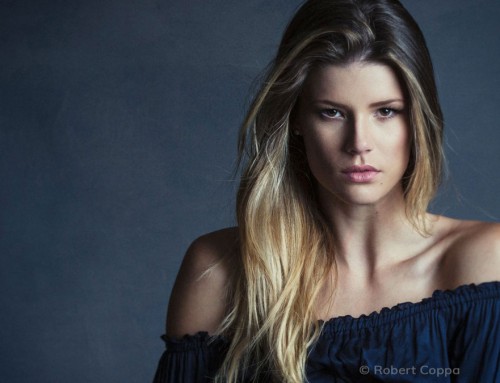
This video tells the first things to know when you’re starting to use Exposure with Adobe Lightroom. It gives a brief tour of the UI, and suggestions for how to work.
Photos: John Barclay
Transcript
With Lightroom open select the images to edit. Press Cmd on Mac or Ctrl on Windows and click each image to select it. To launch Exposure, right-click on one of the images and choose ‘Edit In’, and then ‘Exposure’ from the menu.
Lightroom will bring up a dialog with edit options. Edit a Copy with Lightroom Adjustments will duplicate each image with the Lightroom edits applied, then will launch Exposure.
Exposure opens to its main window. On the left side are the presets. This is where to browse Exposure’s library of creative looks. The presets are organized into folders. You’ll find color and black and white films, focus effects, faded looks, lo-fi looks, and more.
Portraits usually benefit from a preset with low contrast. The Color Films – Print – Low Contrast category is a great place to look. There are a number of subtle color effects that make skin look smooth and healthy. The small thumbnails display that effect applied to your image.
As the cursor moves over each thumbnail, the large preview image in the center updates so you can see the effect at full size. Click to select a preset. To compare the edits with the original, hold down the backslash key.
Creative Editing
Now that we have chosen a preset, we can make some refinements using the sliders on the editing panels.
I’ll start with the Basic panel, which has controls for adjustments like exposure and saturation. For quick automatic adjustments to these basic sliders, use the Auto button. This applies a number of intelligent adjustments to the image, which you can use unmodified or refine further.
Exposure’s histogram helps you avoid lost detail in the shadows or highlights by indicating areas where clipping is occurring. It can also be used to make tonal adjustments to your image. Dragging in each zone adjusts the associated slider on the Basic panel.
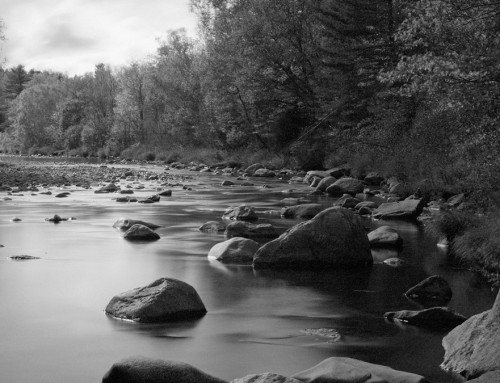
Exposure’s presets are great for achieving various effects, like converting to black and white. Hover over a few presets in the Presets panel to quickly evaluate a variety of looks. This makes it easy to select a preset that enhances the photo.
Once applied, if the effect is too strong, simply adjust the Overall Intensity to dial it back. This controls how the effect is blended with the original image. For black and white images, Exposure can adjust the overall blend on either a color or black and white base image.
Exposure features a brush tool and a spot heal tool for photo retouching. The brush is a quick way to control layer masks in Exposure, which enable you to control what parts of an image are affected by your edits. Other controls for layer masks include gradients for smooth, natural fades, and Color Constraints which define selections based on the hue, saturation, and luminance values in the image. Learn more about using layers in Exposure in our non-destructive layers video.
To undo an edit, or see a record of all the creative edits applied to this shot, expand the History panel. Displayed here is a detailed record of all the changes made to the image.
Now that we have finished editing our images, click Save to confirm the changes and go back to Lightroom.
Back in Lightroom’s grid view, you can see a new copy of each image with Exposure’s edits next to the unmodified Lightroom originals.


