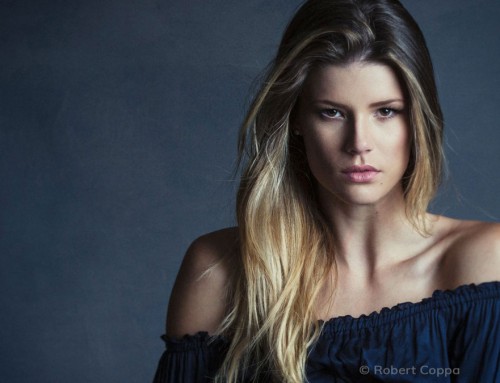
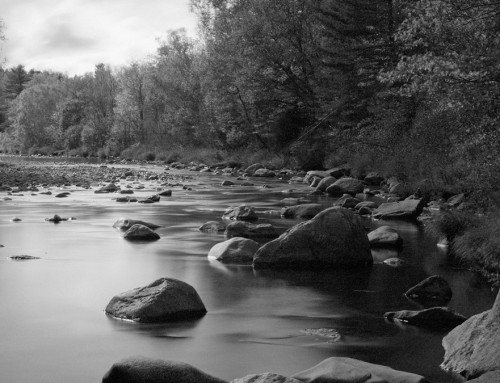
In this video tutorial, learn how to apply adjustments locally in Exposure. This enables you to apply editing changes only to the areas you designate, and seamlessly blend any of the edits you make.
Photos: Angie Lambert
Transcript
Exposure’s local adjustment tools help you work quickly at a detailed level. They use layering and masking for application and control of multiple effects on a single image. Learn more about using the system in our Working with Layers video.
Brushing
In Exposure, you make local adjustments with the brush tool. This enables you to quickly create precise selections for adjustments. The effects on the layer will only apply to the area you designate. You can simply brush adjustments on specific areas of your photos. After you perform brushing, you can easily blend any of the adjustments you make.
Exposure’s workflow is non-destructive, so you can experiment with local adjustments as much as you’d like. Click the brush tool icon to open the panel, or you can click the layer mask thumbnail.
The dropdown menu with Exposure’s brush presets is at the top. These presets apply common adjustments for softening skin, enhancing irises, dodging, burning, or adding contrast.
When working with Exposure’s brushing, selecting On New Layer ensures that each new brush preset you select is applied to a new layer. This helps prevent you from mistakenly brushing over a previous local adjustment.
Use the sliders to control the brush size, feather, and flow. You can set different brush parameters for Brush A and Brush B to help make brushing faster. For example, you can configure Brush A to be a large brush for subtle adjustments and configure Brush B as a smaller brush for fine-tuning details. Then you’d just click A and B to switch between the two.
Exposure’s keyboard shortcuts make this easy. Hold Option (Alt on Windows) to toggle the Eraser. And use Shift-Comma or Shift-Period to rotate through Brush A, B, and the Eraser.
The Eraser removes brush strokes you don’t want.
When you begin brushing, you can see a highlight where your effect is being applied by checking Show Mask.
On the layer mask, the effect is strongest in the white areas, and not visible in the black areas. Where the mask is grey, the effect is blended with the original image. To see a larger mask thumbnail, click on the settings menu at the top of the Layers panel and select that size.
Adjusting the layer opacity will blend the entire layer with your image. The layer opacity setting is reflected in the later mask thumbnail. A lower opacity amount will display a darker mask.
Gradients
Another way to apply an effect to part of an image is with the gradient tools, which enable you to make seamless, natural fades between effects. They come in three different shapes.
The Radial shape applies your adjustments inside of an adjustable circular region. The region has adjustable feathering to blend the effects into your image. Notice the invert button, which changes the mask to allow adjustments to appear everywhere in the image except for the area that was selected.
The Planar shape applies the adjustments in both directions outwards from the center line.
The Half-Planar shape applies your adjustments in only one direction from the center line. Use this to make edits to the sky without affecting the rest of the shot.
Using a new layer for these adjustments provides more control over the effects. Then, use a half planar gradient to control where the adjustments are applied. Extending the feathering edge — the dotted line representing where the effect ends — a little bit past where you want the effect to stop. This blends with the original shot, which makes it look a little more natural.
Color Constraints
Creating precise selections based on an image’s color is fast and precise. The color constraints generate a selection mask using characteristics of the image, such as the luminance, saturation, and hue.
You can use hue range presets to generate a mask for one color in the image that needs adjusting. The selected color can be modified by adjusting the wheel and the sliders down below. The Show Mask option is helpful for visualizing where the effects from that layer will be applied to the image.
For more detailed instruction about using the color constraints, check out the 3D Masking Deep Dive video on our website.
Combinations
Exposure enables you to combine several masking methods on a single layer. For example, a gradient can be combined with brushing for greater control over the selection.
Gradients can be collapsed to eliminate the clutter of the control handles.
Brushing will also add a brush pin. You can click the pin later to add or erase brush strokes. Additionally, you can adjust the opacity for each gradient component separately.
Exposure’s color constraints also work with gradients. You can use the color information in the image to generate a mask, and then smoothly blend out the edges of the effect with a gradient. For an additional level of control, you can add brushing as well.


