
Learn all about Exposure’s overlays in this video. We’ll show you techniques for applying borders, textures, and light effects, and how to move and rotate them to work with your image. Additionally, we share helpful tips for importing your own texture images in Exposure.
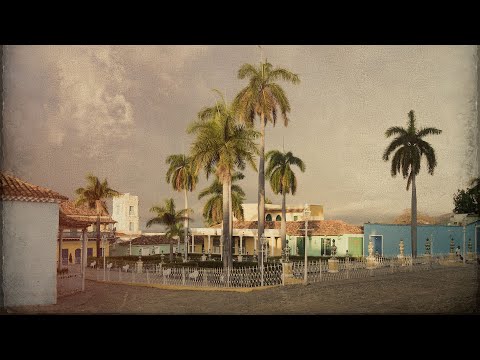
Photo: John Barclay
Transcript
Border Overlays
Exposure’s border overlays apply film or print frames to your images. Borders affect the image edges, but they mostly leave the middle untouched. The different categories of borders cover everything from antique frames, brushed paper, and Polaroid style peel-offs.
The arrow button on the top randomly selects a similar border from within the same folder. You can horizontally, or vertically flip the border, and you can invert how it applies to the image with the bottom button. The Zoom slider resizes the border. Move it further out so less of it overlaps the image.
For borders that replicate the look of a printed photo, we recommend leaving the Opacity slider at full strength. A lower opacity works better with borders that simulate damage.
Light Effects
Exposure’s light effects overlays apply realistic sun flares, light leaks, or other neat-looking lighting effects to your images. The categories cover a variety of different looks, including lens flares, streaks of colored or white light, prismatic dust, rainbows, and more.
The hand icon on an overlay indicates that it is fully moveable, so you can place it wherever you’d like. The other inversion, zoom, and opacity controls also manipulate how the overlay appears.
Use the Move Freely alignment option to place and rotate the overlay into position in the photo. This kind of flexibility works really well with sun rays. You can easily align the rays with any trees, leading lines, or other objects in your photo.
As you move overlays around your image, use the Protect Location tool to indicate the portion of your image that you don’t want the overlay to touch. This affects all overlays, not just light effects.
Texture Overlays
Texture effects apply over the entire image. Dust, print media, and scratches lend an evocative, weathered look to your image that can be effective with the right subject matter. Texture can also be good for gently lifting dark shadows.
Raise the opacity, to show more of the texture in the image. Another way to modify the resulting look is to change the blend mode.
- Opacity applies the texture across the entire image, lifting the blacks around the edges and providing consistent coloring and texture across the photo.
- Screen will brighten the image.
- Overlay will add contrast by darkening the darks and brightening the brights.
- The other two modes are Multiply, which darkens images. This works well for creating shadows and removing light colors while retaining dark colors.
- And Hard light, which is similar to the Overlay mode, but produces more intense results. It combines the Multiply and Screen modes, but unlike Overlay mode, it uses the values of the texture layer, instead of the base image.
Importing Overlays
If you’ve taken images that you think would make great overlays, or have purchased any texture packs, you can import them directly into Exposure.
Exposure can import JPEG, PNG, and TIFF format images as overlays. For best results, use TIFF or PNG images with opacity. This will enable you to use the Opacity blend mode.
Choose a high resolution image, such as 4,000 x 3,000. Select the overlay category that you want to add it to, then click the preview. In the selection menu, click Import, and then navigate to the source folder.
The Import Overlays dialog displays how the new overlay will look. Rename the file and select the category and default blend mode. Auto rotate to match image orientation is helpful when importing borders and textures. Finally, click Import to add it.


