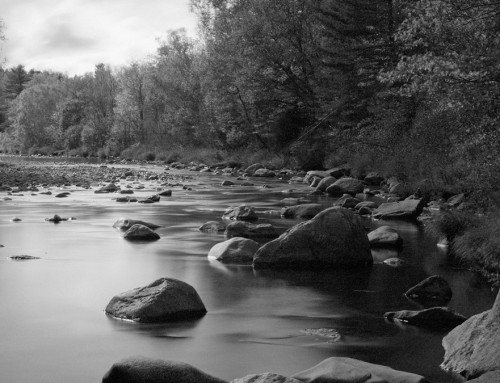
Exposure is a complete photo editor that can handle your entire photography workflow. But, it can also integrate into other photo editors. This video demonstrates how to access the unique creative capabilities in Exposure from within Adobe Photoshop.
Photos: John Barclay
Transcript
With Photoshop up, and with a photo open and selected in the Layer panel, launch Exposure from the Filter menu. It will be listed under Exposure Software.
Exposure opens to its main window. On the left side are the presets. This is where to browse Exposure’s library of creative looks. The presets are organized into folders. You’ll find color and black and white films, focus effects, faded looks, lo-fi looks, and more.
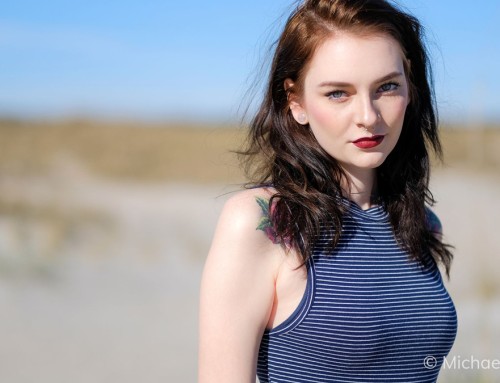
Portraits usually benefit from a preset with lower contrast. The Color Films – Print – Low Contrast category is a great place to look. There are a number of subtle color effects that make skin look smooth and healthy. The small thumbnails display that effect applied to your image.
As the cursor moves over each thumbnail, the large preview image in the center updates so you can see the effect at full size. Click to select a preset. To compare the edits with the original, hold down the backslash key.
Creative Editing
Now that we have chosen a preset, we can make some refinements using the sliders on the editing panels.
I’ll start with the Basic panel, which has controls for adjustments like exposure and saturation. A quick way to get through essential edits is to use the Auto button. This applies a number of intelligent adjustments to the image, which can easily be customized.
Exposure’s histogram helps you avoid clipping in either the shadows or highlights. You can drag regions in the histogram to adjust the tones in your image. The zones in the histogram correlate with the sliders on the Basic panel.
Exposure’s presets are great for achieving more dramatic effects, like converting to black and white. Hover over a few options in the Presets panel for a quick comparison. This makes it easy to select a preset that enhances the photo.
Once applied, if the effect is too strong, simply adjust the Overall Intensity to dial it back. This controls how the effect is blended with the original image. For black and white images, Exposure can adjust the overall blend on either a color or black and white base image.
Exposure features a brush tool and a spot heal tool for photo retouching. The brush is a quick way to control layer masks in Exposure. There are more advanced controls, such as gradients for smooth, natural fades, and the Color Constraints which define selection based off of hue, saturation, and luminance valued in the image. Learn more about using layers in Exposure in our non-destructive layers video.
To undo an edit, or see a record of all the creative edits applied to this shot, expand the History panel. Displayed here are the exact values for each adjustment.
Now that we have finished editing our image, click ‘Apply.’
Back in Photoshop, notice that Exposure created a new layer with the edited image. You can adjust the opacity of the new layer to blend it with the original. To try a different effect, select the original layer and run Exposure.
If you don’t want Exposure to create new layers when it runs, you can turn that feature off in Exposure’s preferences. If you’re using Photoshop batch actions, make sure and turn that off.
Smart Objects
Photoshop’s smart layers are another nondestructive option when using Exposure. After applying an effect, just double click the smart layer to launch Exposure and adjust the look.
PSD Files
Exposure’s standalone workflow supports editing Photoshop PSD files. If you have extensive retouching, special effects, or a long proven workflow you’ve developed over years in Photoshop, but you still want to apply finishing touches, or color grading to your retouched work, that is another non-destructive workflow option.


