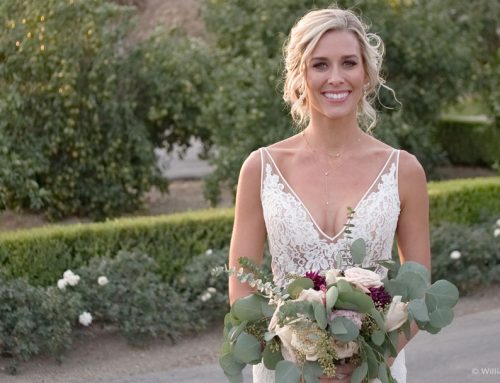
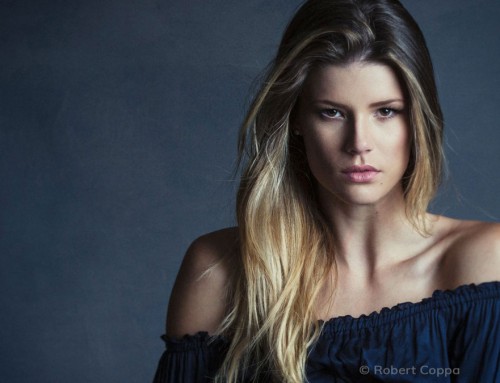
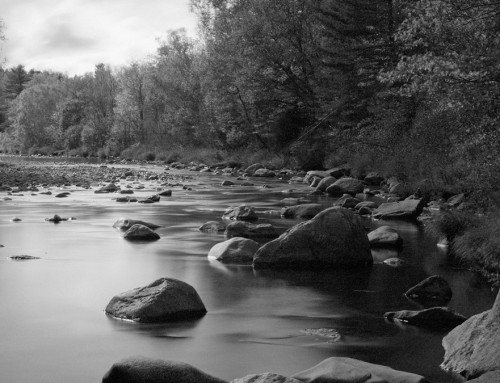
This video demonstrates methods of creating selection masks in Exposure. Masking objects in a scene is largely image dependent. There are several ways to combine the tools in Exposure when creating selection masks for different subjects.
Photo: Jeff Butterworth, Julian Berman
Transcript
The selection tools can be used however you’d like. The first tool you use to make a selection will dictate the workflow for refining it. You can use either the polygon or the markers for creating a mask, or for refining the mask. Each of them do the same thing, but in a different way to give you better control over different subjects.
Quick Polygon Selections
If you know exactly what subject you want to select, The Polygon Tool is great to use. It gives Exposure a lot of information about the object you wish to select. And it gives you precise control over what’s selected, including the ability to revisit the mask and make adjustments.
Making Selections
The Polygon tool is great for making freehand selections in addition to shapes composed of multiple straight lines. We demonstrate how to perform straight line polygon selections in the Masking Selection Tools video on our website. To draw the polygon freehand, hold the Alt key while using the tool and trace a simple outline around an object.
To make the freehand process quicker, increase the Base Width. This gives you a larger brush tip, which makes tracing the outline much more simple. This technique works especially well for selections that don’t have a lot of intricate detail in the edges.
Refining Selections
Freehand elements can be mixed with line segments, too. The entire selection doesn’t have to be made using the same technique. After making the selection, there are a number of ways you can refine the shape.
Add more points, or move existing points to work better with the edges.
Change the thickness of the shape to make refinements. A narrow polygon edge will give Exposure precise information about the location of the selection edge but it will take more time to position them exactly. Make adjustments to the entire shape with the Base Width slider. Relative Width controls each point or each line segment individually.
Use Exclude polygons to trace areas you don’t want included. Again holding Alt to trace the boundary freehand.
Use Add markers to extend the selection boundaries
Use Exclude markers where the selection includes too much area. When placing markers, you can adjust the Base and Border width sliders at any time in your workflow. For clarity, you can turn the border width off while you create the marker, and then introduce it after.
Using Masks
With the mask refined, you can use it in lots of different ways. Invert the selection to control the background on a separate layer. This can be used to tone down the exposure a little bit, or add toning, or reduce saturation.
The same selection can also be modified with the color constraints to control separate areas within the object. In this example, they can be used to create separate layers with masks for clothing. With a dark blue tone, the pants are selected.
Then, simply duplicate the layer and update the color constraints to select the different pieces of wardrobe, including a layer for skin.
With these separate layers, you have absolute control over editing your images.


