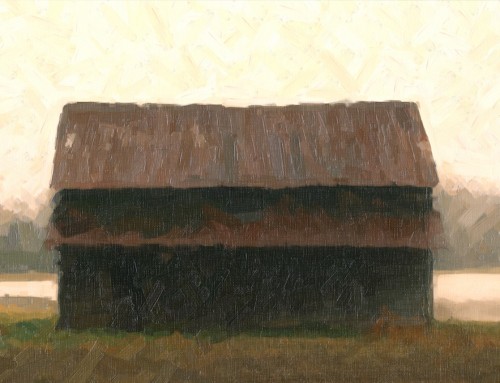
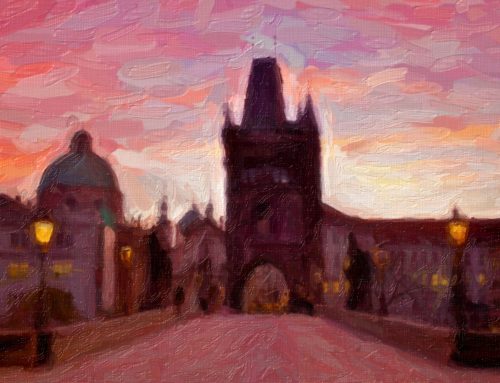
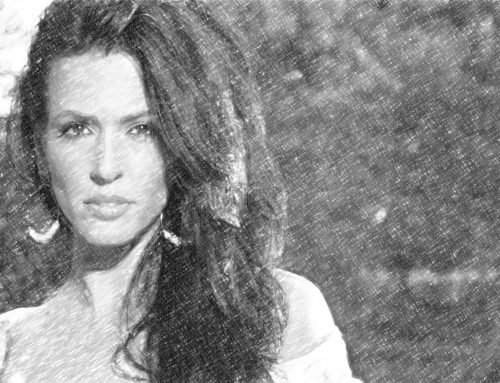
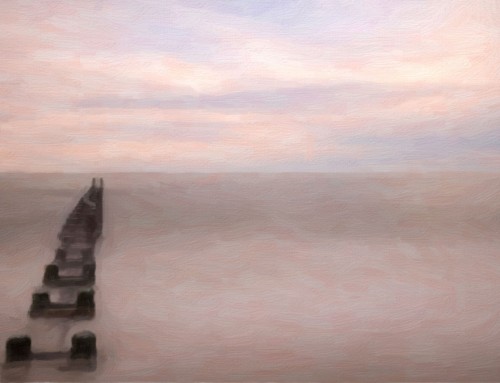
This video shows you how to apply selective adjustments to specific areas of your image to enhance details, draw attention to your subject, etc.
Photo: Tony Sweet
Transcript
Detail masking allows you to fine tune the painterly look wherever you’d like–such as changing the placement or size of brush strokes, the paint thickness, and more. It makes it simple to enhance or reduce the look in different areas of your image. If you’re working on a portrait for example, you’d want small brush strokes for lots of detail in the face and eyes, and broader strokes in the background to focus attention on your subject.
To apply effects like these to your own images in Snap Art, first select an artistic media preset that complements the image. After making that initial choice, you can customize the effect with the controls in the Background panel. These parameters refine the overall look of the effect. To distort the image a little more, decrease the Photorealism slider. To make the paint strokes more defined, increase the Stroke Length.
To refine specific regions in the image, open the Detail Masking panel. Create a new area and select which adjustment to make from the dropdown list. Before applying any masking, look at the Mask Effect slider values. These numbers illustrate the relationship [arrows] to the same parameters on the background panel. For example, if you decrease one of the sliders here, it will display a negative number; which means it is reducing the value you set on the background panel.
Adjust the masking brush size, feathering, and amount before painting the mask boundaries. You can adjust the size of the mask tool, on the fly, with the bracket keys. Once you make a mask, a small pin will appear on the image in the preview. You can display the mask by hovering the cursor over the pin. If you mask too much switch to the Eraser tool with the minus button and refine the mask boundaries.
WIth the mask complete, take another pass to fine-tune the effects settings. Notice the mask pin. You can only make adjustments to the selected mask–the one that’s black. If a pin is grey, it’s not selected. When using more than one mask, select the mask button to make refinements to each one. To remove the selected mask, use the delete area button.
You can have up to three mask layers in Snap Art, which enables multiple style and detail levels in a single artwork.
You can save the entire look with ⌘+S/Ctrl+S or the plus button at the top of the left-hand pane. Saving a custom preset this way will record the entire effect including any detail masks you made. Saving your settings enables you to easily recreate your favorite looks.
Once you save customized presets, they’re easy to find. Press the user button on the presets pane to see your list of presets. Simply click a preset to apply it. If you’d like to make adjustments to your user presets library, right-click on your preset for more options like delete, edit, and export.


