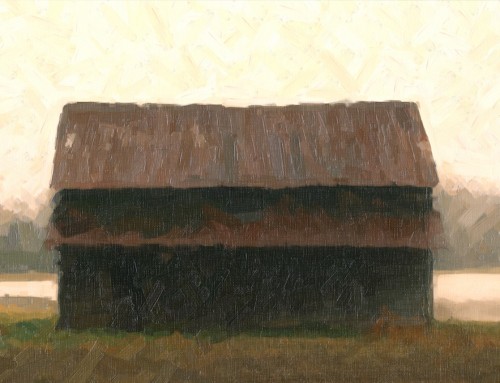
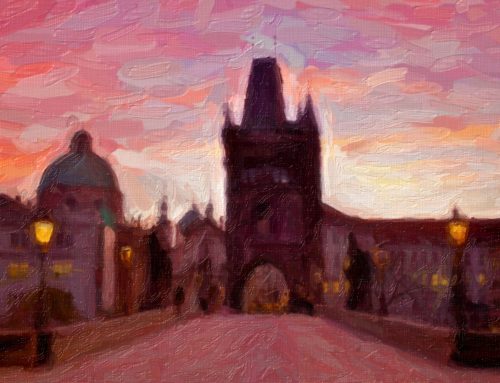
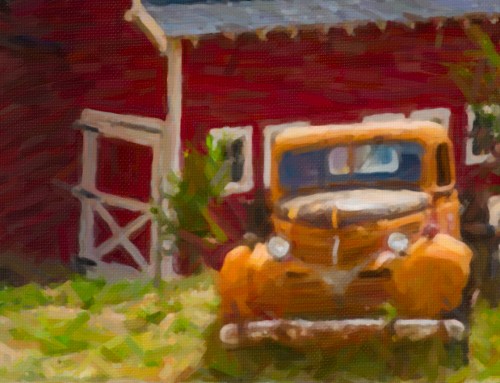
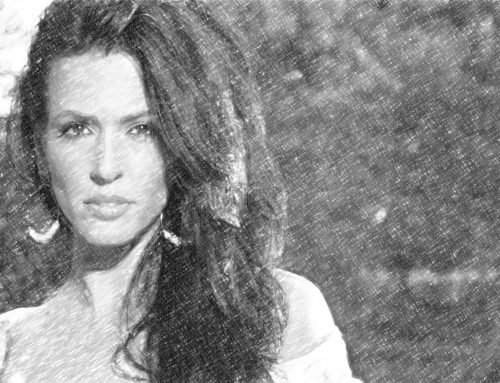
Snap Art enables you to turn your artistic vision into reality. It makes it simple to create a finished work of art that looks handmade. We made this video to show you how to transform your photos with creative effects in Snap Art.
Photo: Tony Sweet
Transcript
There are a few different ways you can open photos in Snap Art. You can drag and drop images onto the Snap Art icon–or–you can open Snap Art and navigate to photos using the file dialog. If you’re using Exposure, our photo organizing and editing application, you can open images directly in Snap Art from the right click menu. Snap Art can also integrate with Photoshop, and with Lightroom as an external editor.
Along the left side of the screen in Snap Art, presets are organized into categories by artistic style. Disclose any of the folders to view the different looks. The thumbnails display a sample of what each preset does to your photo. You can display these thumbnails in 2 or 3 groups with the button at the top. You can also stretch out the pane to make the thumbnail previews larger.
If you know what look you’re after, use the search at the top of the panel. For example, typing ‘OIL’ into the search bar will display all of the presets that match that description. The buttons at the top refine the search. When you have a bunch of folders open, use the Collapse All button next to the search bar. The “X” button removes your search terms.
If you aren’t sure of what look you’re after, try the Effects Tour folder. It contains a sample of presets from each of the artistic styles. When you make a selection, the preset will be applied to the large preview image in the middle of the screen. For a larger view, you can hide the docks with the arrow buttons.
The dock on the right is where to find the effect controls. Adjustments made to these controls will render in the preview. For example, notice the rendering updates as I decrease the stroke curvature and the stroke length to give the brushing more energy. You can make other adjustments, too, such as paint thickness, or brush size.
Snap Art can process groups of images simultaneously. You can select and edit each image in the batch along the bottom. Snap Art will open with all of the images in the batch selected. Right now, anything that I do will be applied to all of them, simultaneously. The button on the right between the arrows toggles between selecting all or selecting just one of the images. The arrow buttons navigate through the batch or you can click directly on an image to work on it.
The batch workflow is simple. Choose an image, or multiple images and then choose a preset from the presets pane. This will apply it to all of the images selected. I’ll quickly review them, one at a time, before applying the presets. This lets me make any specific tweaks or changes to the look for each image. To scroll through the other photos in the folder, click and drag the tiles in the filmstrip.
With all of the images ready, clicking Save will bring up the save dialogue. Here, you can choose which images you’d like to process, where to place the images treated with Snap Art, which suffix to add to the filenames, and if you’re saving them as JPEGs, you’ll have an output quality slider. If you’re saving as TIFFs there won’t be a slider here.
Let’s save the look we created as a user preset. Press the plus button at the top of the presets pane on the left or press CTRL+S or CMD+S. Saving it will record all of the parameter adjustments set to achieve the look. With a title, category, and description, this new preset will always be available in the list of presets. You can use the user button, at the top, to display any setting that you’ve customized and saved.


