
It’s easy to capture a huge amount of images in a single day of shooting. This tutorial demonstrates time-saving techniques for post-processing a large volume of wedding images from beginning to end. Watch the video and learn quick methods for culling, applying edits in batches, and more.
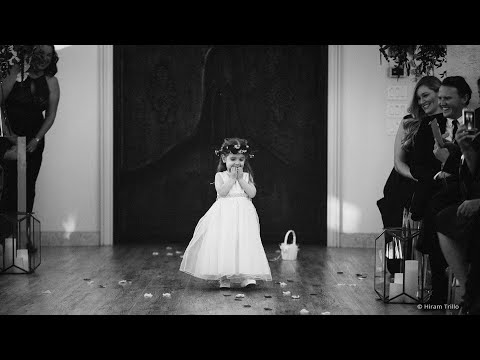
Photos: Hiram Trillo
Transcript
The first step to take is to transfer images from camera cards to the computer. Exposure doesn’t use a catalog, which helps make this process quick. There is no need to wait through additional import steps. The ingesting process is well documented in the Copying Images from Cards video on our website.
Browse through preview thumbnails in the center Review Images section of the Copy From Card dialog. The processes of culling the images can begin here by omitting obvious unwanted images from being copied to the computer. Wedding photographers can have various lighting test shots from each environment they photograph in, which don’t even need to be copied. This list includes setup for formal groups after the ceremony, the dance floor before the reception, or off-shots like when the flash didn’t fire.
When organizing a lot of images, like eight or more hours of wedding day coverage, using automatic options will speed up your workflow. An example is automatically copying images into subfolders organized by day, or changing file names, or applying metadata.
Efficient Culling
A multi-pass culling strategy can be quick method of narrowing down to the best photos from the wedding. Limiting the amount of characteristics studied in each photo at one time makes it much easier to decide if a photo makes the cut. Keep in mind when culling a large amount of images, each second you save will add up to a significant time savings, so try to make decisions and move quickly.
Pass One
Use flags to mark images that are an obvious ‘yes.’ Obvious ‘no’ images were not even copied to the computer. If there were any accidentally brought over, or are later identified as being sub-standard, assign them a reject flag with minus.
Adjust the size of the thumbnails in order to recognize details in each photo, but not too large. The small size will deter you from studying the images too closely. When analyzing images, think about what you want to keep rather than what you don’t. Recognizing a positive characteristic makes the decision-making process faster.
Set a goal in mind when culling photos. For example, creating a wedding album, where each scene of the wedding day is a new chapter, section, or page. There only needs to be enough images from each scene for a well-designed page spread. Marking more images to keep and edit will require more time for post-processing.
Mark images with a pick flag with + , or assign a flag and open the next image with Shift+. Keyboard shortcut and shortcut key combos are much faster than a mouse, especially when culling photos.
Editing Images
Kickstart the editing process by applying a preset. Wedding photographers often develop a custom look for all images from their studio. That preset gets applied to all of the flagged images from the first pass. Learn more about some of Exposure’s great-looking presets in our Applying Film Looks video.
Pass Two
Candidate images for different processing workflows are marked with color labels during the second culling pass. Enlarge the thumbnails to show more detail when comparing similar photos. In this sample workflow, images intended for black and white processing are marked with blue by pressing 9 on the keyboard. Images requiring additional handling, like retouching or special effects are marked with green, or 8 on the keyboard.
Pass Three
View the images at 1:1 the third time through. During this pass, expect to modify some of the color labels. Images can take on new character after basic adjustments and image sharpening are applied.
While editing, analyze each image to confirm a few essential details to the success of the shot. Make sure people’s eyes are open, you can see everyone’s faces, the image is sharp, what’s important is in focus, and identify if there are any distractions to remove.
Pass Four
Apply a filter to display only the photos labeled blue. Then, select them all and apply a black and white conversion preset. Most photographers have their favorites.
When converting wedding images, the black and white conversion presets may need small adjustments for a more consistent look from scene to scene. Images included in a wedding album will need to closely match from page to page. Displaying only black and white images makes it easy to compare and make adjustments.
Green labeled images are the last group to edit since they require special handling. Processing for these images is handled individually. Effects to consider applying include light leaks, lens flares, removing distractions, and performing basic retouching.
Exporting Images
With the set culled and edited, the last step in the process is export. There are several uses wedding photographers have for their photos that each have different requirements for image sizes. Creating quick export recipes streamlines the export process. Exposure ships with several to choose from – including presets for social media files and high resolution files for print.


