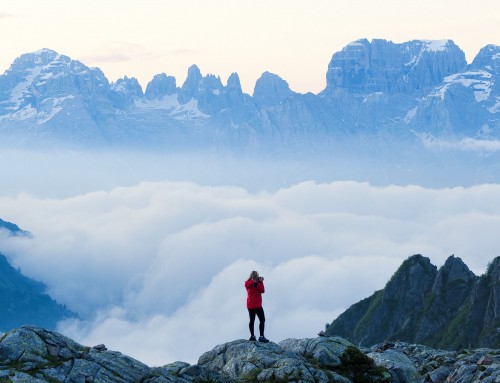
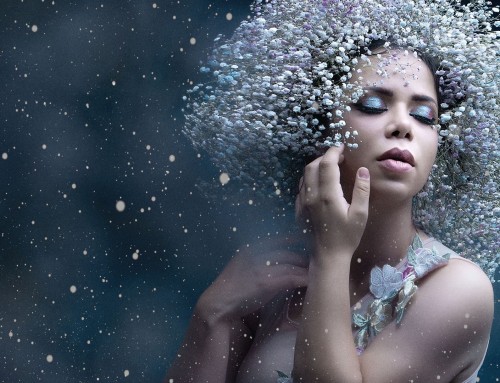
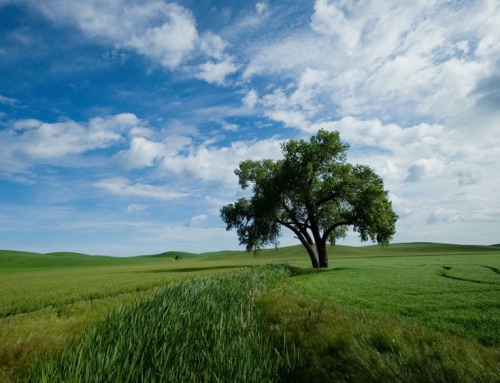
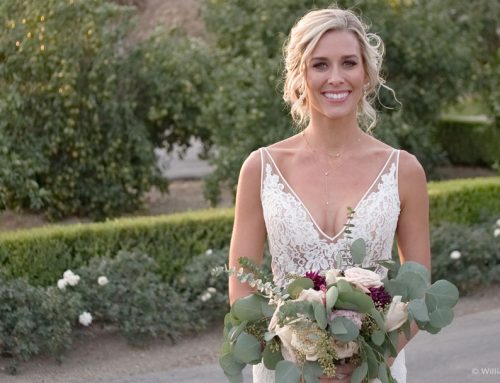
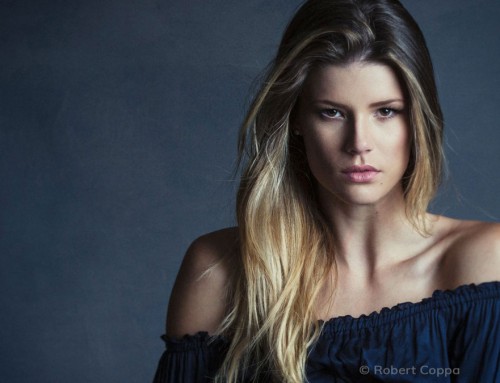
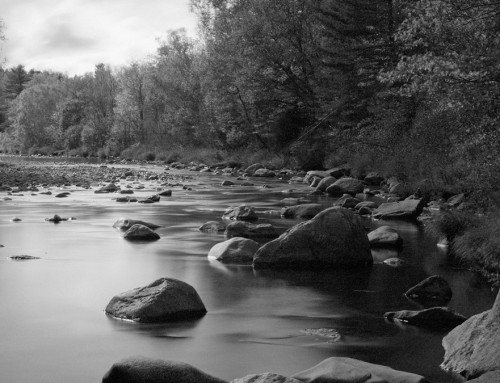
Layers provide a high level of control over adjustments applied to photos. Exposure’s non-destructive layer system is powerful, yet still easy to understand. We made this video to show you how to work with layers in Exposure. By the end, you’ll understand how to apply complex editing tweaks easily without having to be a post-processing guru.
Photos: Lynda Mills Photography
Transcript
What are Layers?
Layers contain editing adjustments that you apply to images. Multiple layers can be used, so you can blend effects together with endless variety. Most adjustments in Exposure are applied on a layer. This includes film emulation or creative presets, essential adjustments, and special effects.
Exposure Layers
A layer in Exposure is made up of a combination of adjustments and a mask.
Adjustments are made in Exposure’s editing panels or by applying one of the looks from the Presets panel. Creative tweaks can affect the entire photo, such as applying one of the presets. Adjustments can be restricted to affect only selected areas of the image with layer masks.
The layer mask determines where the image will be affected by the adjustments on the layer. The mask thumbnail displays which parts of the image the layer adjustments apply to. The strength of the effect is controlled by the brightness of the mask. White areas of the mask apply the effects from the layer at full strength. Black areas of the mask show where the layer adjustments are not visible. Gray areas blend with the original image.
In the Layer panel, the layer thumbnail visually displays the state of the image at that point in the editing process. It also lists all your adjustments when you hover over the layer.
Each layer has its own Opacity slider for blending the layer intensity. Base adjustments like spot healing and lens correction are not part of a layer, so they are made separately.
Creating Layers
Apply presets in new layers for extra control. In the Presets panel, right-click and select “New Layer with Preset to place the preset in its own layer. This enables you to adjust the layer opacity to blend the preset with the original image.
Another way to create layers in Exposure is in the Layers panel. At the top, select Add Layer. Then, click the mask thumbnail to open Exposure’s Brushing panel.
You have freedom to apply layers in any order you’d like, but we suggest using the following order:
-
- Basic adjustments like exposure, contrast, clarity, and saturation at the bottom, this includes auto adjustments
- Preset or presets applied to the entire photo next
- Local adjustments using layer masks after that
- Grain and overlays like borders or light leaks at the top
This is because each layer applies the effect to the layers that are below it.
For the final layer of this unique look, add one last creative effect — a subtle glow around the bright areas from the Infrared panel.
Managing Layers [text title]
Right-clicking the layer thumbnail, or the mask, or the layer panel brings up a menu with various commands. This lists workflow commands for duplicating a layer, resetting a layer, and more.
For mask adjustments like invert, duplicate, and fill use the Actions menu at the bottom of the Layers panel.
Toggle layers off or on to preview their effect on the image.
When working with layers and multiple images are selected, the same types of layering work will apply to all of them.
Another great feature with layers is the ability to save them as a custom preset. This will duplicate these same effects to other images whenever it’s selected. Define the look as a custom preset with Cmd+S or Ctrl+S on Windows. Include them all or leave out adjustments that need to be unique for each image like retouching with the spot heal tool.


