Chris routinely turns out beautiful artworks using Snap Art. The secret to his success isn’t fancy layer masks or technical mumbo-jumbo. Most of the time, he sticks to Snap Art basics, and it just works.
I asked him to share some of his knowledge of working with Snap Art. The rest of this article is from him.
—-
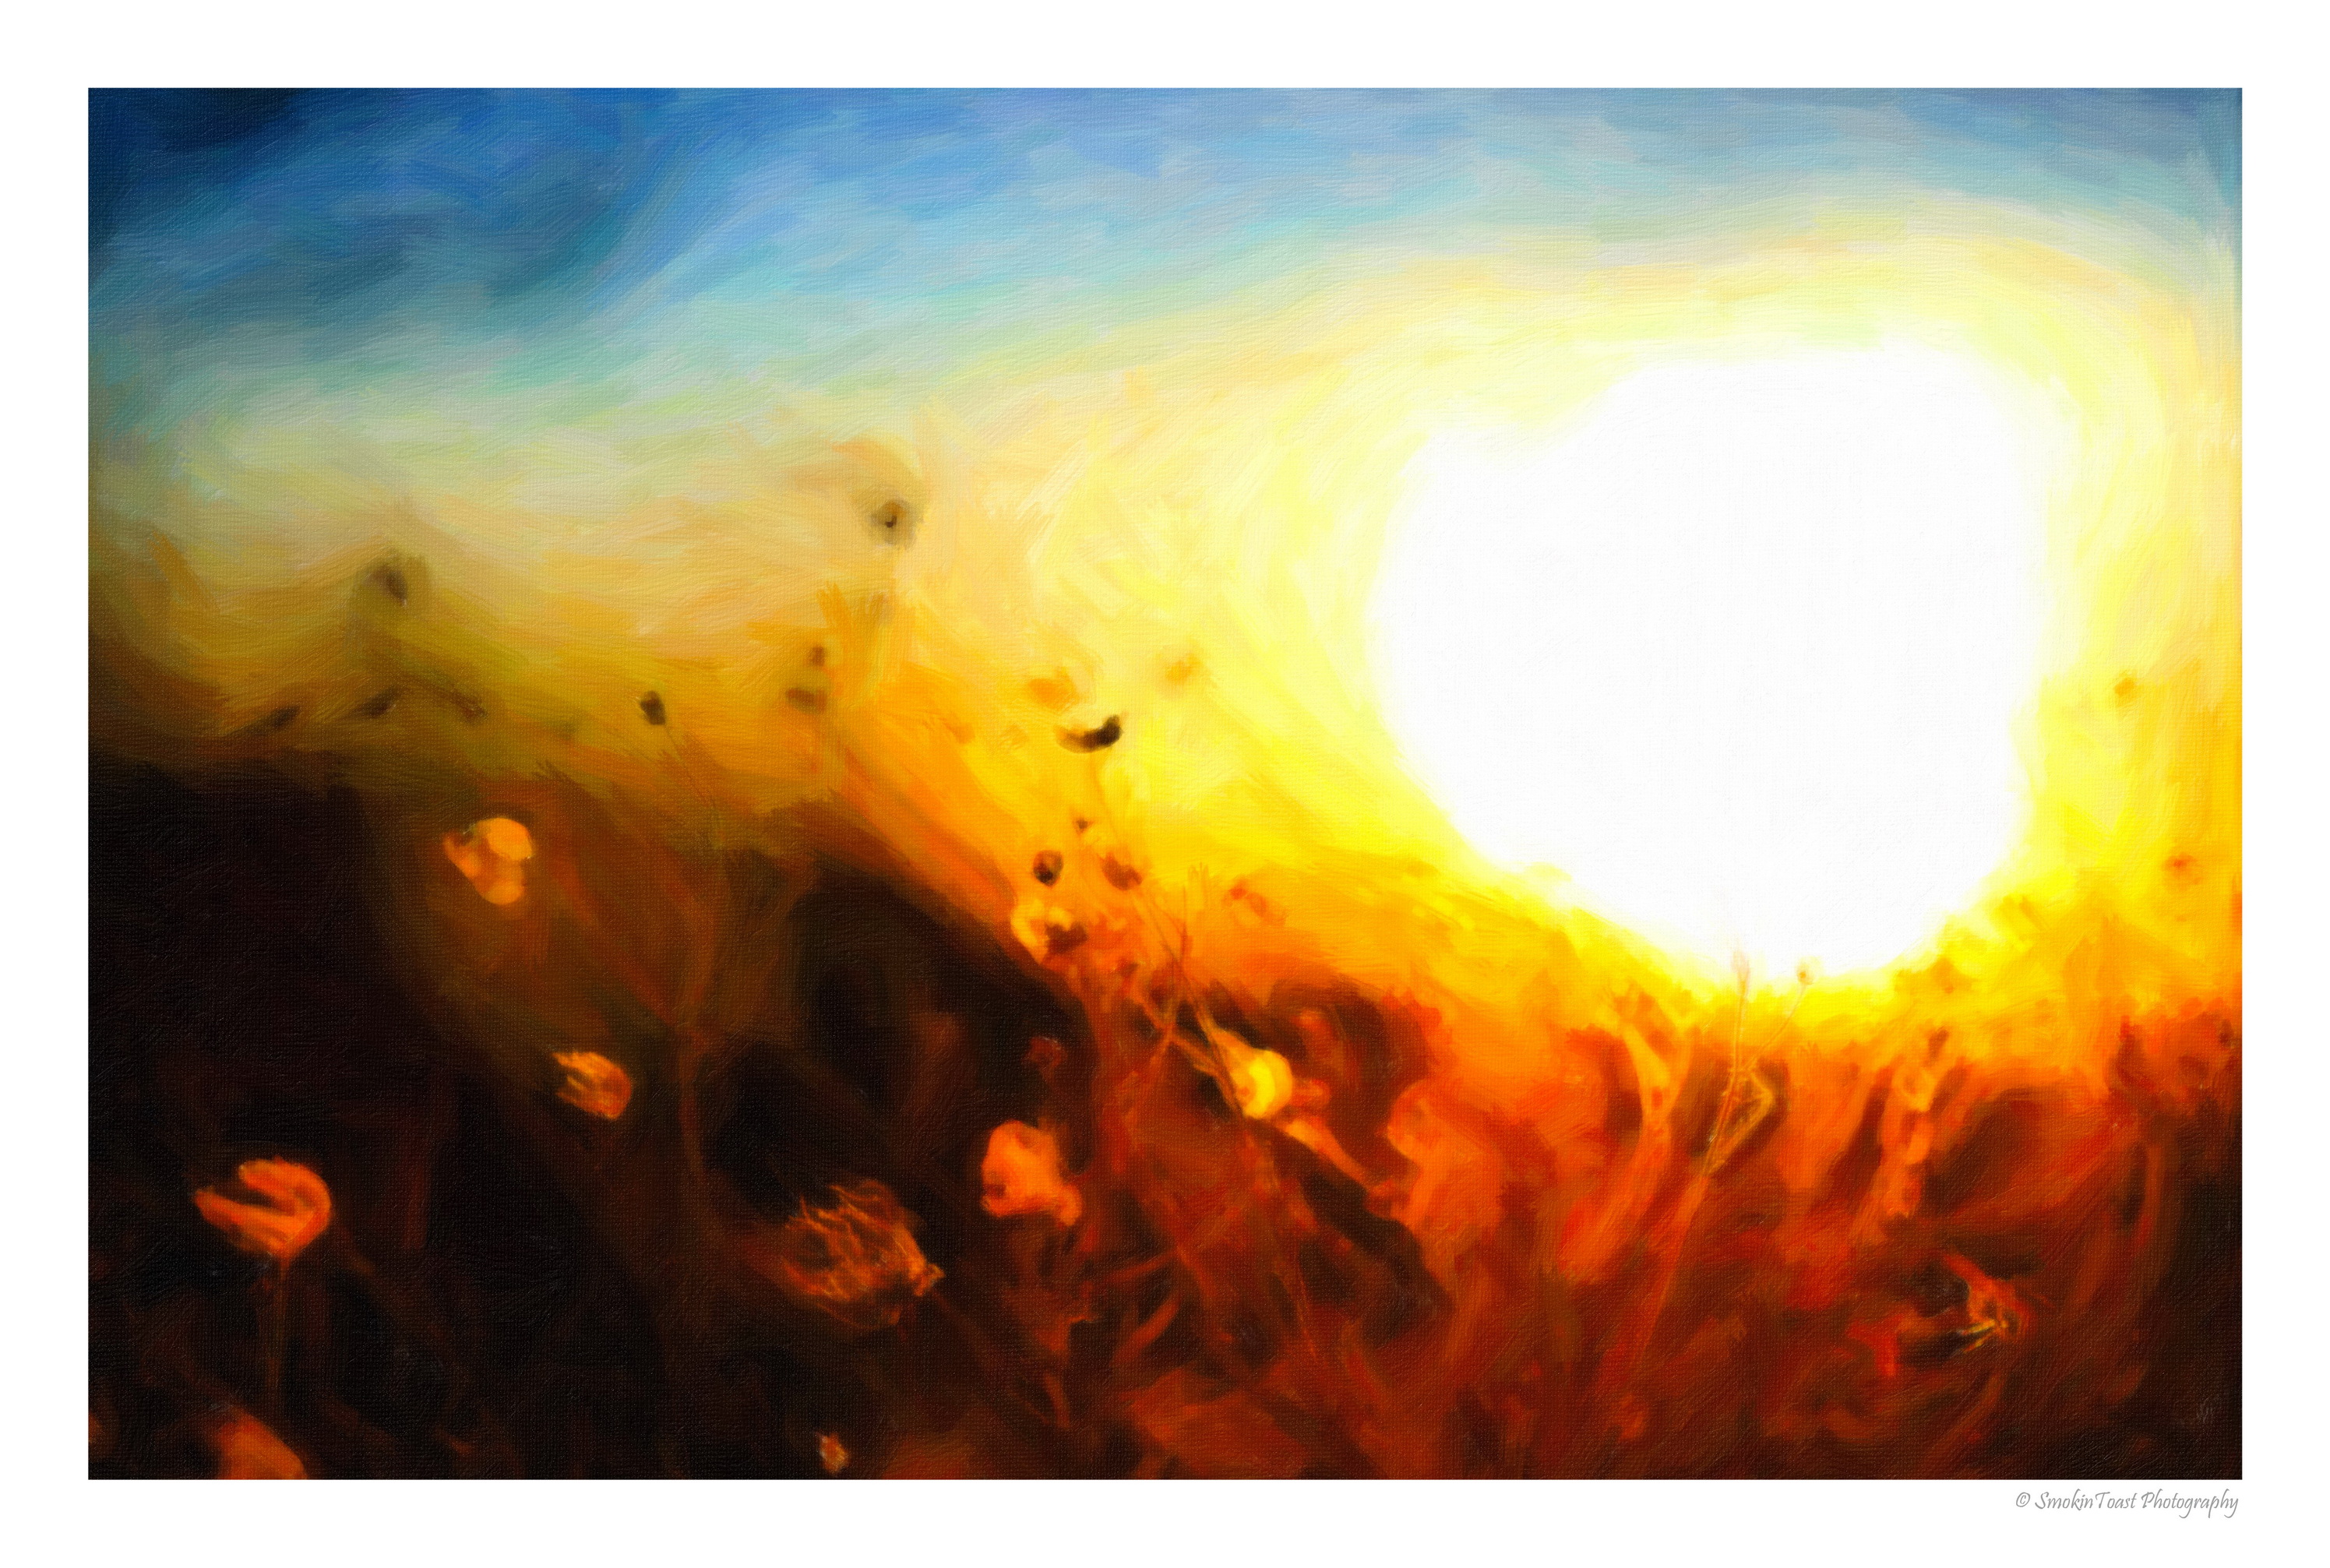
To start things off, I’ll begin with a photo of a sunset. The colors are the main reason that this type of photo will work well. Snap Art’s paint effects can make orange, red, and yellow really pop. I want to take full advantage of this behavior, so I’m thinking ahead.
For the shot, I used a Canon 5D Mk II with a 135mm lens. The camera settings were iso 50, f/2 @ 1/6400.
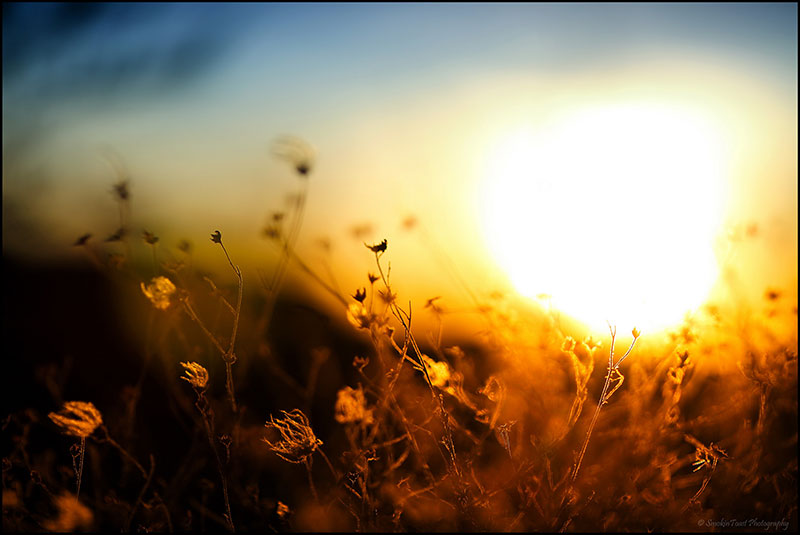
I suggest that you process your images before using Snap Art. For instance, I enhanced the blue and orange in this shot, and I increased the overall contrast to deepen the colors. Now it’s ready.
In Snap Art, each preset is a unique combination of parameters that create the look. Because of this, I recommend deciding on the preset before adjusting sliders. As a suggestion, if you have a photo with a lot of detail, try an abstract preset and make adjustments to the Photorealism slider. If you have a lot of clouds in your image, try landscape presets and tweak the brush style or paint thickness. For the sunset shot above, I used Oil Paint- Landscape- Bristle Brush.
Usually the first customization I make is to the canvas. The paint effects look different between canvas presets like Natural Fiber, Pastel Paper, or the Default canvas. The canvas preset and the amount of thickness have a huge impact on how the paint turns out.
Once you make your canvas choice, jump back to the Background tab to make adjustments. I recommend that you start your customizations with Paint stroke and Photorealism. These two normally make the biggest changes to the behavior of the paint effect.
The tweaks you make on the background tab along with masks on the layer tab will dial-in the paint effect to your liking. I prefer to tighten up brush strokes and maybe add a touch of detail as I paint in layer masks. Ultimately, it’s up to you, you’re the digital painter.
Click for a larger view—-
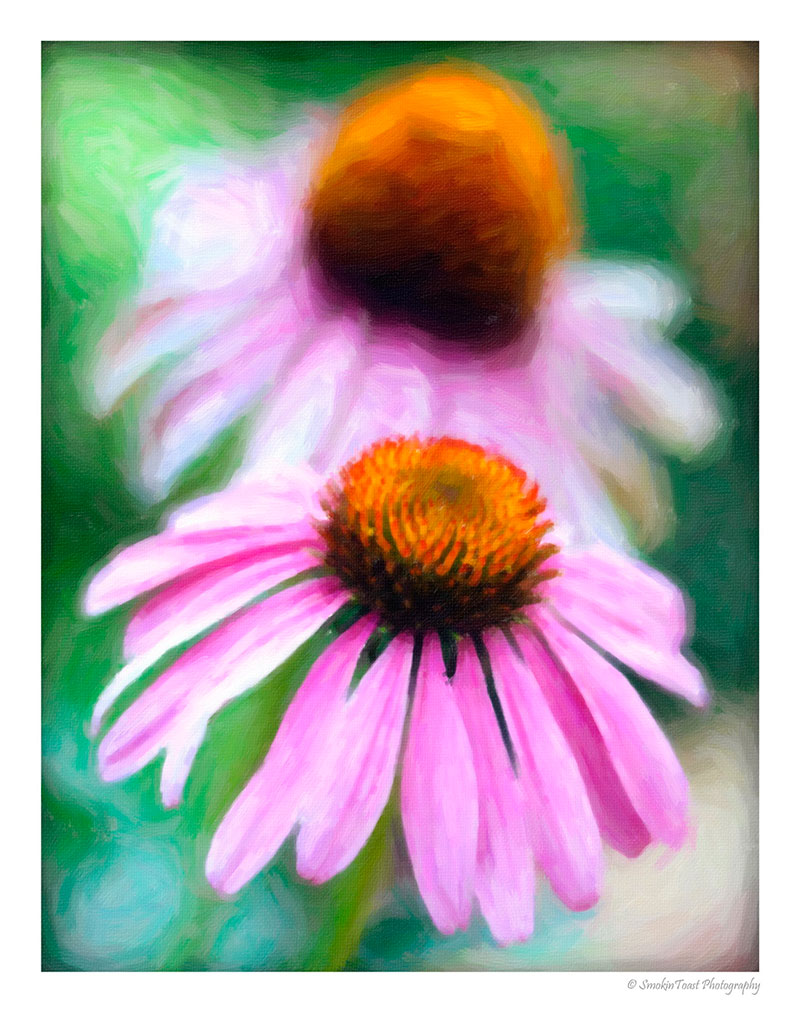
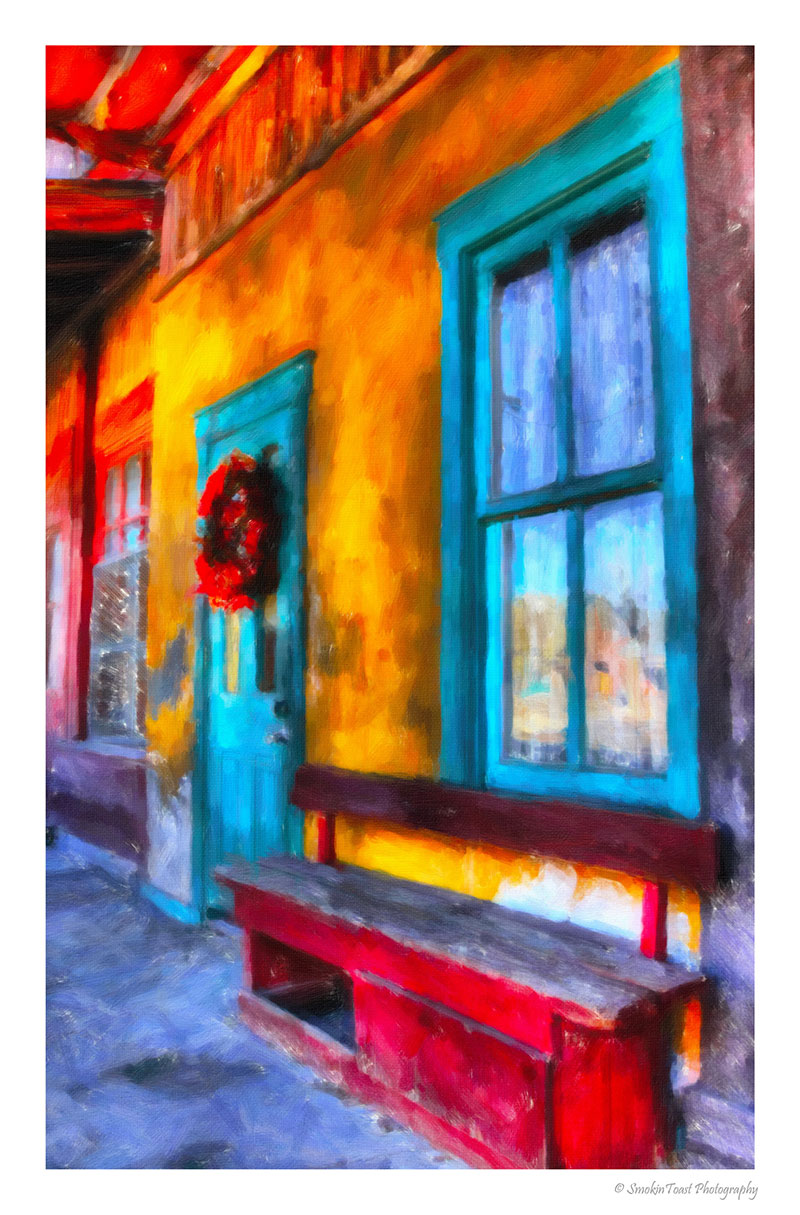
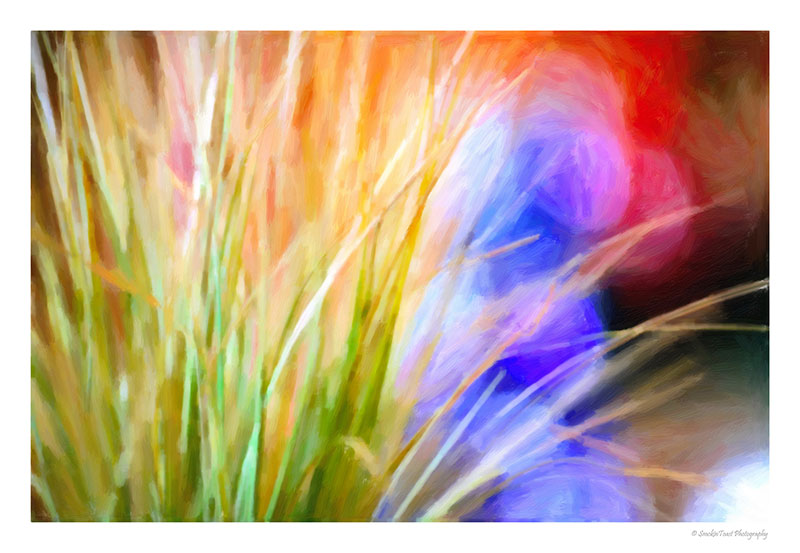
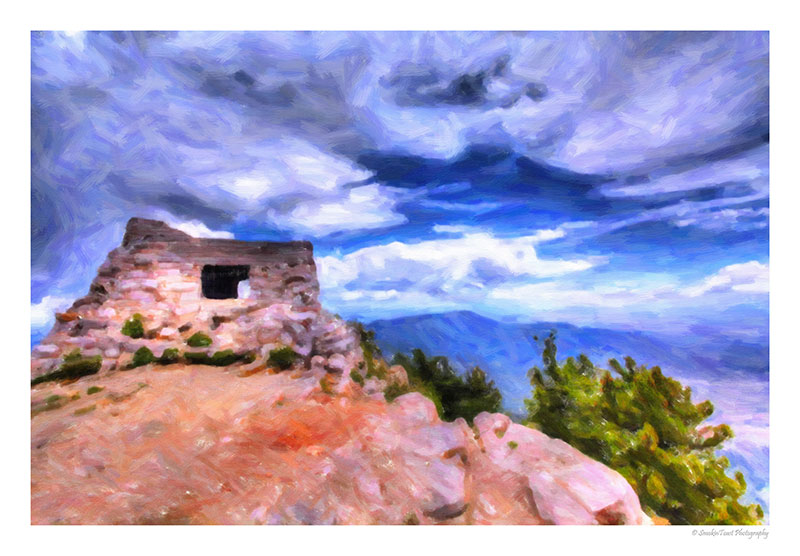
Below are a few more Snap Art artworks from Chris. If you’d like to see more, check out his website and his Flickr photostream. Thanks for sharing Chris!
Try Exposure Today






Very helpful! Thanks!!
Jimmy,
Great work! Have you tried using multiple Snap Art effects? I’ve experimented with applying Stylize first and then watercolor over that. I’m getting some interesting effects.
Will a Snap Art 4 be released? What painting style did you use for the building/door/window scene?
Hi Dale,
All of the images in the article came from Chris. He has a good eye for working with it.
I have tinkered with running multiple effects with Snap Art. Unfortunately, I haven’t been able to reproduce anything that will work on more than one artwork at a time. Because the results give such a specific look, it’s hard to use more than once.
Chris used the preset Oil Paint-Landscape for the store front image. He made a couple of modifications. The canvas height was lowered and the color saturation was by 30%.
I think Snap Art 4 sounds like a good idea. I think there is plenty of room for the product to grow for future versions.
Try combining the “Stylize” and “Watercolor” effects. They frequently work well together. That’s because real-world watercolor paintings often start with a pencil outlined on the paper, which will show through the final picture. For the Stylize settings, I choose black as the ink color, and thin strokes. Have fun.
That’s a great tip! I may have to try that out myself. I have reached out to Jimmy and let him know.
Great tips and tricks. I also like to saturate images before “painting” them. I’ll also clone areas of the image or copy parts of other images into the background before the painting process. Since painting effects cover up a lot of the orignal image, the cloning and copying doesn’t have to be very precise.
Here are some of my favorite digital paintings … most of them are done with SnapArt. (Copy and paste URL into browser if link doesn’t work: http://haber.phanfare.com/Gallery/4950829)
Thanks for the tips, can’t wait to try them out!
Really great master class from an expert. It’s important to know what colours work best so as to allow you to choose the most suitable pictures which will give the best results.
[…] out Alien Skin’s website page for several useful tutorials, especially one called Chris Wieck’s Snap Art Tips. Well, that’s it for this post – just wanted to get this review done since I believe […]
Jimmy-is there a way to ramp up the distortion in the painting effects? I so miss the original Pixel Bender Kit and so far every art app falls horribly short. Alien Skin is very close but it can’t pull the lines far enough. It’s better than photoshop’s Oil Paint filter but it’s also very different. Please tell me there’s something in the mix to enable you to make much more abstract oil paintings.
Hi Vicki,
There are a couple of ways to increase the abstraction with Snap Art. The Photorealism control is the first place to start. Turn it very low.
Use the sliders on the Background panel such as the Brush Size, Paint Thickness, Stroke Length, and Color Variation. Increasing these parameters will make the effects more abstract. At the bottom of the Background panel, you can choose from different brush styles. These can add to the abstraction, too.
There are other painting styles in Snap Art. The Impasto presets use much thicker paint strokes. I’d take a look there.
Here’s a link to a video that demonstrates the use of the lighting controls in Snap Art. Enhancing the texture can also help break up the piece.
Hope this helps!