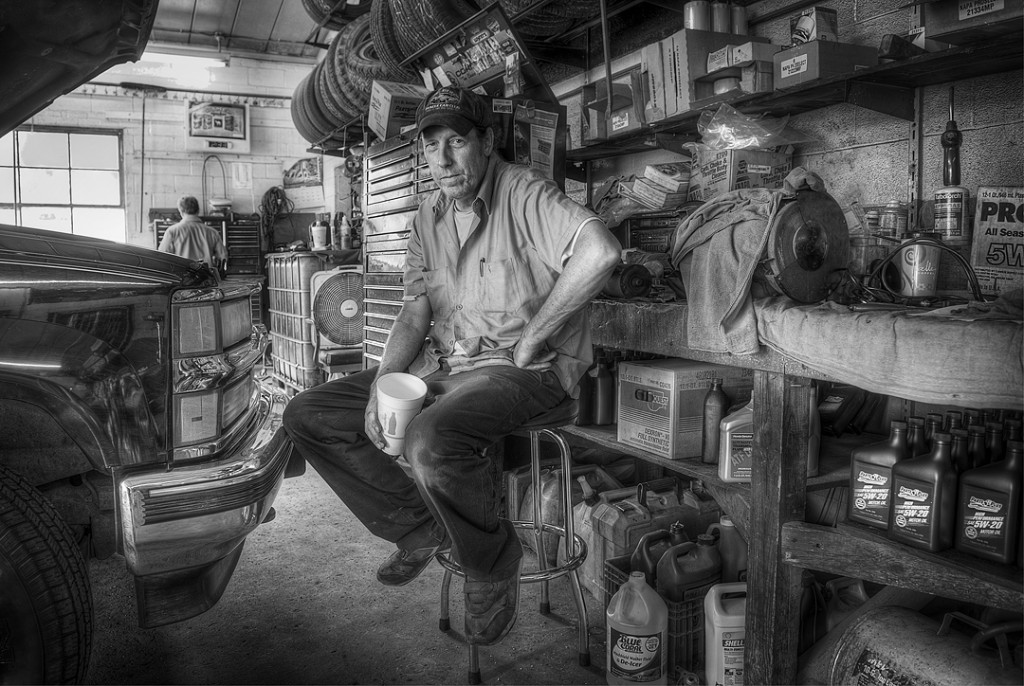
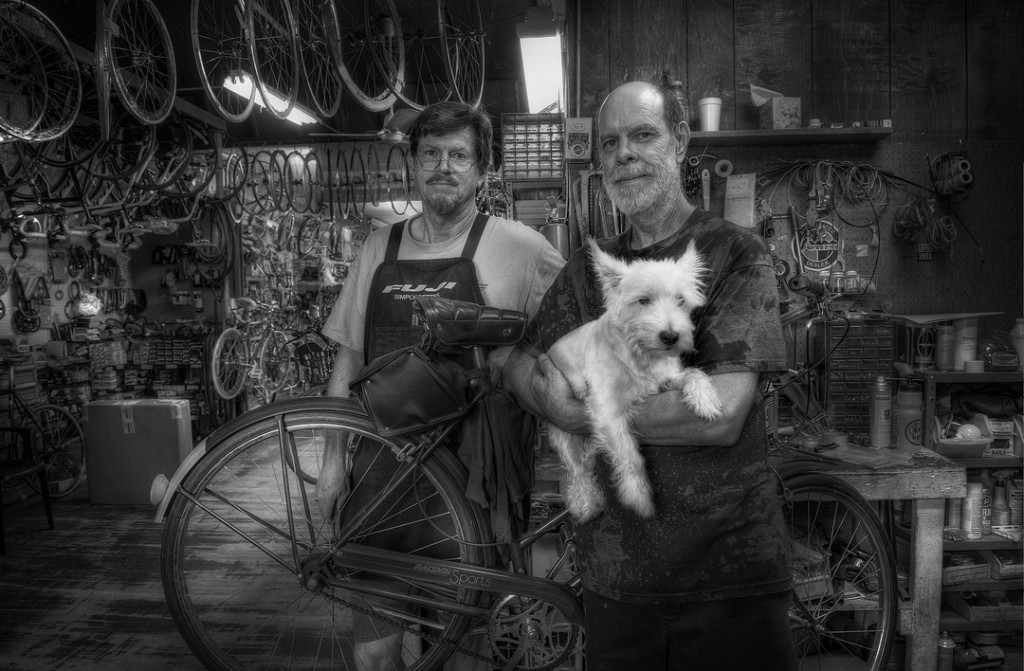
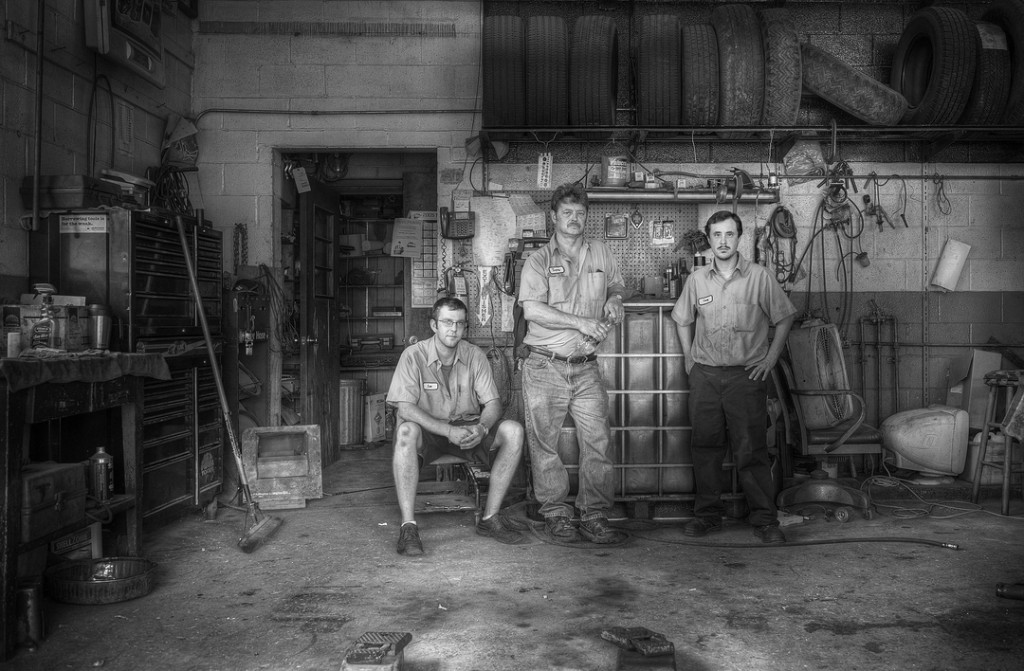
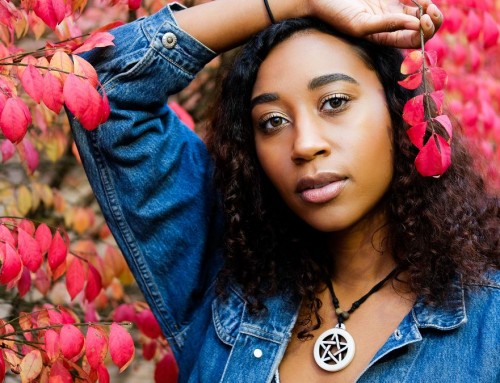
Simon Griffiths was one of our advisors during the birth of Exposure. Recently he showed me a black & white project he is working on. I asked him if I could share the beautiful photos. He said yes and then, to my surprise, wrote a whole article about it. The following are Simon’s words and images. Click each image to see it larger (much more attractive).
Obviously as a photographer that has been working for over 30 years now, I am part of that age group that started shooting film and had to make the transition over to digital. When a card fills up, I still joke that I’m out of film. I get a kick out of subjects actually believing me. Back in 2009, I shot my last project entirely on black and white film. T-Max 100 120. However, although I shot it on film, I scanned all my negatives rather than making prints the way I used to. We went straight to duotone separations within Photoshop.
(I remember our discussions about creating a plugin for PS that would mimic the characteristics of various films and it was certainly intriguing.) Even going from a black and white negative, it was extremely time consuming.
As a film photographer, I would do all kinds of manipulation before, during, and after exposure, whether it was underexposing, over processing…the opposite…multiple exposures on sheet films…printing trickery…Zone system…you name it…all with the goal of creating an image with the full range of tones that I imagined. Switching to digital meant learning how to make black and white images from essentially a color file and converting it using some kind of combination of desaturation controls, channel mixing, or other method(s) that were time consuming and rarely getting the final result I wanted…at least not without a lot of post production time.
Exposure has certainly made it easier for color to BW conversions, and the multitude of different “film” stock available gives you the advantage of trying out many before actually applying the filter.
It’s fabulous. For my workflow, a big part of a good final image is actually making sure the original color image has the range of tones I’m looking for. I do a lot of post production even before applying Exposure. Much of that might involve multiple exposed layers, perhaps a layer of HDR scaled back, and perhaps other filters that I’ve created myself that are applied then toned back with transparency. When converting to BW though I immediately go to Exposure and tend to stick with Agfa Scala 200 or T-Max 100. It captures the look of those films really well and since most of my life I shot on Tri-X or T-Max, I almost always try those filters first. One trick I’ve had some success with is to create two images, one that is low in contrast and the other that is high in contrast…then layering them to get the effect I want.
I’ve had tremendous fun trying many of the other filters within Exposure and use the vintage filters quite often, especially if I’m working with some old negatives or prints that don’t seem quite vintage enough.
For the moment though, I’m using Exposure primarily as my BW conversion tool. It’s the first time I’ve really felt like I have been able to get the black and white look and feel that I worked so hard for when printing from negatives.
-Simon Griffiths
P.S.
I also use Exposure for black and white scans. I recently pulled out some Tri-X film photographed in 1986.
Although I have an Imacon scanner, I still have a tough time getting the scanned image to look like how I might print the image. After some initial cropping and adjusting the histogram, I ran the image through Exposure using the Tri-x 400 filter. It got the image bang on how I would expect a print to look. A little addition of tonality (warmth) after running the filter gave me the final product. Worked really well and used it on all 14 images I had scanned.
—
If you’d like to see more of Simon’s work, you can read our blog articles here and here or visit his web site or blog.
The photos in this article are © 2012 Simon Griffiths. All rights reserved.
Try Exposure Today


