In this article, highly-sought after wedding photographer Frank Salas explains his finishing workflow with Exposure 6. Specifically, he discusses how he uses Exposure to batch process images.
Finishing Touches: Batch Process Images
Capturing your images is one thing. Creating a consistent look, all your own, in post production is another. This is where Exposure 6 hits a home run for me. When I want to give my images a film-quality look, but keep the fine control over the effect, there’s no better way than Exposure 6. It’s easy to save any look created in the software as a custom preset, integrate it into my workflow, and always get consistent, great-looking results.
One example of where cohesion comes into play is album design. When working with multiple images–in my case, for a wedding album–I need the ability to manipulate tones, colors and other adjustments consistently between images. As I look through the pages, the color and tones of the photos should look uniform. This harmony is an important characteristic of any professional wedding photographer’s album. It used to be a pain point in my process, but no more.
As much as I love (or loathe) working in Lightroom and Photoshop, I need a quick and easy solution. So I batch process images arranged in an album spread through Exposure 6.
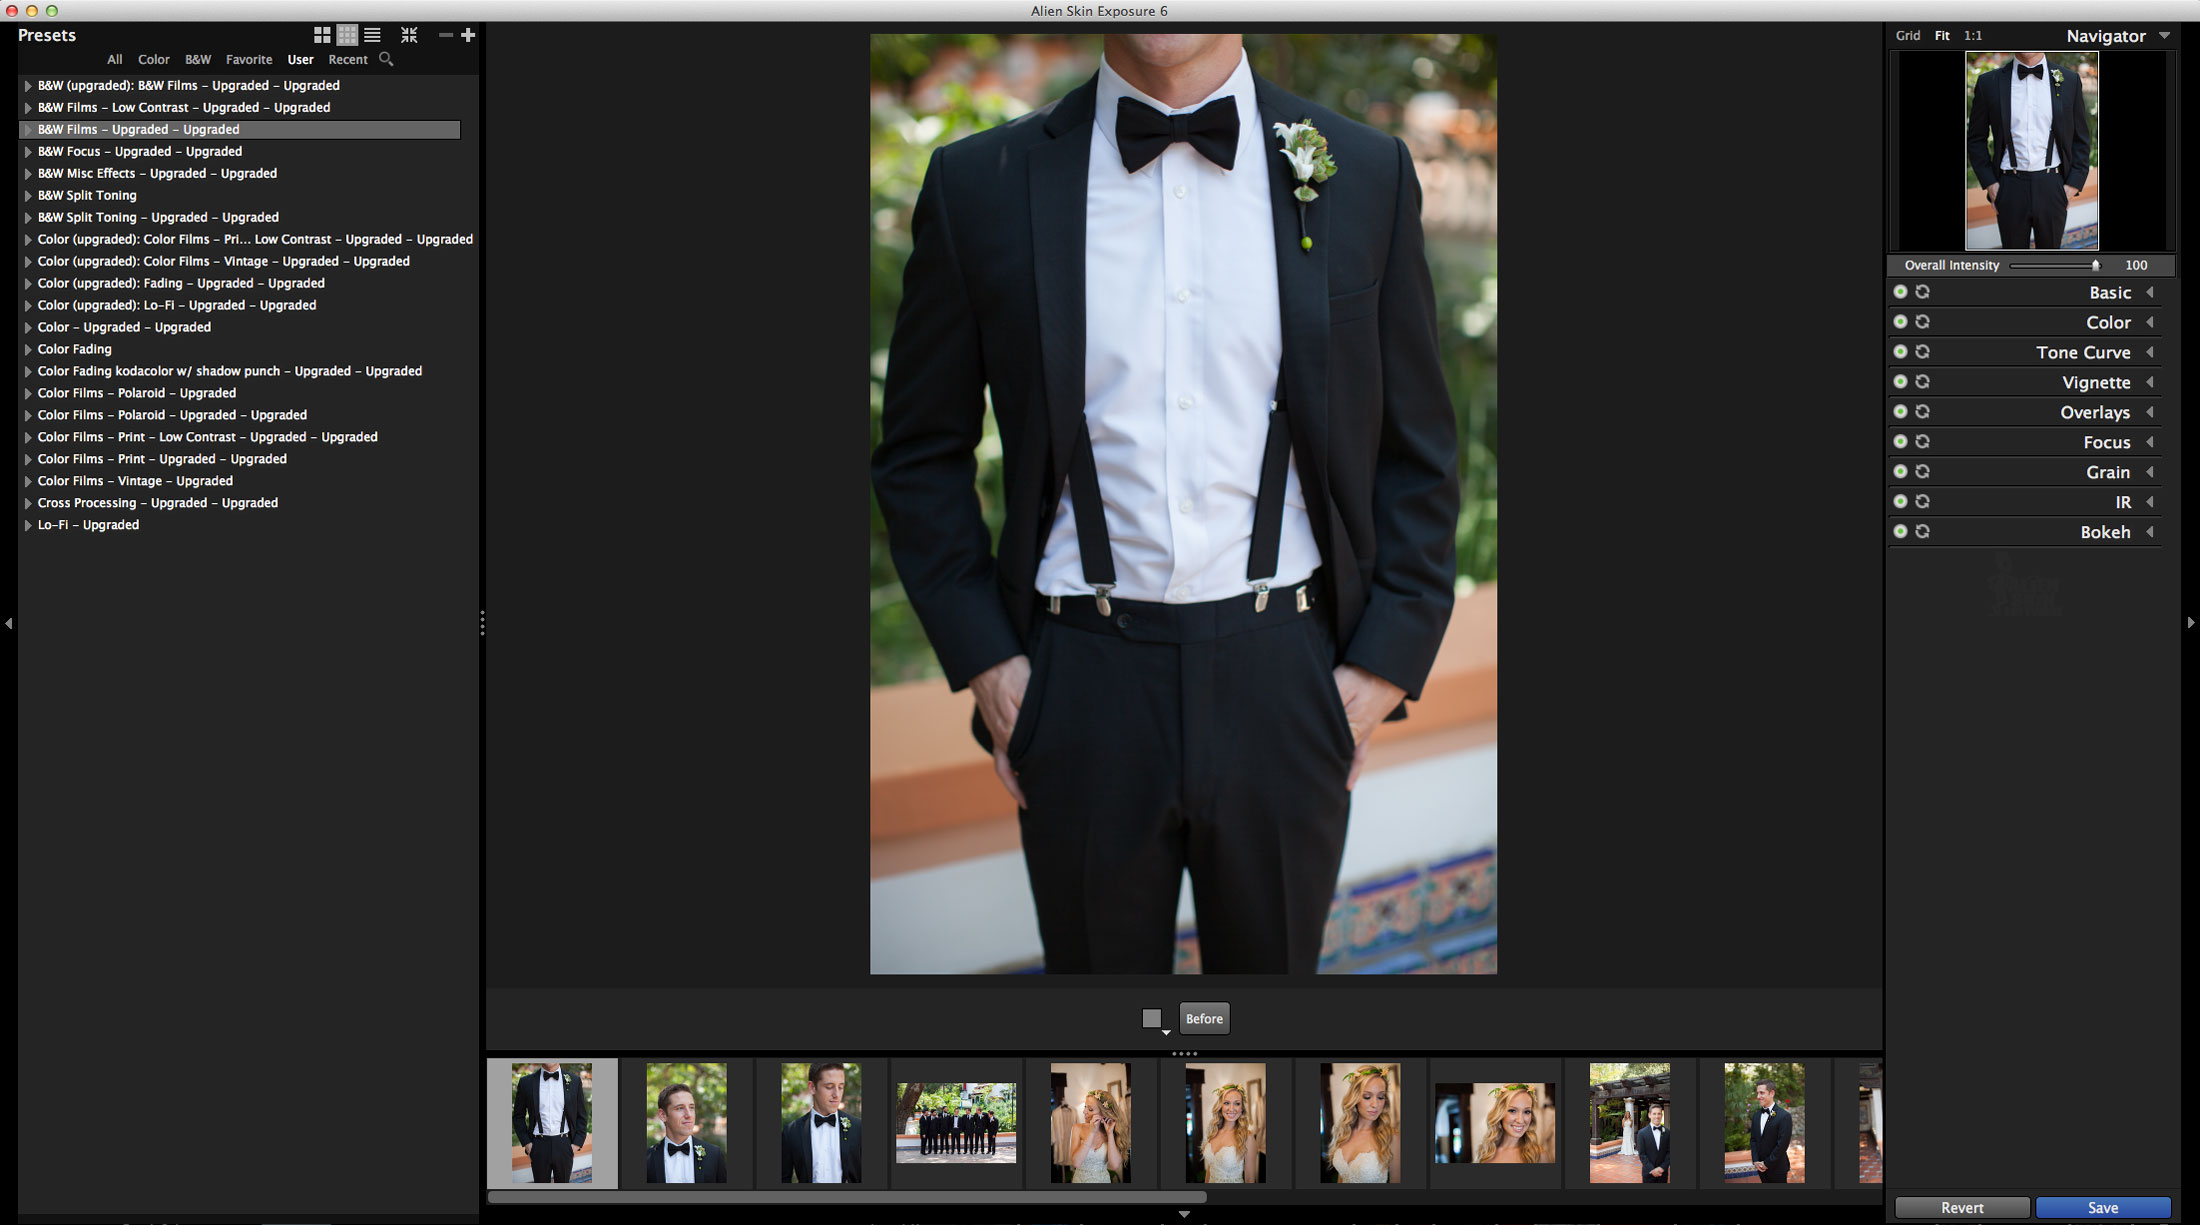
Lets start out with all of the album images opened in Exposure 6. The first photo in your group is displayed in the center and the rest of your shots are in the filmstrip at the bottom. Click if you’d like to the images in this article at a larger size.
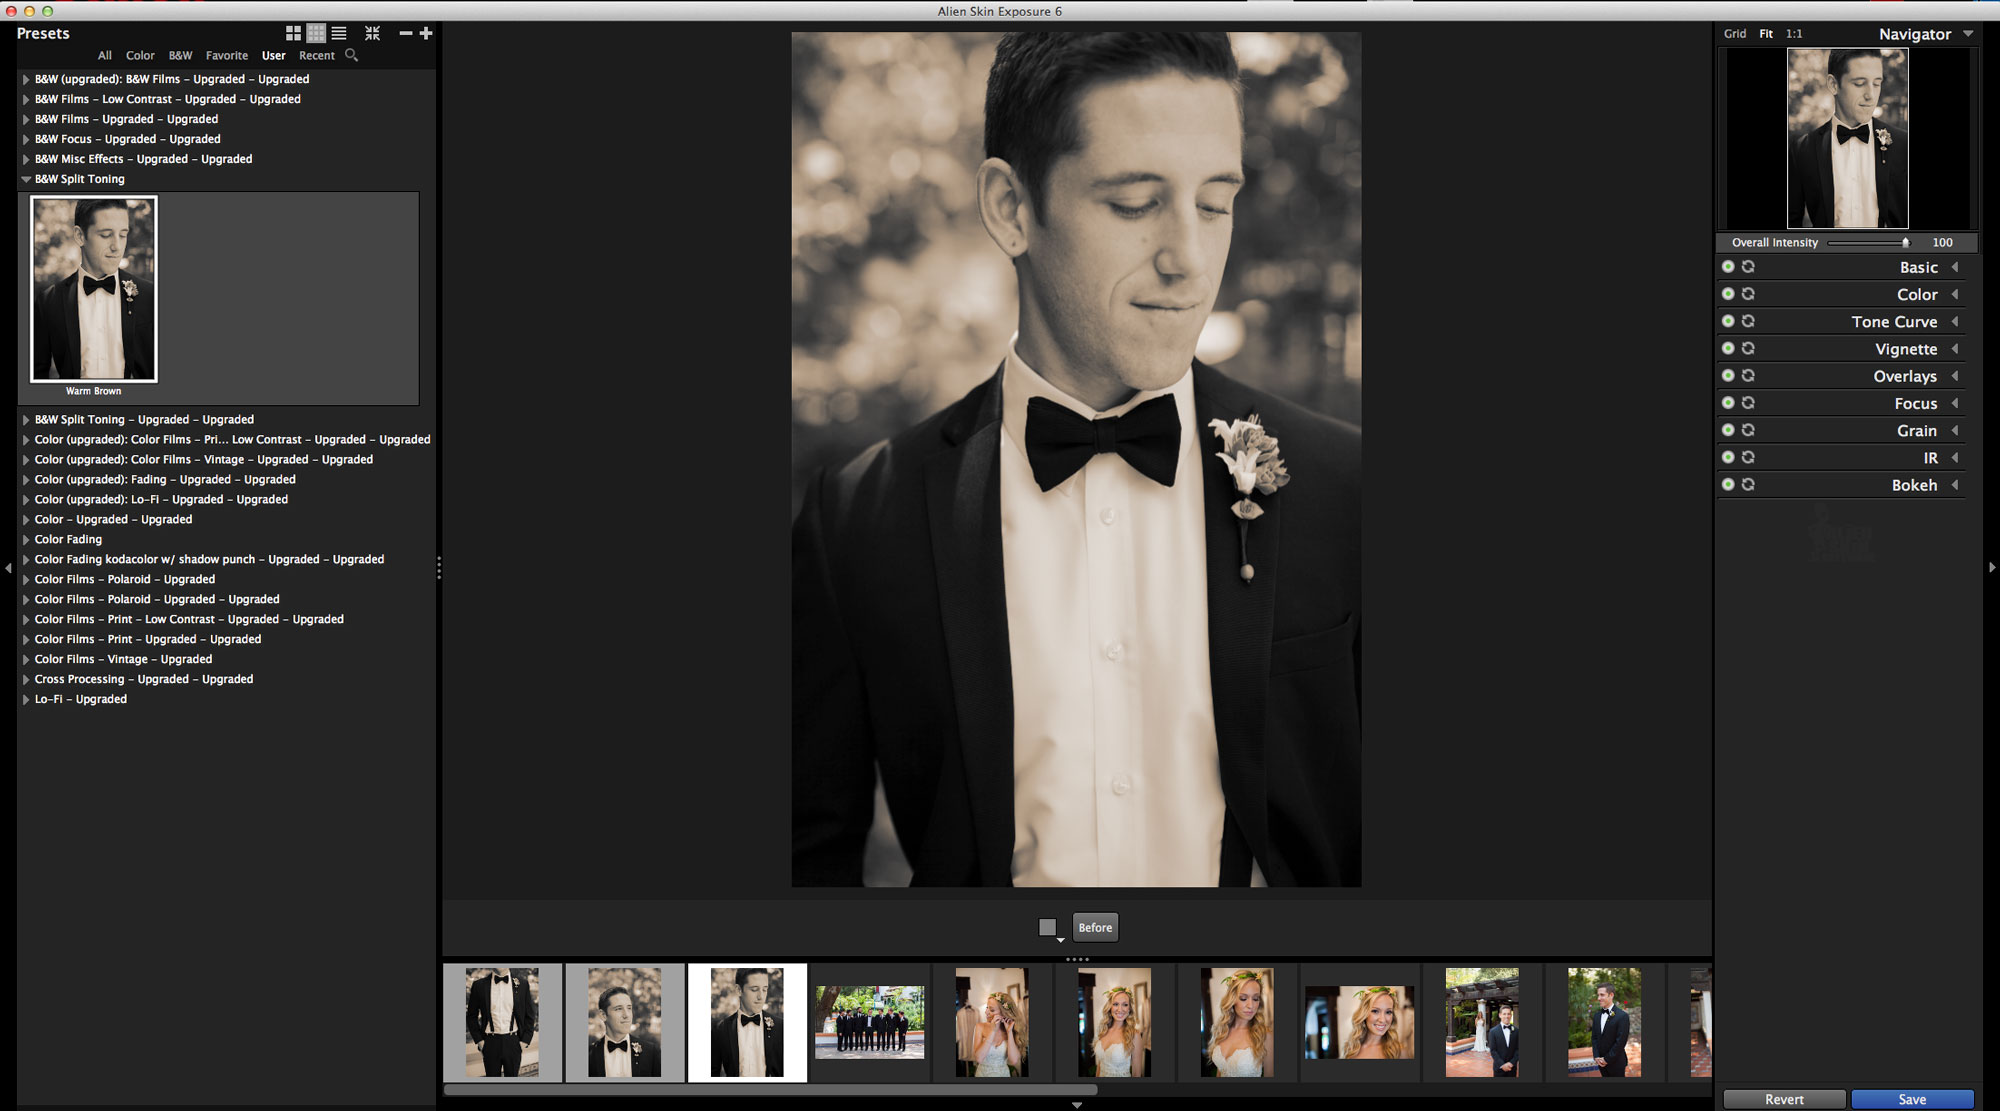
On the left-hand dock you will find the many presets. Once the filter is selected, it instantly displays the effect on the first image in the batch. If you have a series of images selected, such as all of the shots from an album page, then the preset will apply to all of the selected images, simultaneously. Really cool!
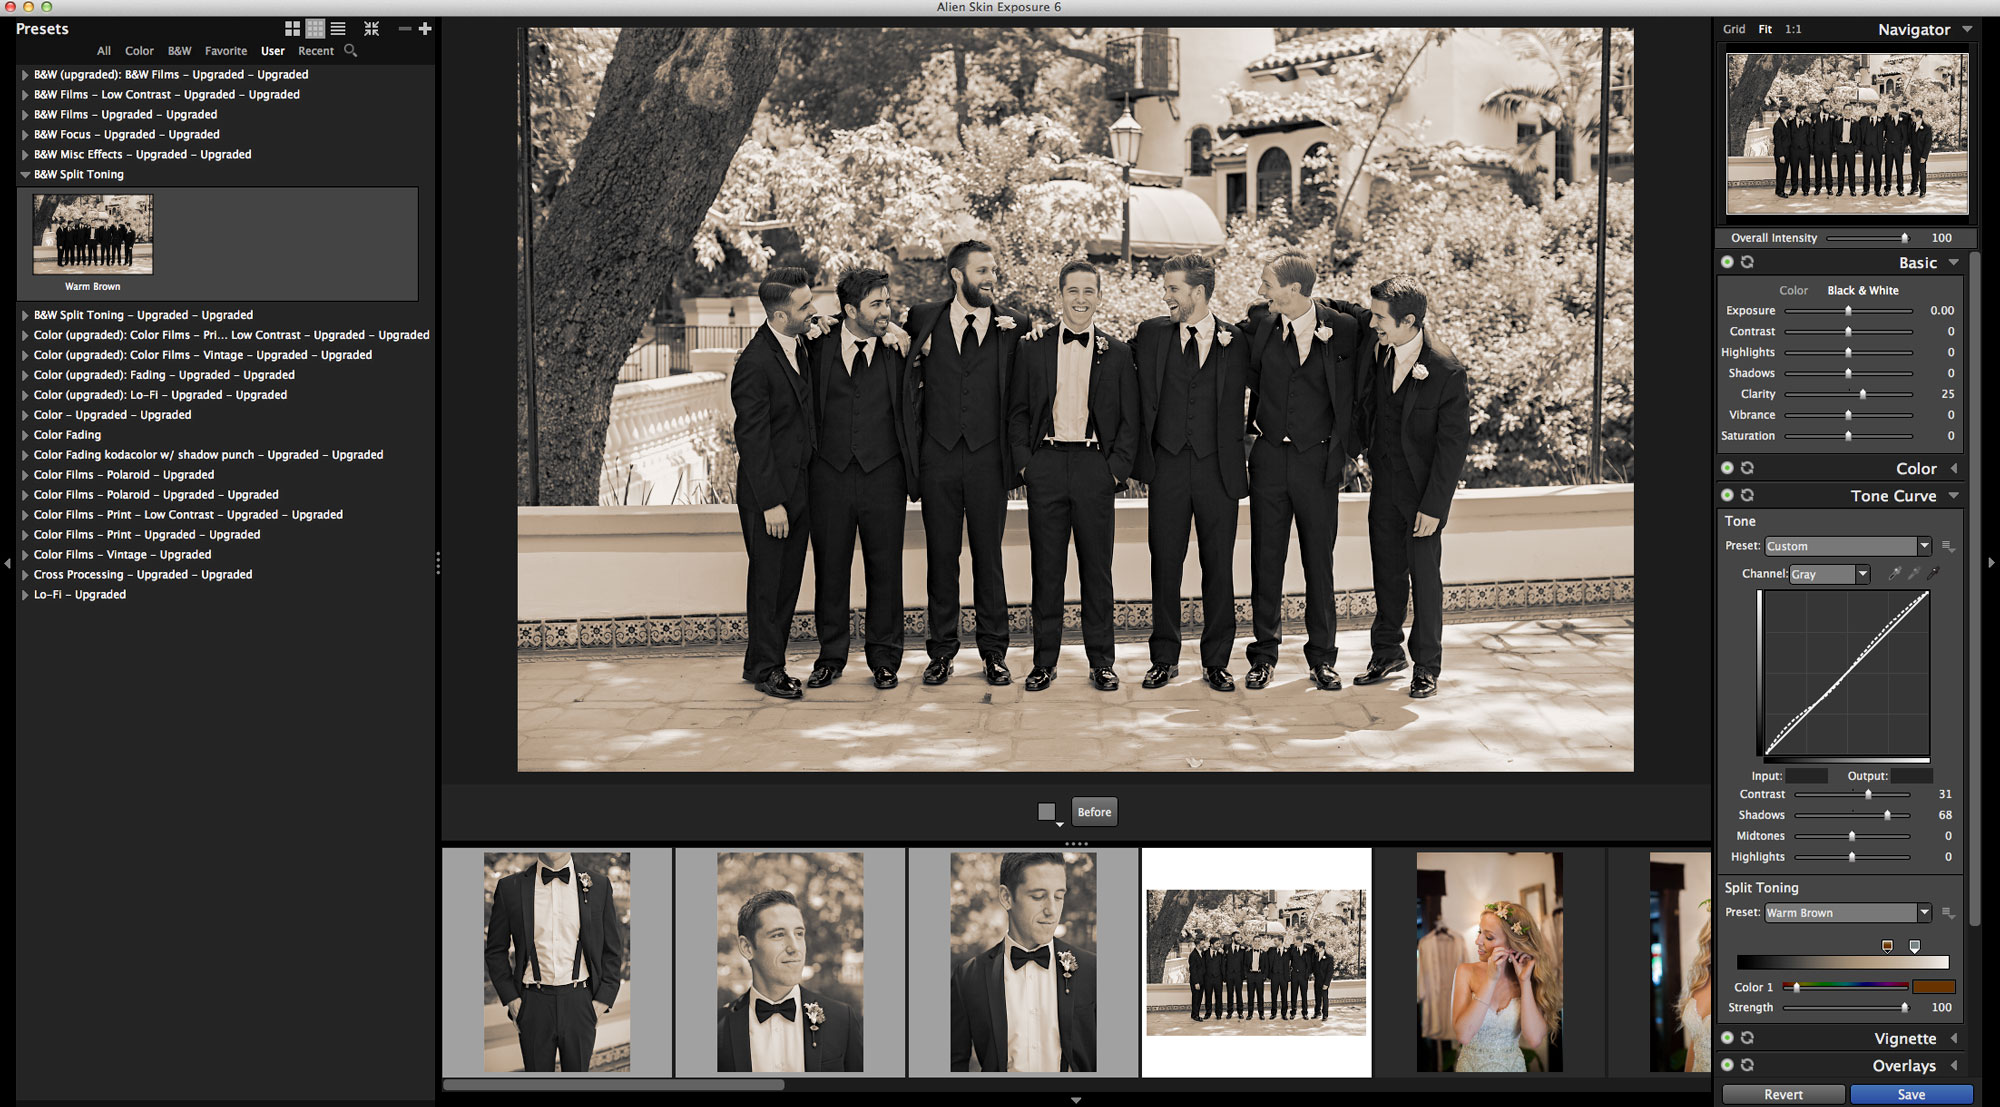
One of the newest features in version 6 is on the right dock–the Basic panel. With it, you can fine tune any image even after you have added your favorite presets. I use the controls on this panel when the preset selected doesn’t look exactly as I’d like it to. Don’t be afraid of tinkering and testing out each slider to see what it does, especially if the program is new to you. The best way to customize presets is by fiddling around with the sliders.
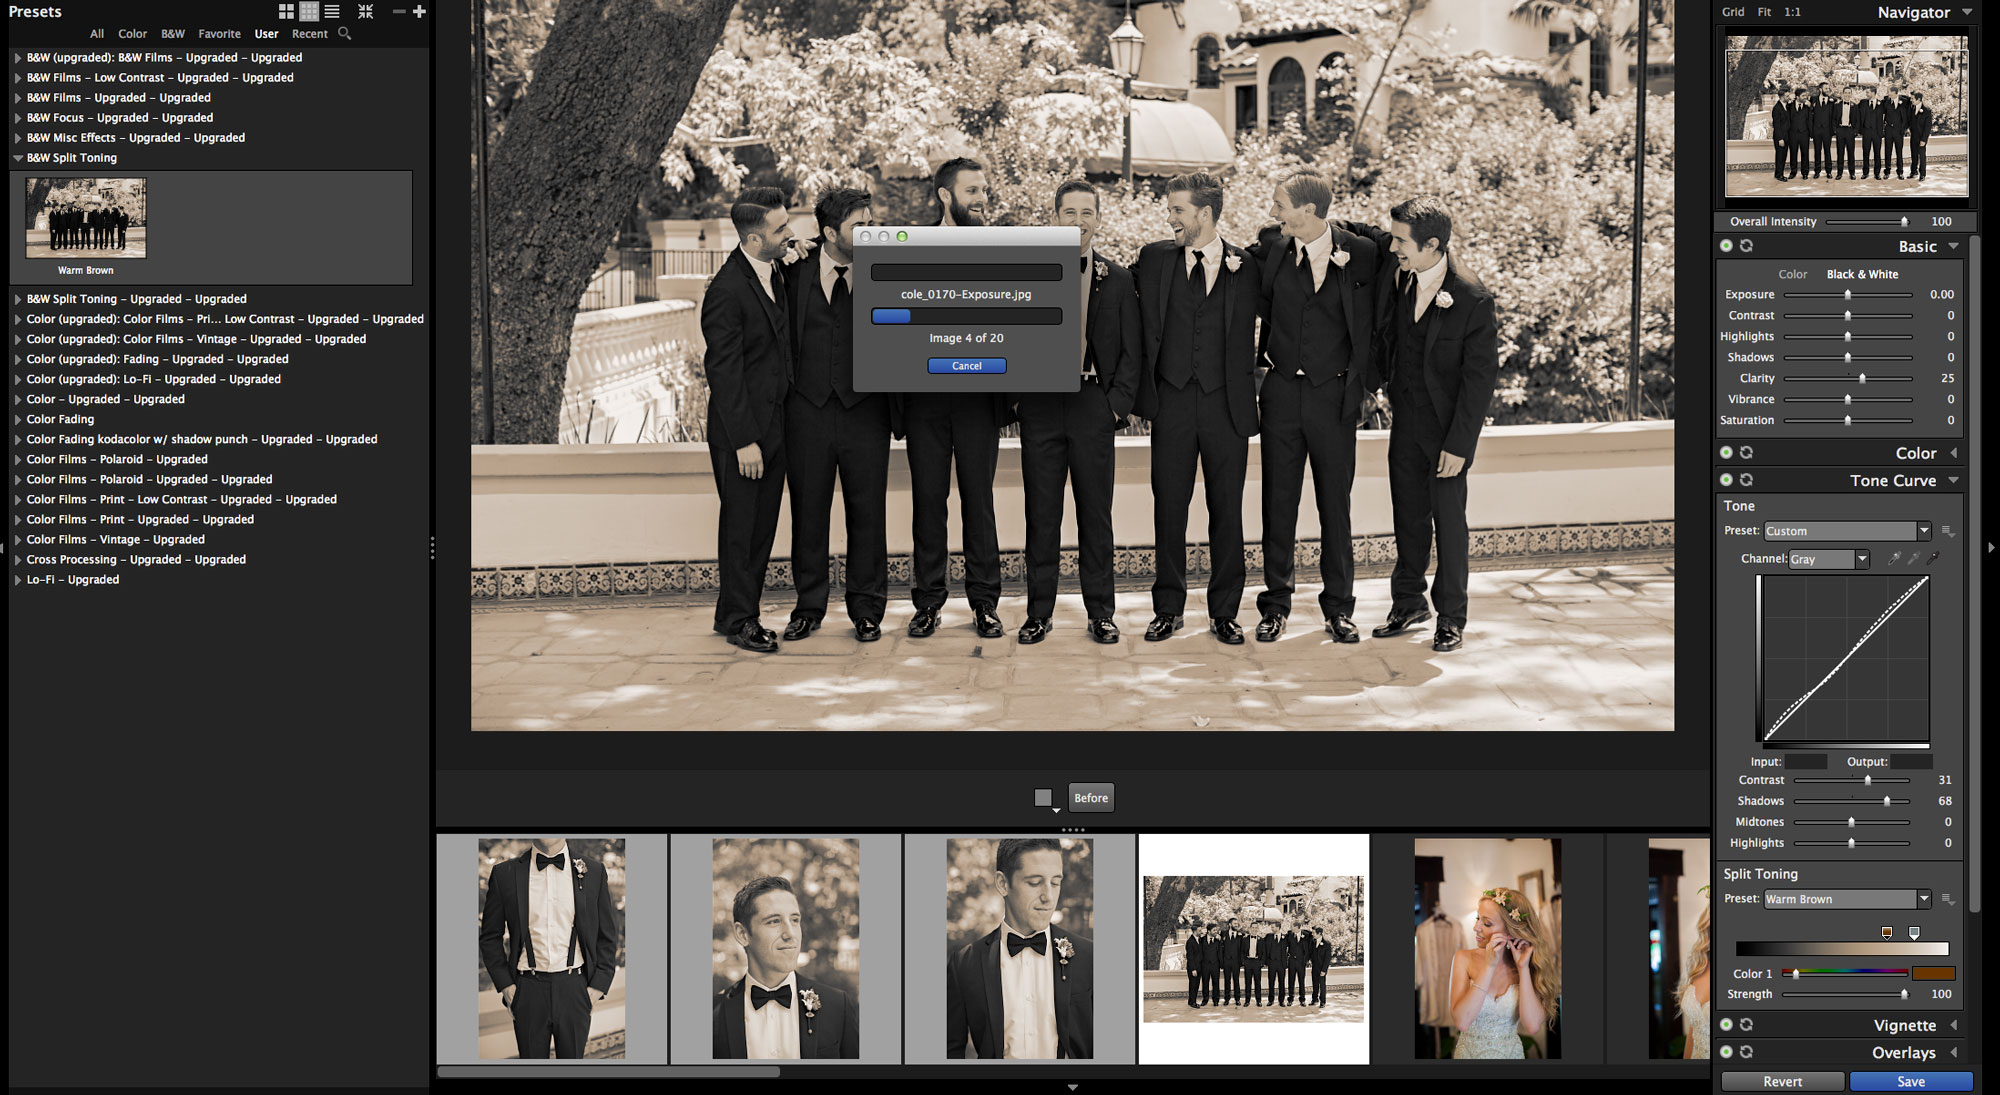
If you are satisfied with the look you’ve made, select the “save” button below in the lower right section and export the images back into the original folder with the newly applied filter perfectly ready to add to your album page. I’ve been using Exposure as a standalone app, so the buttons are a little different than if you’re using Photoshop, for example.
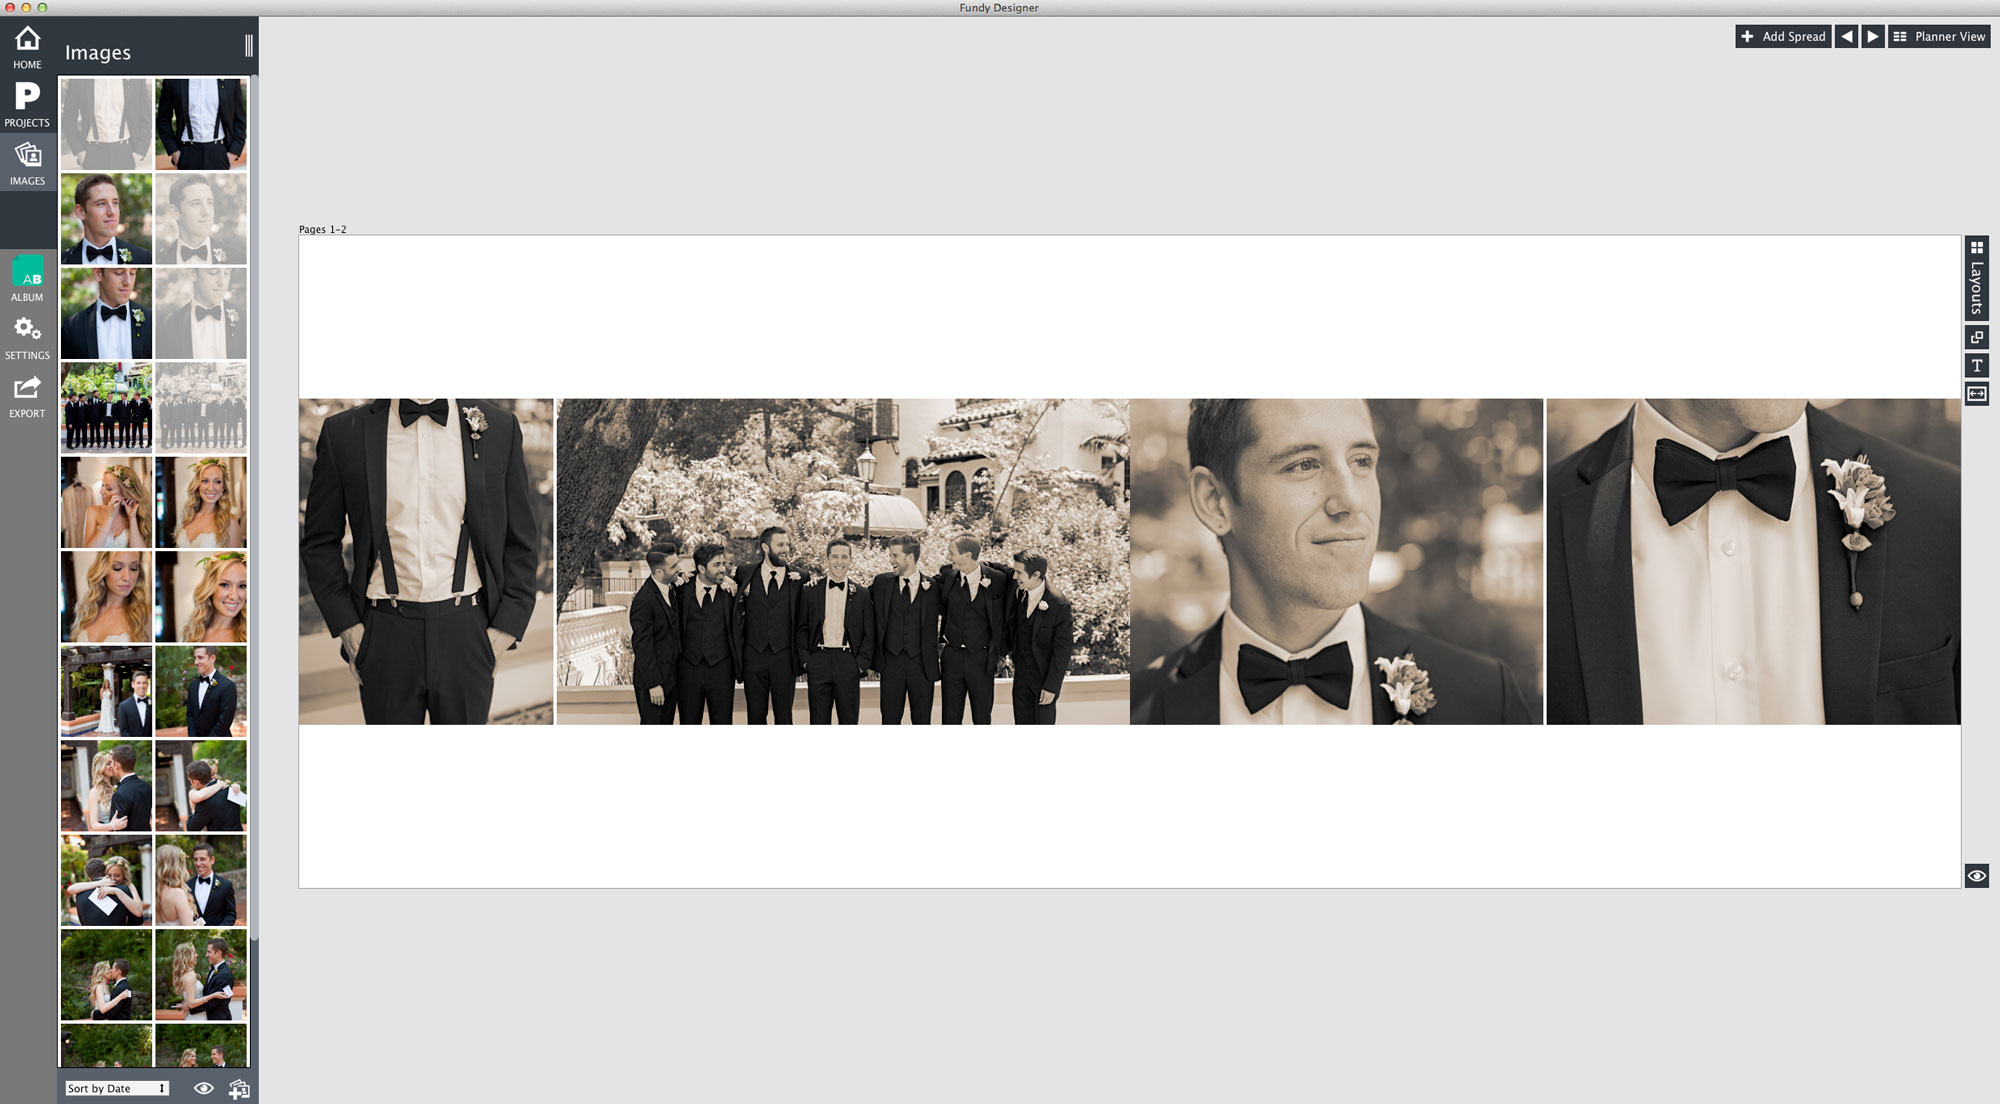
Now all you have to do is import those images into your favorite album building software #FundyAlbumBuilder and you’re ready to go. In this example you can clearly see why it is important that the effect needs consistency. I strongly recommend that you use the same approach when processing your raw files, too. If you start out with images of the same density and color balance, it will lead to a more unified look and feel in your final result.
Photoshop Users
Don’t worry, I didn’t forget about you! Check out the Getting Started with Exposure video for a brief demo of the process.
After working in Exposure, you should always save your custom presets. This way you are not having to dig through and adjust all the other ones, even though you have a few favorites. It’s simple. Just click on the “+” plus button on the top of the left-hand dock and give the new preset a title, category, and description. Customized presets are easily sortable on the User tab.
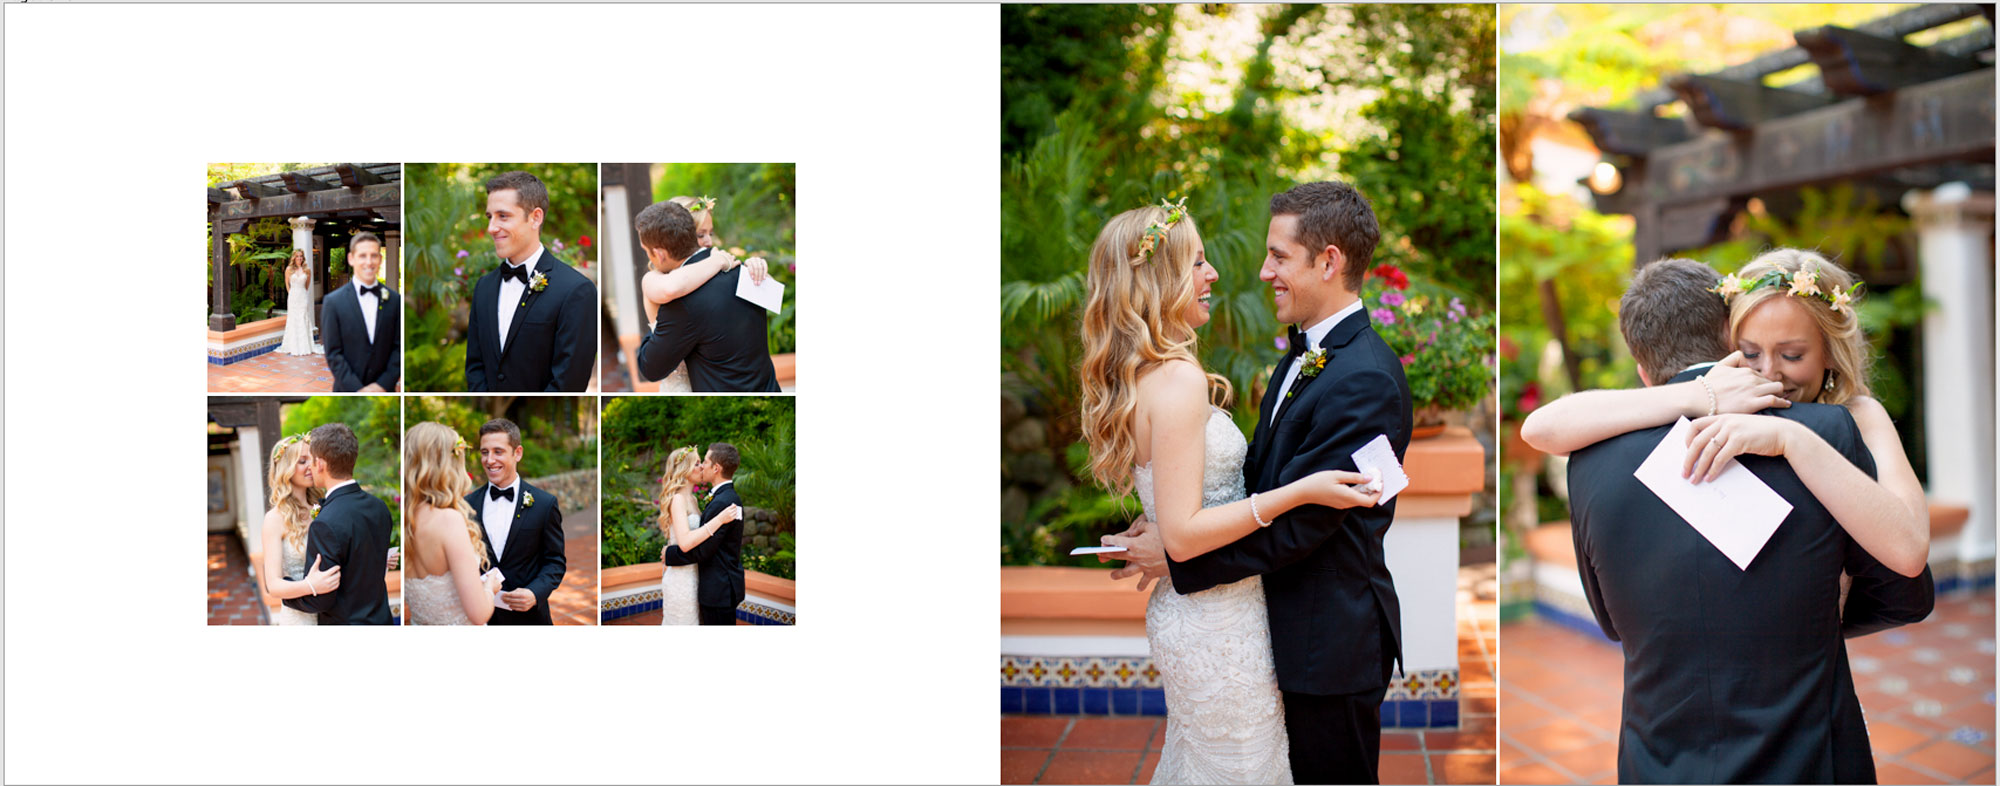
One more example from Exposure 6 adding amazing color and realistic grain for that awesome film look to your complete album page once again!
Closing Thoughts
I’ve been using Alien Skin Software for a long time and I say, hands down, that Exposure 6 is more amazing than ever before. I have always loved the film looks it has given to my work and the factory presets alone give you more choices than any other program on the market. The integration of the new Basic panel, the speed, the ability to batch process images, and many other features I didn’t mention, bring this software up to a whole new level. Great work, Alien Skin!
—
Frank Salas is a highly sought-after wedding photographer out of southern California. PPA considers him a Master Photographer and a Photographic Craftsmen. He frequently presents at photography-centric events such as WPPI. Frank’s images have been featured in various publications such as Martha Stewart Weddings, The Knot, Modern Bride, and many more. Among many more impressive credentials, Frank is friends with the super cool peeps over at Fundy Software, where his images have been used to demo their Album Builder and other titles. We did a webinar with them showcasing the integration between Fundy Album Builder v6 and Exposure. Here’s a link if you want to check it out. Check out more from Frank by visiting the following links.
Try Exposure Today


