So you’ve had a few days to play around with the new version of Exposure. If you’re like me, the first thing you did was fiddle with all of the new buttons and tiddlywinks. New features are great, but figuring out how to implement them in your workflow can be a mystery.
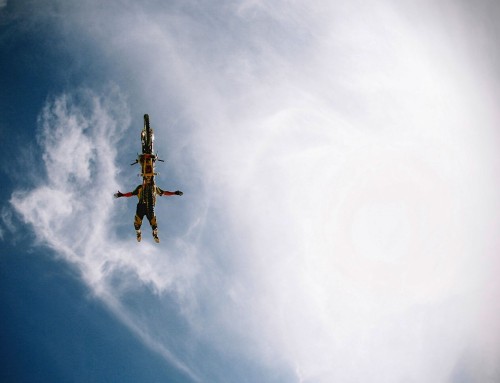
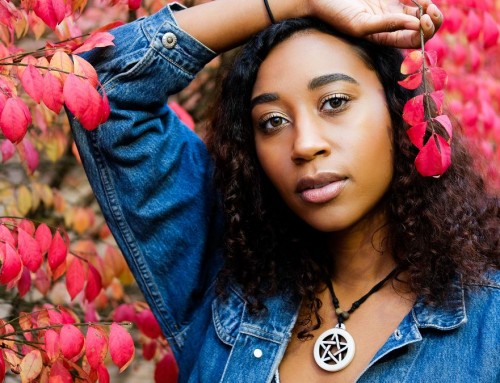
Exposure 6 includes a gang of new lighting effects such as realistic sun flares, and authentic vintage borders from world-renowned photographer Parker J Pfister. Among the new features in version 6 is the ability to import custom texture overlays. Here’s a video that demonstrates the process. Want specific details about file types or blend modes? That’s in there, too.
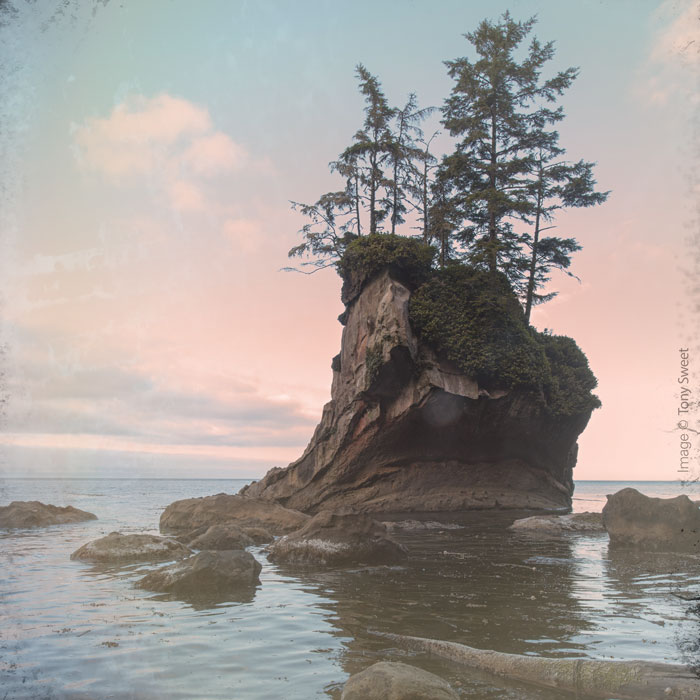
“Da man” Tony Sweet was kind enough to let us use a shot of his in the video. He’s awesome like that. Thanks, Tony!
You can grab the images I used in the video here.
Try Exposure Today


Awesome! Can’t wait to add some more textures to the library…thanks for the video. Love, love, love Alien Skin :)
Mad props for being so gangsta! :)
Great video tutorial! Being able to import your own textures? Madness! Genius, perhaps?
Quick question. Obviously, it’s hard to recommend a dimension for a texture as it depends on what you’re slapping it on top of, right? How does the software handle a texture file that is smaller than the image you’re putting it on top of? Can you resize it? Does this happen automatically? And vice versa.
Thanks Jimmy!
Hi Randy,
Thanks for the props, G! *fist bump*
Sizing is a good question. Exposure will resize the overlay to match the image dimensions automatically, so you don’t have to worry about making specific sizes. If your images are 21 MP, but you’re only outputting low res versions to Facebook, you probably don’t need huge 21 MP textures. On the other hand, if you do large canvas prints often, it’s best to have a larger file.
With that said, there are plenty of ways to get around having a library of enormous texture files. Images containing smooth gradients typically resize cleanly and grungy textures don’t always have to be super crisp. So you don’t really need to make them as large.
There is a .zip file at the bottom of the article that contains the textures I imported in the video. Inside, the light effect overlay isn’t a huge file, but it looks fantastic when applied to a large image.
Hope this helps!
Sweet! Thanks for jumping on this tutorial so quickly!! Alien Skin is one of my top favorite companies for customer support. Jimmy – great job!! Kudos to Robert L., and applause to the Queen Bee.
Hi there.
Not sure why, but when I apply and save my jpegs through AS they come out at around 25MB, despite exporting them from Lightroom no greater than 6MB.
Can you advise. Thanks so much.
Hi Gina,
Are you opening the files using Exposure as an external editor in Lightroom, or are you using the standalone version?