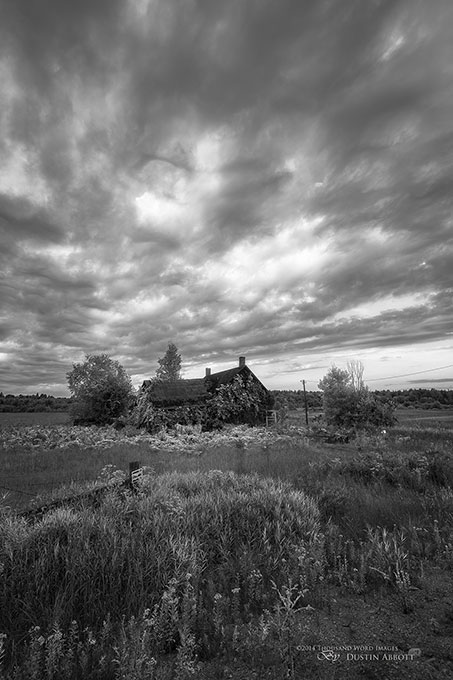
Our photographer buddy Dustin Abbott is always cooking up something fresh and new. He does a lot of landscape photography, but that’s not all he’s into. Check out his website for more of his work. He’s been on the blog before a bunch of times.
In a nutshell, with HDR photography, several exposures of the same shot are blended together to broaden the tonal range of an image. The end result can look more like what you’d see if you were standing there, yourself.
The aesthetics of HDR images can be a controversial topic. There are basically two camps on either end of the spectrum. One preference is to use exaggerated tone mapping to draw out all of the values in an image for an artistic effect, the other prefers to use the extra pixel information to give the shot a little more pop, but not much else. Dustin blends his exposures with tooling in Photoshop leaning toward the subtle side of the fence. Below is a video showing how Dustin makes it happen.
What is your preference? Aggressive, or subtle?
After showing how to use Photoshop for a nice-looking blended image. Dustin takes the shot through Exposure 6. His workflow starts with the High Contrast B&W infrared preset and then he walks you through some quick and simple modifications in the panels to achieve his vision.
Thanks for sharing, Dustin. Love what you did with it.
Try Exposure Today


[…] (and quickly) customize an image and achieve your artistic vision. You can check out more over at Alien Skin’s blog. Use promo code “dustinabbott” to get 10% off any Alien Skin […]