

Hi all! I’m excited to be starting a new project via my blog, whereby I do image retouching on reader-submitted photos, solely using Exposure. I’ve been a huge fan of Exposure over the years, and with each new release it becomes more powerful and full featured.
I’ll be using Exposure for image retouching on a photo from my friend, Billyburg (see more from him on flickr here). I’ll walk you through my step-by-step approach to the image, as I might one of my own images, sharing my process along the way. I’m excited to do image retouching on another photographer’s images because it gets me out of the confines of my own style. Billy’s image of a stranger, in a fairly traditional street style of shooting, is not what I normally shoot, so I’m also coming at this as a viewer, which is fun.
Onward and upward!
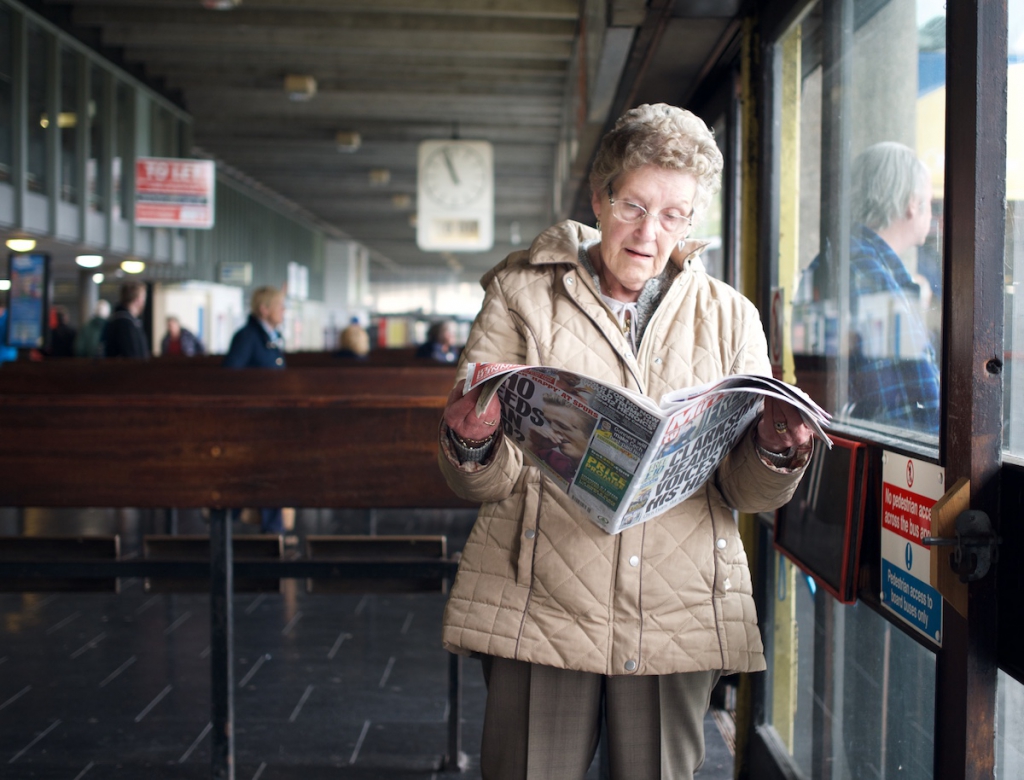
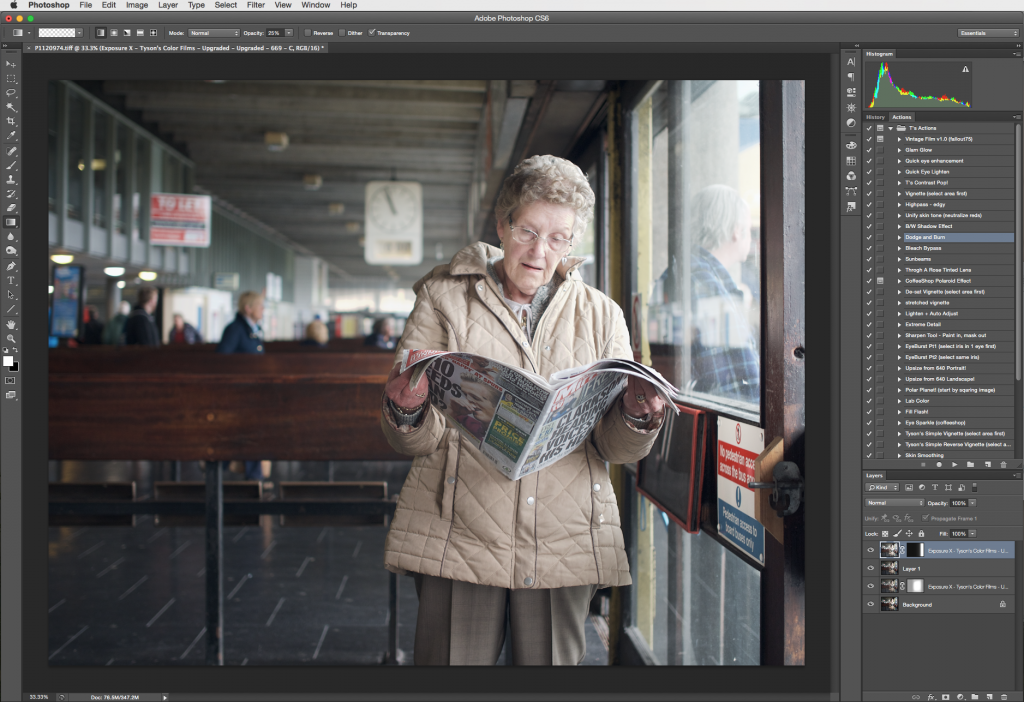
Here’s Billyburg’s untouched image from the RAW file out of a Lumix GX7, using the Olympus 25mm f/1.8 M.Zuiko lens. A wonderful, candid shot of this lovely lady, deeply entrenched in the Mirror’s musings, with a look of befuddlement as she ingests the day’s gossip. Light streams in from the windows, camera right as she sharply pops from the gradually defocused scene with time appearing over her shoulder and behind her. A natural vignetting, frames her from camera left, counter balanced by the light to the right. To start, I’ve slightly cropped the image to use the door to close the framing in, and position her a bit further right in the frame as we view it.
After having a good look at the image, I know that I want to recover some of the highlights in her skin while further accentuating the naturally captured contrast that the light in the scene provides, in the final image. That said, I’m going to start by flattening the overall tonality and contrast. Why? Well, you’ll see.
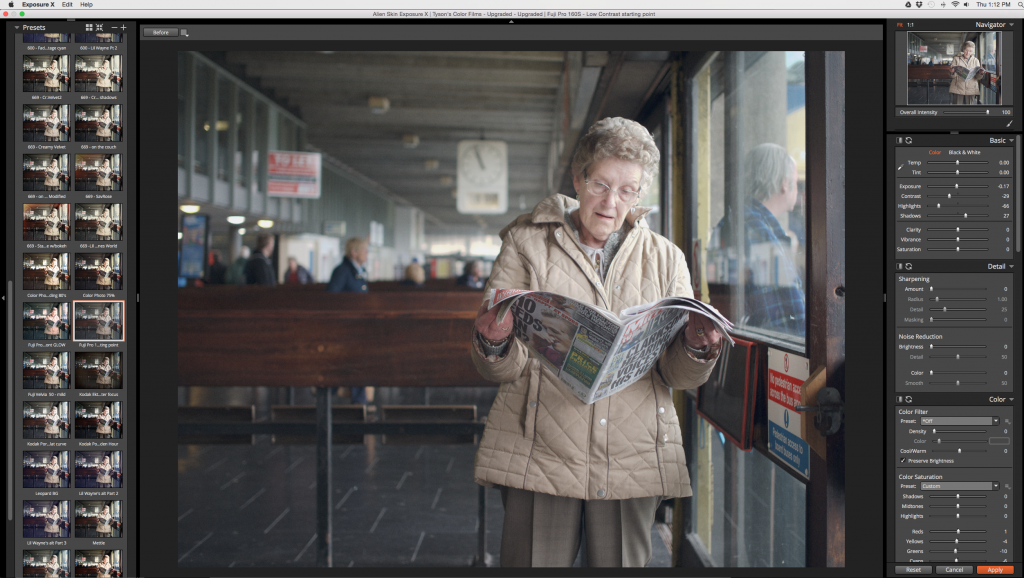
Okay, opening the image in Exposure, I’m using a flat, Fuji 160 film preset which I’ve tweaked to decrease highlights, bring up shadows and generally flatten the image. I have this saved as its own filter for this reason as I often do before really digging in. I also appreciate doing this within Exposure as opposed to solely adjusting exposure parameters in Aperture or Lightroom, because I also enjoy being able to apply some of the more nuanced effects like tonal shifting in the shadows and highlights that many of the film presets provide. This filter will help me achieve a more balanced skin tone, primarily. Regardless of where we go from here with our image retouching, this filter has helped bring back some of the highlights, and bring up the shadows with her skin as my focus.
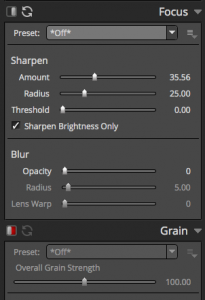
2. To add a little pop, I’ve adjusted the sharpening sliders on the Focus panel. I’ve also disabled the grain, I don’t want to do that, yet. I save the image, which brings me back into PS with this new filter as its own layer.

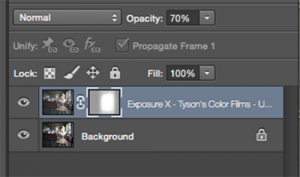
3. I could have (and should have) adjusted the opacity of the filter in Exposure, but looking at it after the fact, I wanted to drop the opacity down to around 70%, and then I masked out the Exposure layer, using the linear gradient tool at around 25%, on either side as well as using a large, soft brush at 15% opacity, to mask back in some of the original to maintain the contrast and drama, essentially focusing the effect of the Fuji layer on our heroine here. See below:
4. Using SHIFT + ALT/OPT + COMMAND +E, I merge onto a singular layer above our background and Exposure layer. I then re-open this new layer in Exposure, once again.
With this adjustment, I want to address the guy outside the window, along the right hand side of the frame, and start to re-build the contrast and exposure difference in the image.
Using an adjusted Polaroid-669, blown highlights filter, I then go down to the Color panel on the right hand side, in Exposure, and click on the color (yellowish by default on this particular filter). I use the eyedropper to select a ~midtone from the image along the opposite side, near the grey surrounding the windows which gives me this…
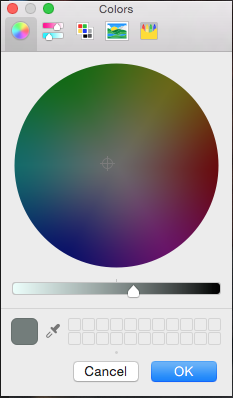
…which helps keep the tonal continuity throughout the image.
The blown highlights help to overexpose the guy outside a little bit, and then, when back in Photoshop, I mask the layer out using the linear gradient tool, gradually going over it a few times with a 25% opacity gradient.

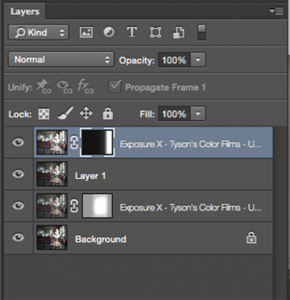
5. Again, using SHIFT + ALT/OPT + COMMAND +E, I merge everything up to this point, onto its own layer and again, open it up in Exposure one last time.
Using a Kodachrome (brown) filter from the Vintage Film preset group, I then add the final contrast and grain that I’m looking for in the image. From here I’ll adjust and tweak any of the exposure sliders, film grain, sharpness, et al to get it where I want it.
Here’s how we end up looking in Photoshop:
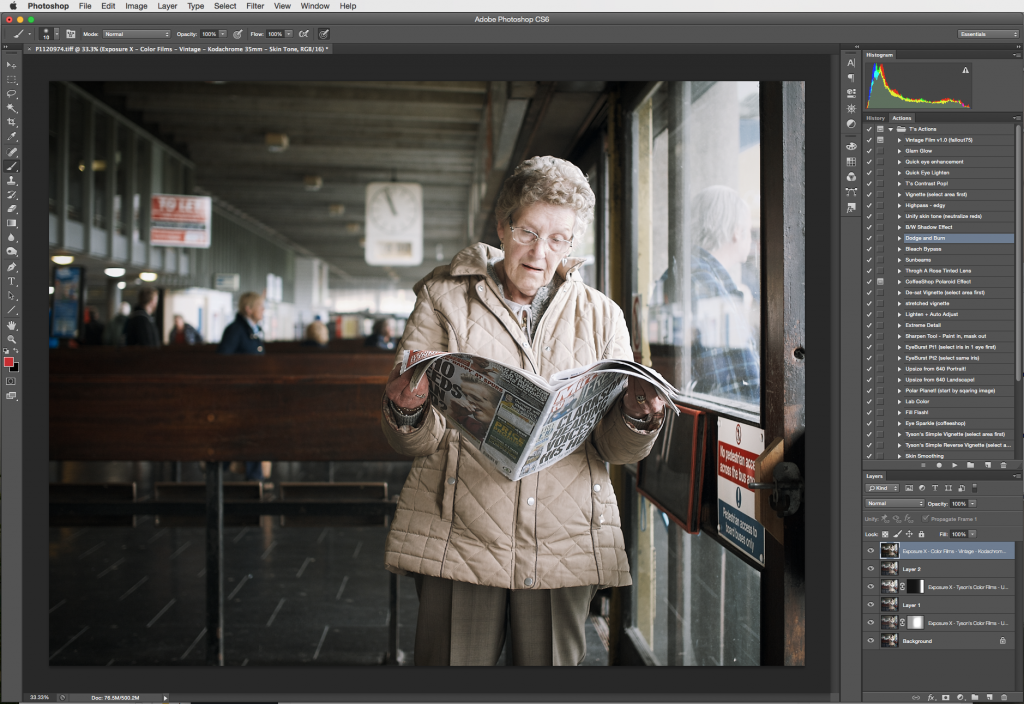
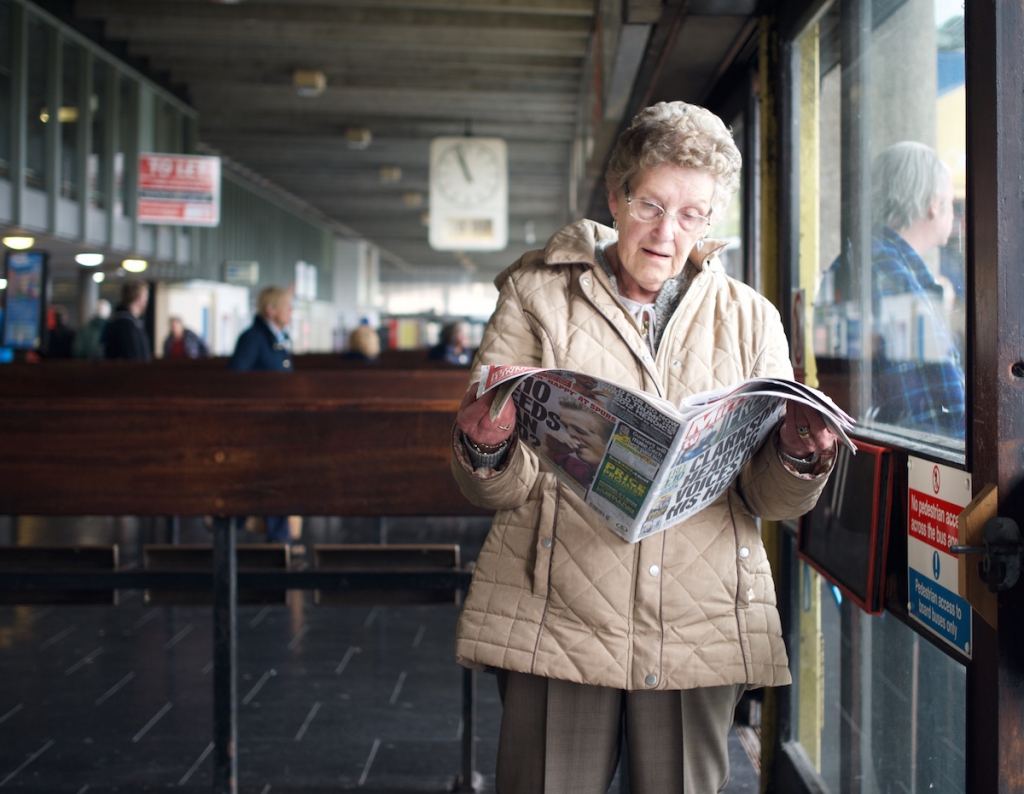
And, finally, the before and after:
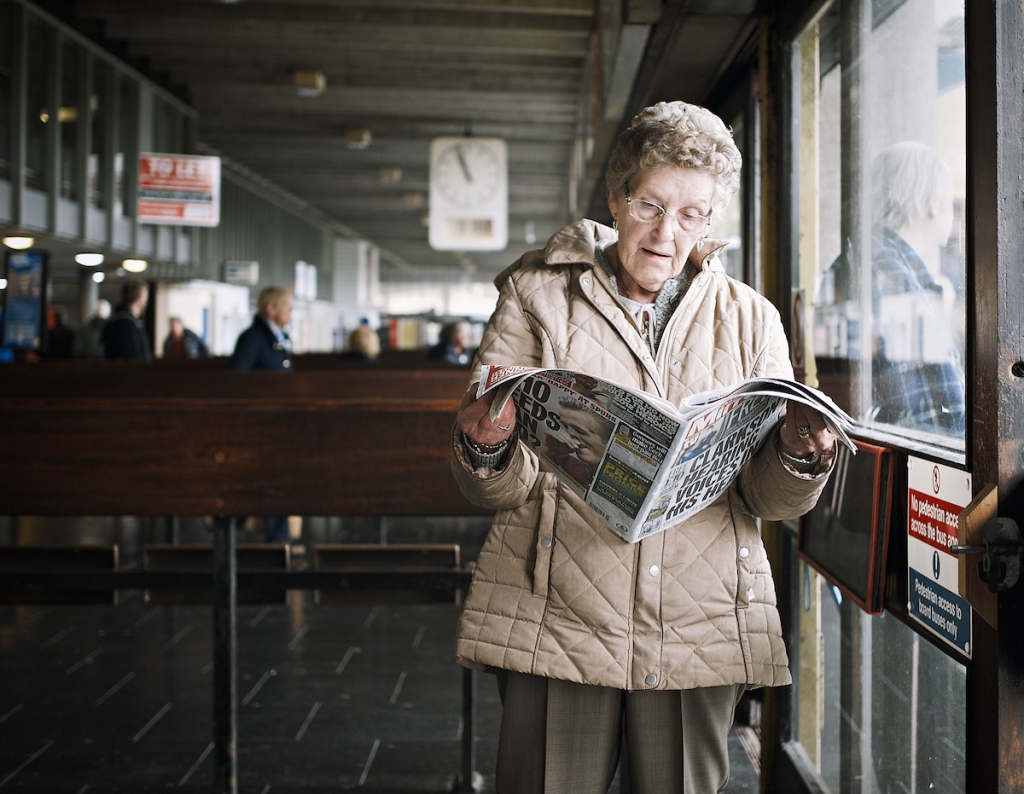
A subtle, but noticeable change to produce a slightly vintage, almost cinematic look compared to the original. Using Exposure for my image retouching work has allowed to selectively alter our subject (skin and contrast), our exposure difference within the frame moving right to left from shadow to highlight, further accentuating that disparity to add drama, and finally an overall shift in the tonality and general look of the image.
Thanks for the read, and if you’d like to see one of your images retouched using Exposure, and then all over the internet for thousands of adoring viewers to see, or just want to see what we’re up to over there, contact me through my blog HERE.
Happy shooting,
Tyson
*the image used here was taken and shared by Billyburg for use on my, and this blog.


