
Alien Skin’s back-to-back Photo of the Month Award winner Leigh Bishop put together a swanky picture retouching tutorial for the blog. We normally write a feature article about the winners, but since she took the trophy for the last two months, we needed to come up with a way to share about her award-winning photography. So, we couldn’t think of a better way than to just show you how her creative mind works in this picture retouching how-to article. Leigh outlines her picture retouching workflow for the creation of the shot of Kaila from capture to finish. Check it out, below. Leigh, over to you.
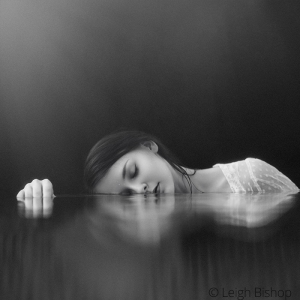
Finished image — scroll down for a larger version.
A lot of people have asked how I created this image. Like most of my successful photos, it was a balance between capturing the shot with the right gear, as well as enhancing with photo retouching in the computer. So I’ll start by saying that it was shot in a swimming pool with a large black cloth hung over the edge as a backdrop. I was in the pool along with Kaila, my model. As she posed, I ducked low into the water and snapped off the pic.
Gear
I shot with a Nikon D750, with a Nikkor 85mm f1.4 lens. Because there was a water hazard, the camera was placed inside of a Dicapac WP-S10 waterproof bag. You’ll notice that the captured image is soft because of it. There’s nothing quite like covering your expensive glass with a cheap piece of plastic. Unfortunately, it’s not the best way to boost image quality, but it had to be done.
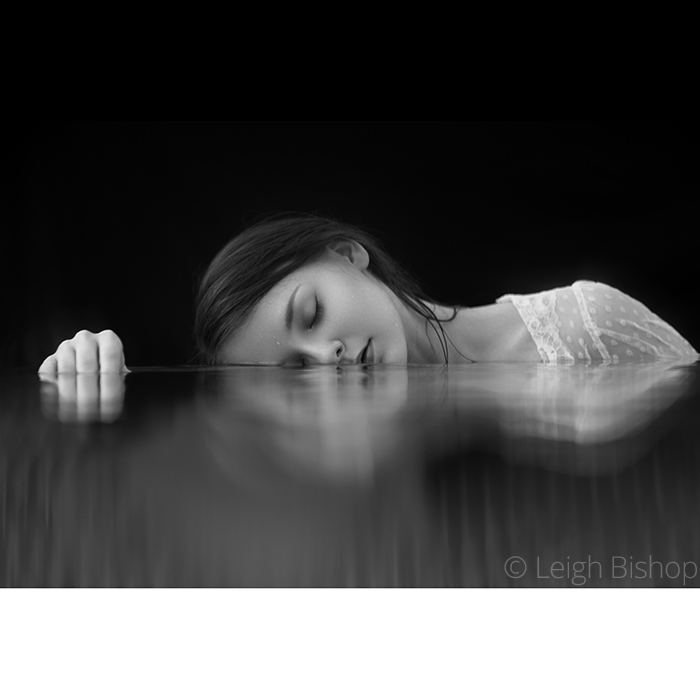
Here’s the starting shot.

Out of camera
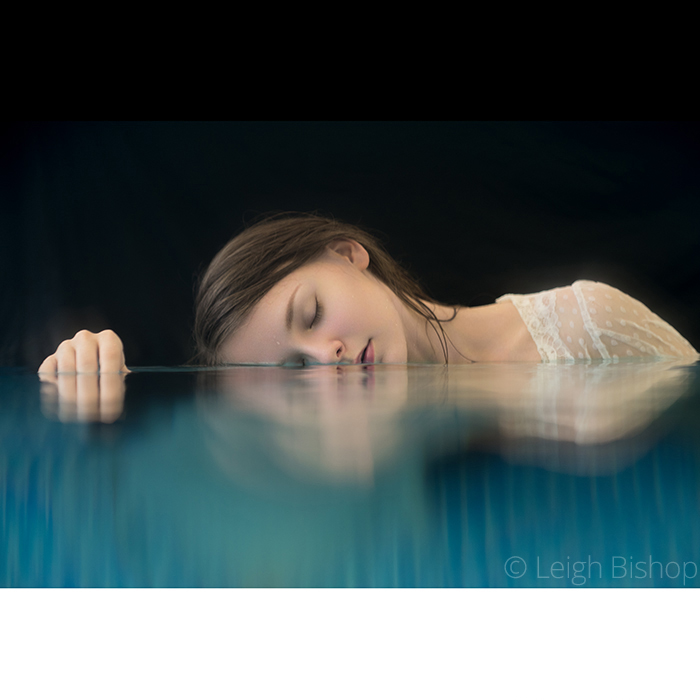
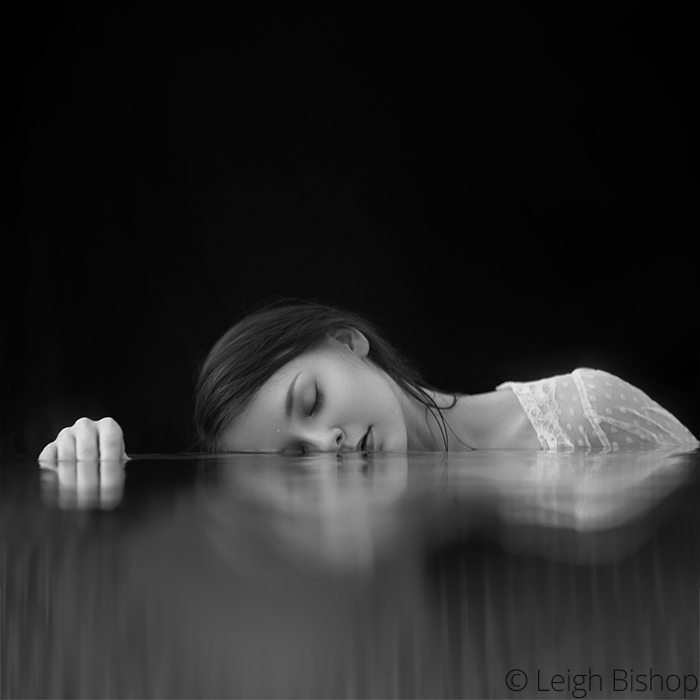
For the most part, the only adjustment I make in Adobe Camera Raw is a lens profile correction; then I open images in Photoshop. I like the look of square shots, so I needed to extend the canvas. At first, I hadn’t decided where I wanted to place the subject, so I started off with the subject at the midline, which resulted in black and white bars at the top and bottom of the frame.
Picture Retouching
When I started picture retouching, I cleaned up the image of any distracting elements in the shot. For this I used a blank layer along with the spot healing and healing brush tools. The next step in the process was dodge and burn — both for local and for global adjustments. This method can take up some time, but it gives me the best results. Plus, I find it strangely therapeutic to brush away at pixels.
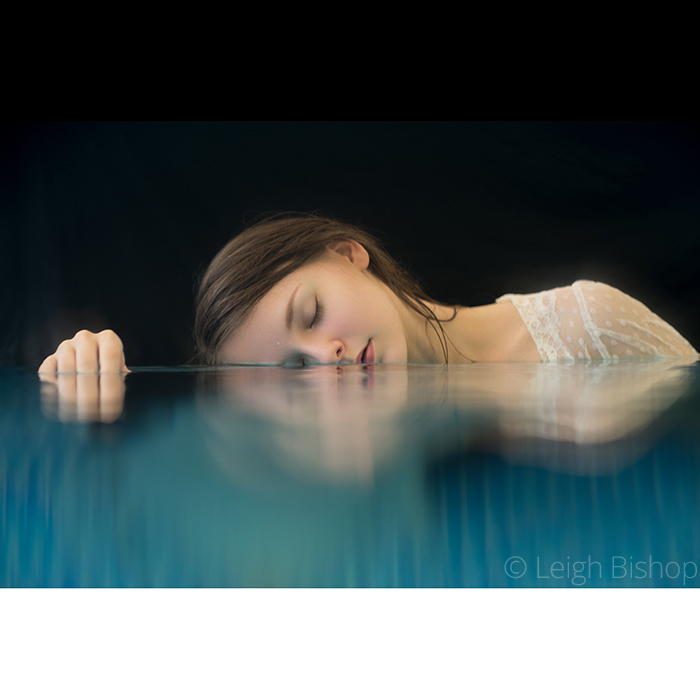
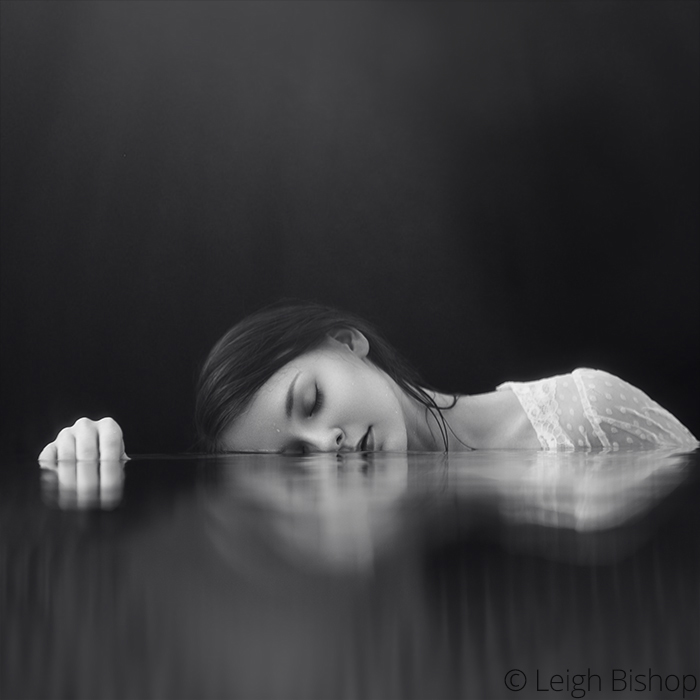
Photo Retouching Complete
I use a “visual aid” layer at the top of the stack. This is just an adjustment layer that removes the distraction of colours so your eye can focus on luminosity values. This protocol lets me see subtle areas that need to be dodged/burned which I wouldn’t otherwise notice. The method I use is a 50% grey layer set to colour blend mode. I also use a curves adjustment layer to tweak the brightness and contrast which helps make working in shadows easier.
After Picture Retouching
There was a yellow cast from the indoor lighting, so a hue/saturation and a selective colour adjustment layer removed it. My initial vision for this shot had colour, but I would have skipped this step if I’d known it was going to be black & white. One of the great aspects of working with digital tools is that I don’t need to make that decision at the beginning of the process.
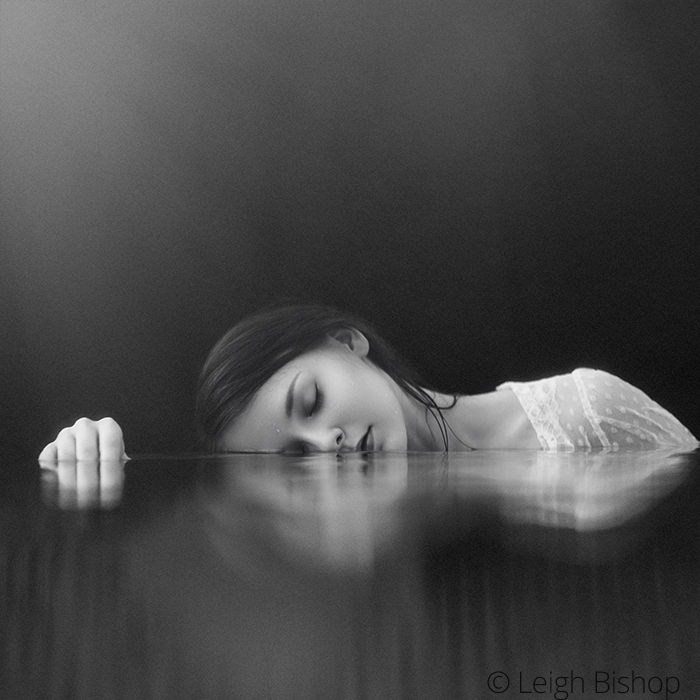
After Color Correction
When photo retouching, the look of the desaturated shot grew on me, so I decided that monochrome was the way to go. I made some miniscule adjustments to the visual aid layers until the luminosity looked just right. Since I already had the layers ready, there was no reason to duplicate the work.
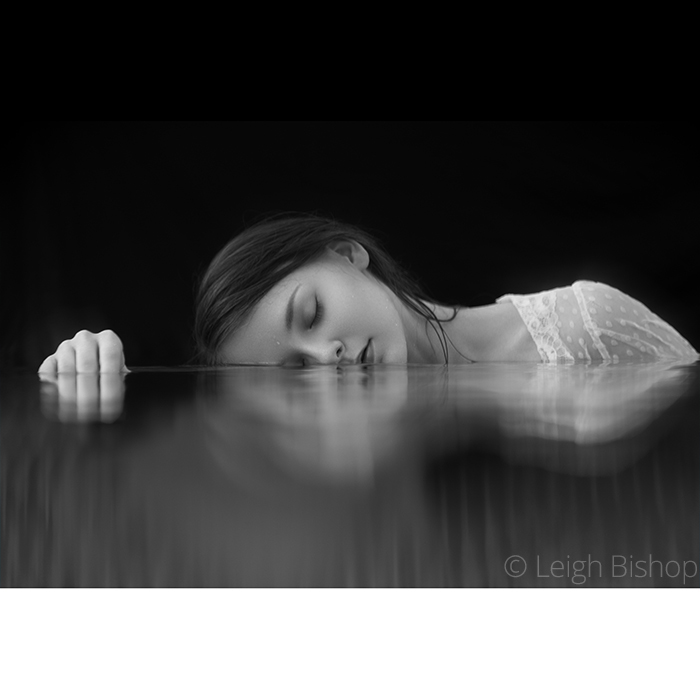
After B&W conversion
Contrast Expansion
The next step was to create some Luminosity masks. I used an action from Pratik Naik of Solstice Retouch for this. I wanted to boost the contrast in the brighter areas of the image. I also darkened the shadow areas with another Luminosity mask. The result gave a bit more contrast and punch.
After contrast expansion
Crop
I decided that I wanted my subject in the lower third of the frame. So I moved the image down and filled the top of the frame with black, blending it into the photo so the transition was smooth.
Crop
Effects
At this point in the photo retouching workflow, I relied heavily on Exposure. It may seem strange to convert to black & white before using it, though. The software makes great-looking conversions from colour on its own. However, I’m a control freak (and darn proud). The extra layers in Photoshop allowed me to get the mood I wanted, in terms of luminosity, and Exposure was used to make subtle changes.
I went with a Daguerreotype preset with a few modifications. The main tweaks to the preset were that I turned off the grain and I added a sun flare. In the infrared (IR) panel, I added a small amount of glow and halation spread. I did want the shot to have grain, especially because Exposure’s grain is great-looking, but I wanted to control exactly where it was placed so didn’t use it in this layer.
Final Touches
To enhance the light coming from the left, I took the image back into Exposure and added an additional sun flare from the left-hand side as well as some grain. I masked it off of my subject’s skin because I use grain as a textural element to separate my subject from the background. For a bit more texture and light, I used Exposure a few more times adding the crushed jade texture and another light effect. For both of them, I masked off of the subject and lowered the opacities in Photoshop for the final result. I usually sharpen as a final stage, but with this image I liked the glow and softness that it had, so I decided not to do any sharpening at all.
One of the things I love about Exposure is its flexibility. It may be strange to take the same image through Exposure a number of times rather than just a single application. It works great for that type of use, too, which is especially handy if time is an issue. My preferred photo retouching workflow is just what I outlined in this article, using multiple layers of effects in conjunction with masking and opacity tweaks. This allows me the most flexibility for altering images to match the visions I have for them.
Try Exposure Today


