Ryan Longnecker has a good eye for making gorgeous imagery. His beautiful high contrast, color-intense landscape and urban photos have grown him a substantial following on social media. He’s an artist from sun up to sun down, pouring all of his creativity efforts into something productive. And the people of the interwebs love him for it. His work has been featured on our monthly photo contest announcement posts a bunch of times. In the article below, he tells us about his workflow editing landscape photos with Exposure X. Thanks, Ryan.
—
So, I’m a wedding photographer originally, turned portrait guy, turned landscape guy, and ultimately I just found that I like traveling and taking pictures of people and places. My work is moving towards the world of adventure and philanthropic photography right now, and I’m really stoked about it. Stylistically my work embraces beautiful digital elements of color through editing while maintaining textured, nuanced tonality rather than hyper-colorized photos.
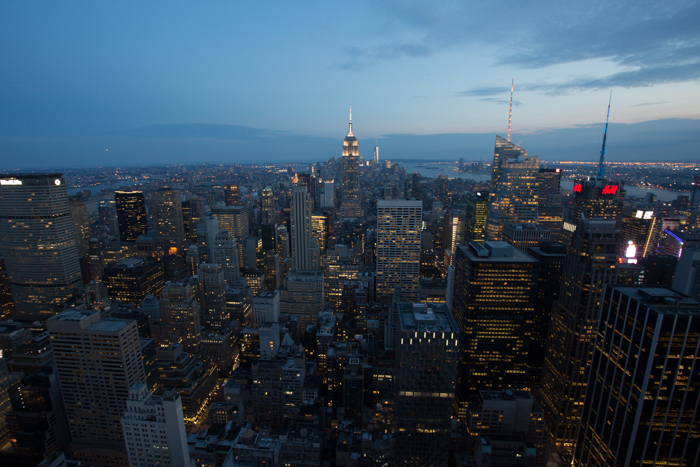
My current workflow is to perform basic toning in Lightroom with a variety of techniques. One of the most common workflow tips I can give is the ‘J-key trick,’ which displays clip warnings for highlights and shadows. Then basic tone curve adjustments to get the most out of the color space in the photo. From there I usually make color adjustments in yellow and blue, moving them more towards amber and teal. Sometimes I’ll add in split toning to dial in the colors, but nothing too complicated. Lightroom can only do so much on its own when it comes to editing landscape photos.
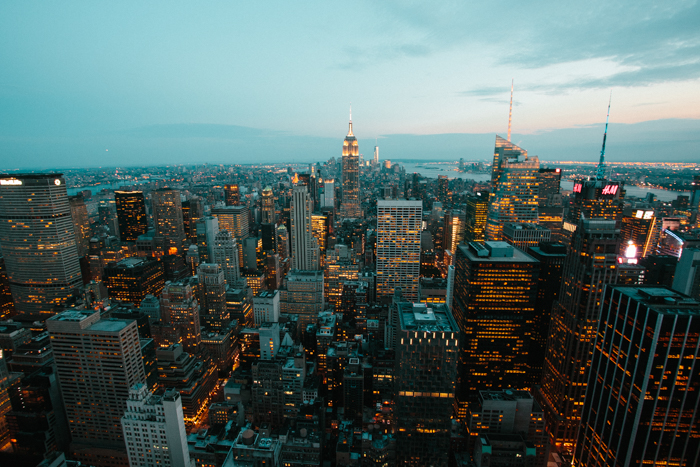
Some of the issues I’ve found in my workflow is that while LR has some potential options for some key editing elements, both its tools and even Photoshop have not handled sharpening, grain, bokeh, and nuanced toning as well as Alien Skin Exposure. I’m a perfectionist when it comes to sharpening, grain, bokeh, and nuanced toning, which Exposure does extremely well. Especially if the shot involves the skin of a model, or something that might end up in print, I need the grain to be gentle and the sharpening to be controllable, and both to be precise. Because of this, I can really only get the results I’m after with Exposure.
Exposure X provides intuitive and ridiculously fast organization tools.
They are all available from the same window as where you perform editing, so there really isn’t much navigation to do. This is just one of the many handy tools found in the new version. It feels very akin to Adobe’s Bridge for me and has the same navigation layout as the Finder on my Mac.
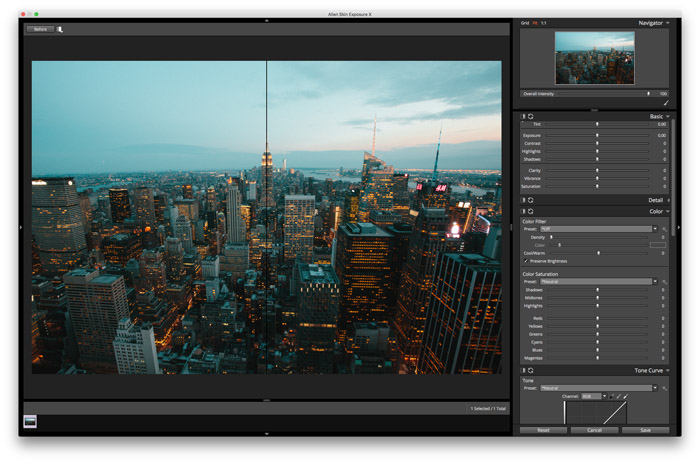
The left panel is closed in this screenshot, which gives more screen room for putting the editing tools to work. The small dark triangle buttons on the sides mount the docs.
Now let’s focus less on organization and speed (which is a topic for another day), but rather on the irreplaceable editing tools I use when editing landscape photos.
At the top of the preview screen, right next to the ‘before’ button are split-screen options, which is a SIIIICK option! The side by side helps me prevent from going too far into the editing rabbit hole where I end up having no clue where I started. I love it.
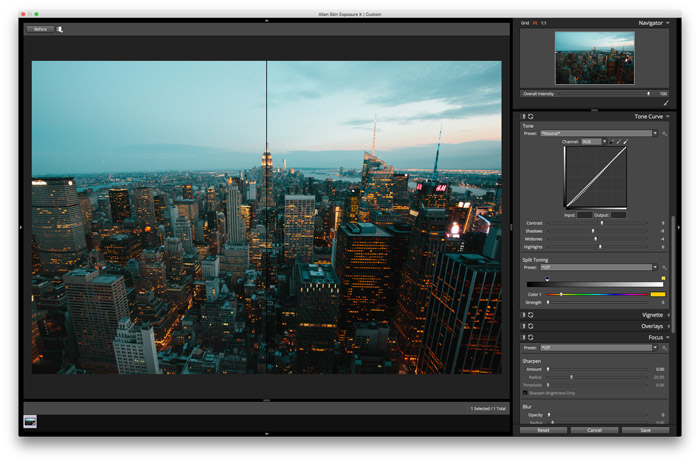
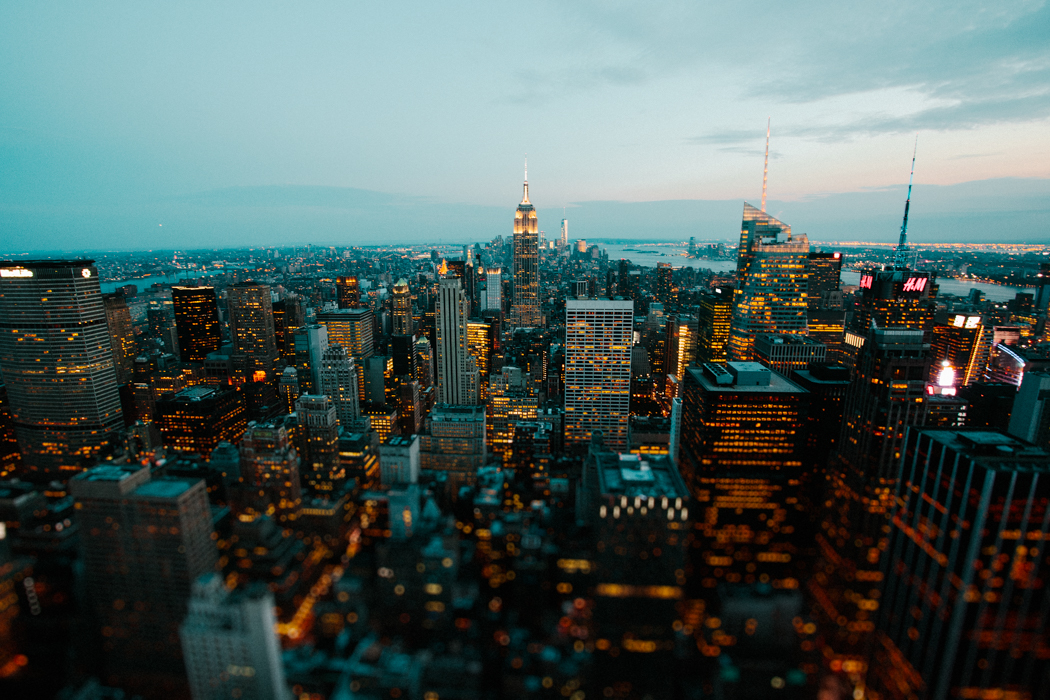
In Exposure, I can make subtle adjustments in the tone curve panel. I couldn’t tell you scientifically why I like the subtleties more even after I’ve toned it originally, it just really tends to work well when I want to make an image moodier. I felt this image needed to maintain the lights but maybe lose some of the buildings in the shadows. I had a tilt shift in mind, so I knew the lights at the bottom would be even better if they were tonally separated from the darker parts. Adjusting contrast, shadows, midtones, and highlights will change the luminance of colors which will visually make them different. In this case, the lights changed from a bright golden-amber to a darker amber-orange, which I dig supes hard.

In version X, there are different sharpening options. I use the one in the Focus panel because it can find the highlight edges only, which is much more subtle and produces fewer artifacts. I tend to keep the radius small because I want sharpness to be exactly that. If the radius is set high, it can start to look like a clarity control. With all sharpening, I encourage you to stay subtle. Oversharpening can be disastrous to a quality photo.
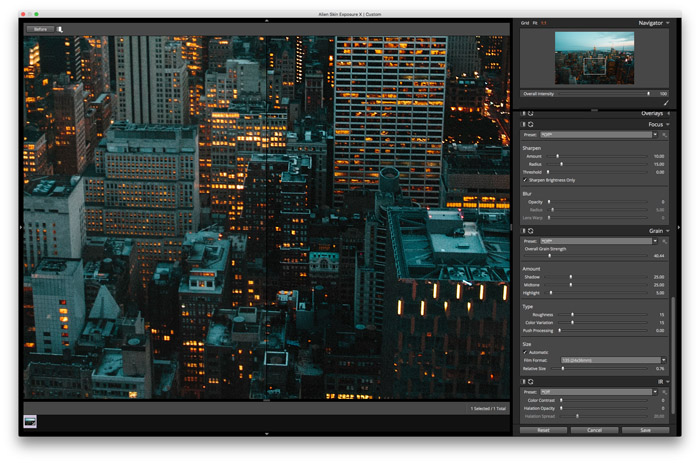 The grain in Exposure is unbeatable.
I can’t say it enough. I have no clue why no other software out there can get it right. If you shoot for film tones, I couldn’t imagine using any of the other clunky options for generating realistic grain. I usually bring down the grain low in the highlights and keep the roughness minimal (more like fine grit sandpaper than bits of sand). If you zoom to 1:1 you can see what the grain is doing and make fine adjustments to the effect.
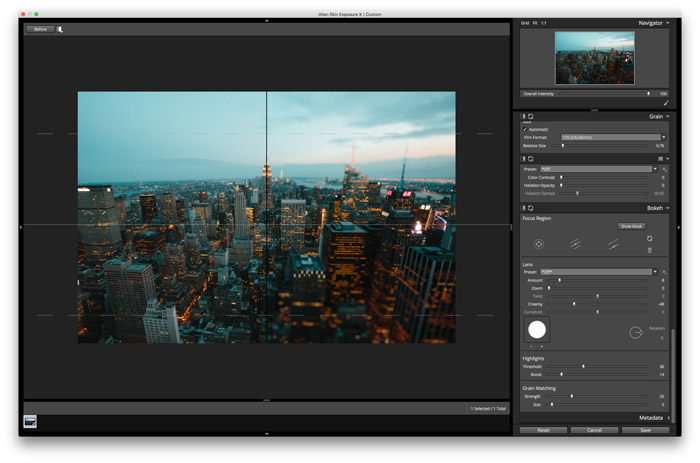
After everything else is set for this shot, I go the bokeh panel and I think staring at a lot of genuine tilt shift lens images over the last few years has helped me see the parameters you NEED to match to get something close to genuine. That being the ‘creamy’ slider, the highlights, and the grain matching. The amount you add isn’t as important as these options to get something both potentially realistic, and not just a plain blur.
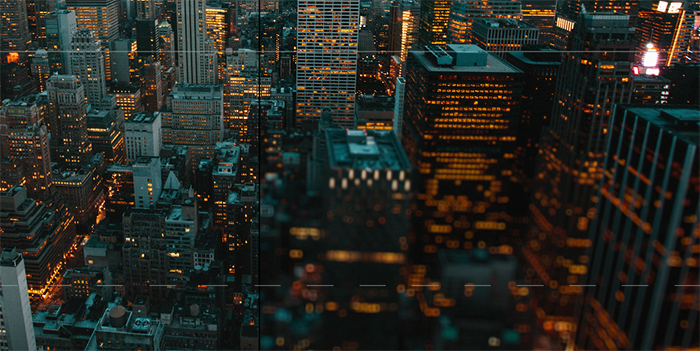
When you move the creamy slider left, you can see that it makes a sort of haloed effect like a lot of the pricier super-fast lenses produce. Real bokeh tends to have some highlight values accentuated, which is why Alien Skin developed the option to boost them. I usually take the threshold up first, then boost. Once it starts to affect parts of my image I don’t want, I’ll pull it back. Notice the top floor lights in the bottom third versus the lights in the center. As a final step, you really have to match the grain for it to maintain a consistent texture throughout.
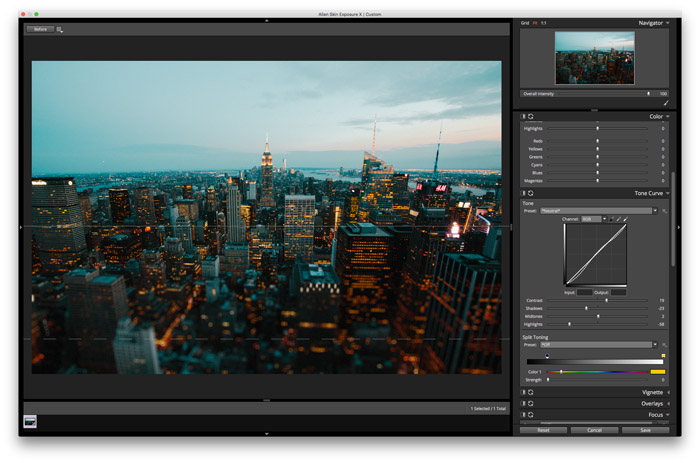
Once I’ve done all of that I go back to the toning curve and make sure it hasn’t lost too much information. I may make small tweaks and then export.
Conclusion
In conclusion, it’s not hard at all for me to stand behind Exposure because I don’t feel it has direct competition for the tools I use it for, especially when editing landscape photos. It’s never lagged and I’ve found that it keeps up with me if I improve. I hope to one day get fast enough to find its breaking point, when a lot of software I deal with all the time is the other way around. It’s nice to know the faster I get the faster it keeps up. Speed is only one of the great features of this software, but there is so much more.
Try Exposure Today


i want to download download plugin for mac tell me link please please
Here you go, Richa. http://www.alienskin.com/trial
thanks a lot for plugin jimmy beech :)