
Gabriel Hill is a commercial portrait photographer and author based in Basel, Switzerland. He has had plenty of fame, as his work has been published in magazines in Austria, Germany, Switzerland, the US, and the UK. He is passionate about the art of a headshot, and has worked with some of the best in the industry. A recent photo project of his, named ImPORTRAITS, caught my eye. Not just because the images are pretty, but that there was something more than what the eye can see in the whole collection. The photos have a personal connection that’s hard to explain, so I mentioned it to Gabriel in the hope of hearing more of the story. As it turns out, the project required a fast photo editing workflow, so he used Exposure X. Gabriel shares how and why in the article, below. Thanks, Gabriel!
As much as I love my job as a commercial business portraiture photographer, I enjoy personal projects most. It’s a good way for me to step out of my comfort zone and diversify. When client pressures are out of the equation, I feel free to explore, get creative and challenge myself.
Next to my studio is the home to some refugees. They are extremely different than my normal client. There are three huge pharmaceutical companies in my town, each with thousands of employees. Most of my clients are important people in that industry, so they have money. Working with refugees who hardly own anything and live off of 8$ per day is exactly opposite of what I’m used to.
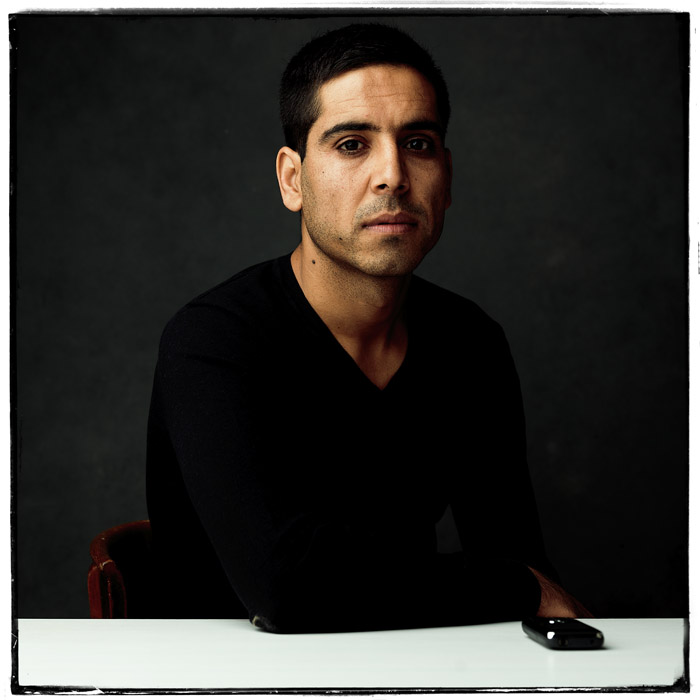
I came up with the idea to take photos of my neighbor refugees along with their most important possessions. It’s common to see masses of refugees across the news media, but they’re shown as groups of people; they’re not portrayed as individuals. I set out to make a personal connection with people who fit this description through photos. It took several months to plan and make all of the arrangements. Part of the project plan is a photo exhibition and a book. Large prints will be made for display, and there will be a few smaller prints produced for sponsors. The limited edition smaller prints are signed by the subjects along with their hand-written story.
I wanted the images to be simple, so used a white table and a subtle, handpainted Oliphant backdrop. I sat them at a table to convey the feeling of sitting with them to hear their story. The setup for the portraits combined with the similar deep look shared between subjects illustrates the harshness of refugee life. Extreme drama remains constant through most of their lives even though their stories are radically different.
I didn‘t want to ask the subjects to return a second time to sign the prints, so the whole process of shooting, importing, culling, editing, exporting and printing had to be efficient. I needed a time-sensitive solution that would enable fast photo editing.
Solution found: Alien Skin Software’s Exposure X
Exposure X can run as a plug-in with Photoshop or external editor in Lightroom. Whichever way you use it, it enables fast photo editing. But when used as a standalone app, it’s all you need to edit everything on a camera card from start to finish. The software performed brilliantly and at great speed. It was noticeable most when working with medium format files. If you do this often, Exposure is an absolute must.
Browsing and Backup
Exposure is the easy way for importing images directly from a memory card. Once it’s plugged in, the computer recognizes the card and prompts me with options. I love how the file system in Exposure matches my operating system; it’s so simple. I prefer to store RAW images in a folder on my network drive, which is automatically synchronized with a mirrored drive and then backed up online. This way I don’t even need to think about it, anymore.
Culling
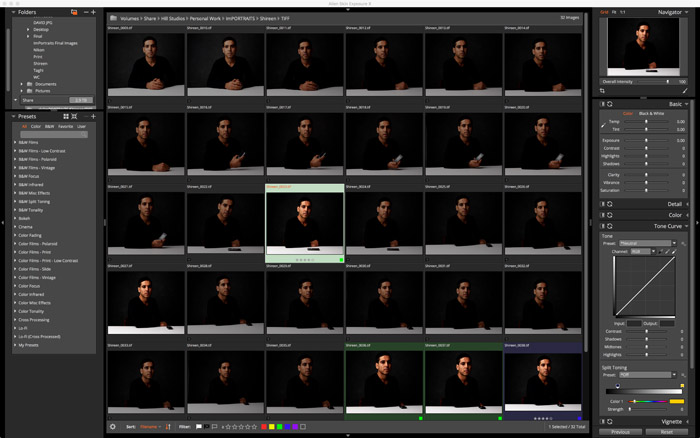
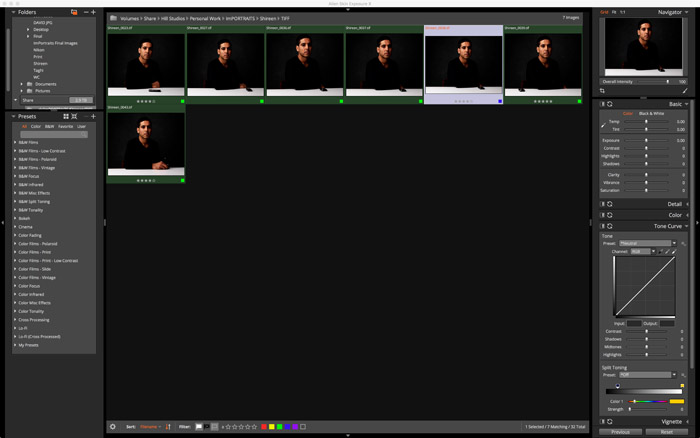
Exposure X doesn’t use a catalogue, which is just fantastic, and helps make it a fast photo editing solution. I implemented an organization system for storing my images years ago, so I don‘t want another software catalogue to manage. Each of my TIFF’s are upwards of 200MB, so storage space is already an issue for me. I run three separate backups just for safe keeping.
I keep full artistic control over the refugee project, but I like to give the subjects a voice in the selection process. Flagging images as pick and reject makes quick work of deciding on which images are favorites. Combined with the filters, I can quickly display a selection of my preferred shot options to the subject. That way, they don’t get to see any shots I’d rather not use, but they still get to give their input for the finals.
Editing
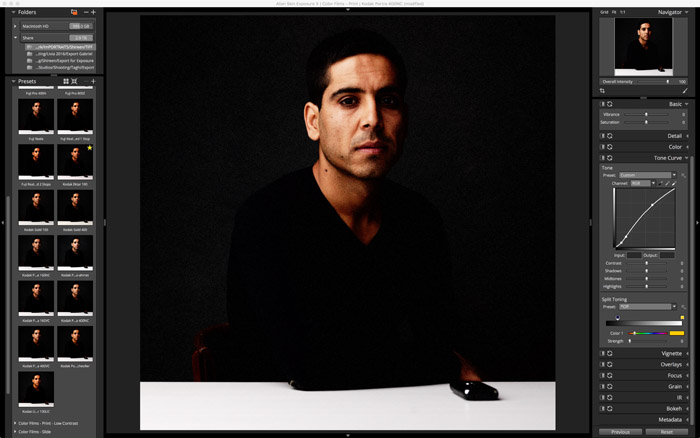
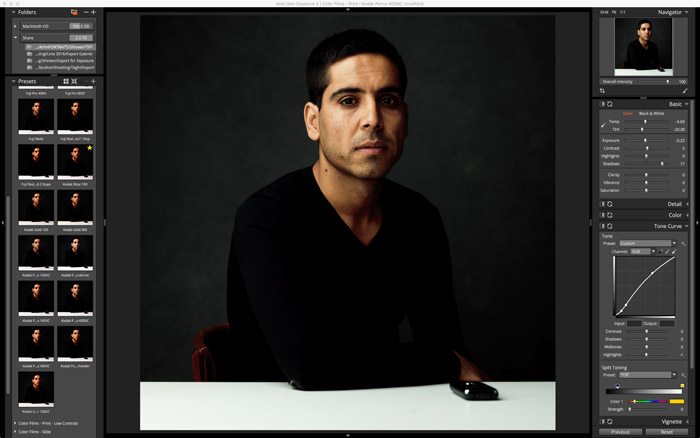
In the presets panel, I start by loading my default preset for the ImPORTRAITS project. It’s a simple variation based on Kodak Portra 400NC that was adjusted to my personal taste. Exposure offers a vast collection of fantastic film presets, so there are always a lot of great options to choose from. Kodak Portra 400NC was one of my favorite films to shoot through my Mamiya RZ67, so I instinctively go with that.
I make standard presets for each of my projects, but I always make small adjustments to the look for each image. Skin tones widely vary between subjects, so even though I want the looks consistent, I don‘t care if there are some minor differences between them.
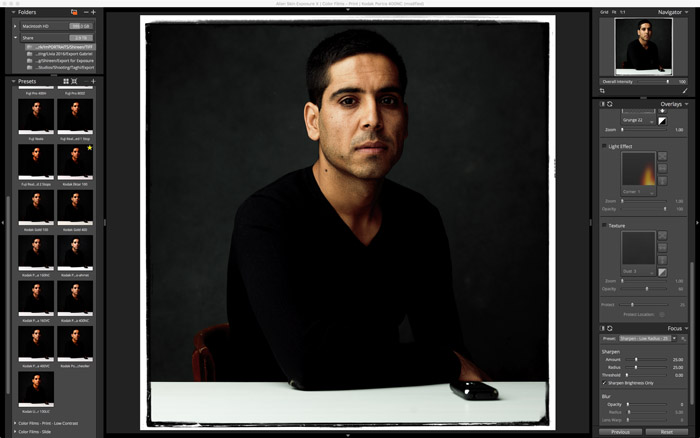
For this project, I want to bring up details from the subtle texture of the Oliphant backdrop. When I shoot, I tend to underexpose and recover shadow details in post production. There are more details hidden in shadows then there are in blown out highlights. I used the tone curves and the shadows slider to bring details out. After that, I make adjustments to the color temperature, tint, contrast, and shadows on the basic panel. As a final step, I add sharpening. I applied a border to the limited prints only.
Export & Print
Exporting the final images is pretty straightforward. Once the editing is complete, I export print files to a folder on my network in AdobeRGB (1998) color space. Color space is a critical choice for making prints. I don’t resize the images before printing because they are plenty large.
The last step in the workflow is printing and signing the image. I use Mac’s Preview app, with the recommended settings provided by the paper manufacturer. I printed with an Epson 4800 inkjet printer with Baryta photo paper. After the portrait had been printed, I slid them across the table to be signed by the subject along with their personal story.
From beginning to end, each shoot didn’t take much time at all. This is can only be achieved through fast photo editing.

Final Thoughts on Fast Photo Editing
This project helped me a lot of optimizing my workflow for my commercial business. Projects like ImPORTRAITS wouldn’t have been possible without reliable, efficient editing tools to enable fast photo editing. A simple, straight-forward workflow keeps you organized, which will save you time, increase your profits and keep your quality of work high. If you want to take what you produce to the next level and require a fast photo editing application, check out Exposure X.
If you’d like to know more about the project or read the stories that accompany the images, head over to www.importraits.ch.
Try Exposure Today


