In the majority of my portrait work, I use Exposure for a finishing application to really give images a touch of editing magic. I often go with a subtle painterly effect, and Exposure is great for achieving it. I use Exposure as a Photoshop plug-in most of the time. I rely on Photoshop’s layering and tooling for larger changes such as cleaning up backgrounds, or for setting local color corrections to skin or garments. Exposure has that functionality on its own, but I’ve spent years doing things in Photoshop so it’s easier for me.
My goal is to achieve a painterly effect with Exposure. My followers ask about how I do this quite often, so I thought I’d share my workflow. Some of my popular photo shares have been treated in a similar way to this. Before we start, the look I’m going for is not to be confused with the natural media effects made with Snap Art. The style I’m looking for suggests a painterly effect, but it doesn’t actually produce it.
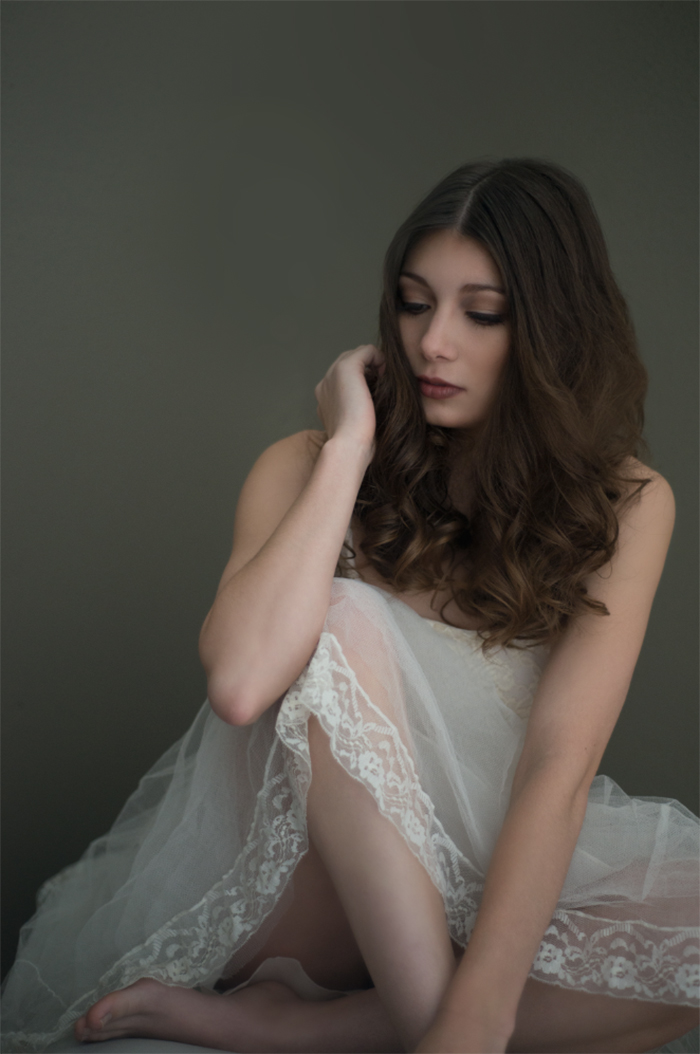
Once the image has been prepared with the regular retouching work in Photoshop, such as basic color correction, blemish removal, background clean-up, etc., it’s ready for the painterly magic. Pictured below is the original shot after basic retouching and color corrections have been applied.
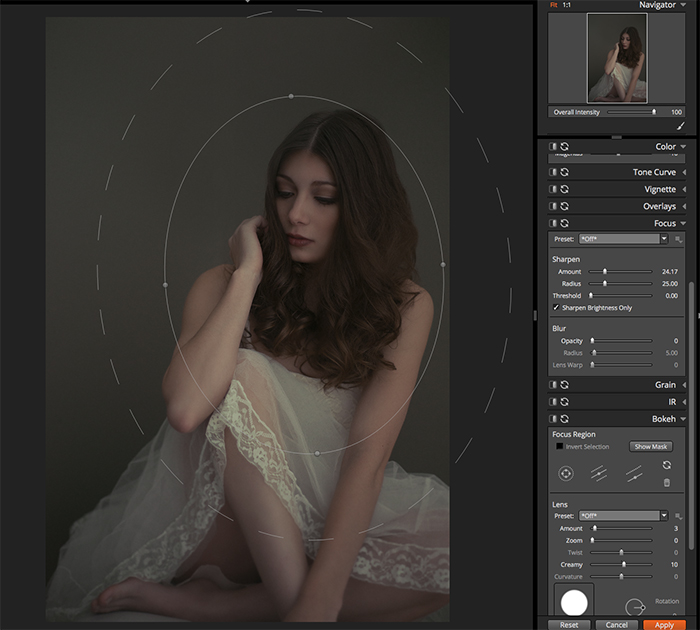
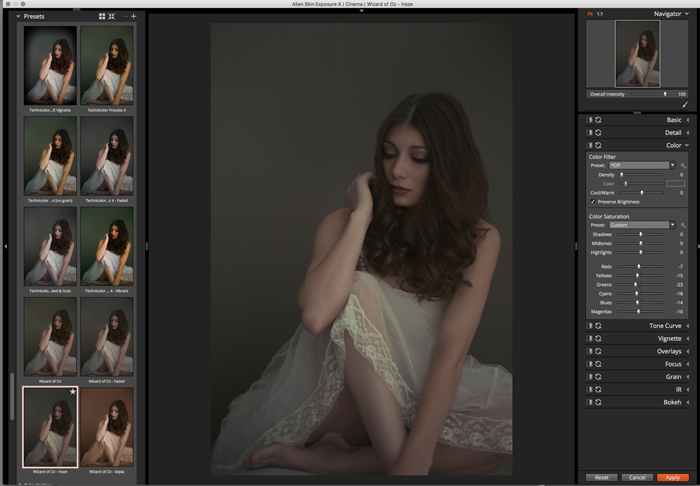
I then go to Exposure to start on the painterly effect. Some of the best selections for this type of look are in the Cinema category; the Technicolor choices are my favorites. Preset choice is an important decision to make as it drastically changes the look and feel of the final image. I advise that you spend a little time looking at the presets, imagining what each option will look like after you put it through your artistic refiner’s fire. Once the decision on what look is made, adjustment tweaks massage the effect to line up with your creative vision.
One of the main adjustments to make when building a painterly effect is lowering your contrast. The Wizard of Oz presets already do that for you, in addition to adding some beautiful color. I modified the color on this image slightly, but used the effect pretty much out of the box. I can’t give a formula, because I just go with what I think looks good on each shot. For this, I added a bit of sharpening in the Focus panel. As a finishing touch, I added an extremely subtle bokeh effect, just to soften up her hands, which accentuates her face and helps draw you in.
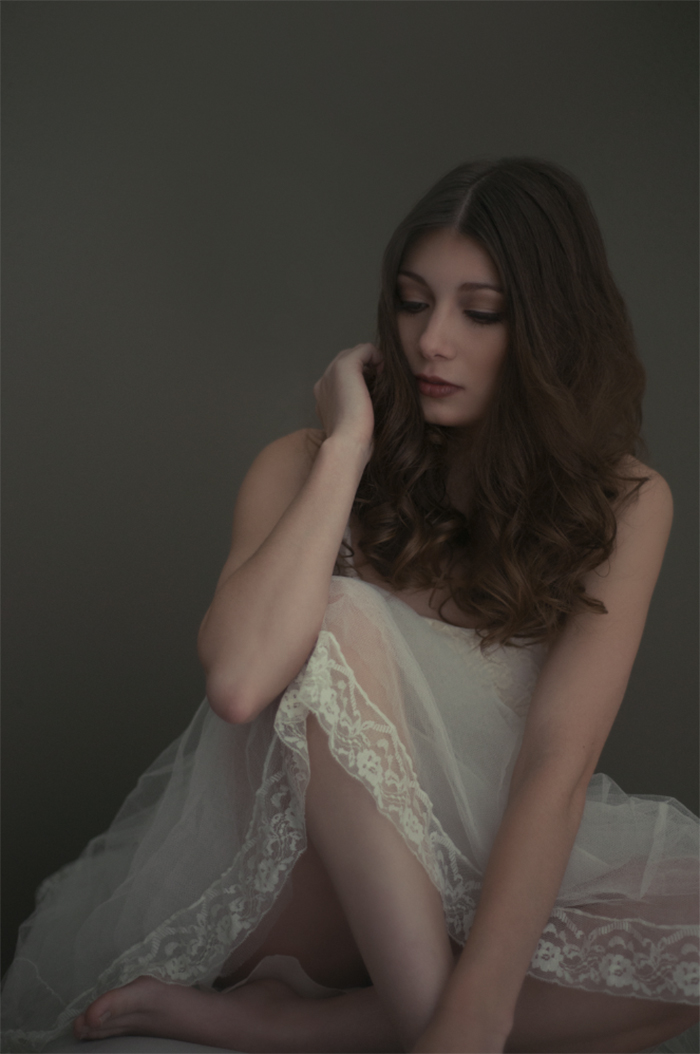
I then have what I want for a finished image. Transforming a shot to have a painterly effect is just one of the many ways you can edit your shot in Exposure. There is much more that you can do with the software than just film emulations. I used to rely on action sets in Photoshop for editing and color grading. Once I started using Exposure, I stopped using them. I just love the way I can instantly see where the look is going without having to push play. It makes my editing faster and more accurate. I always get what I want, now. Give it a try yourself. The fully functional demo is free!
Try Exposure Today




Hello Trish,
Thank you for a most interesting article. Good ideas for creative effects.
Thank you,
Conrad