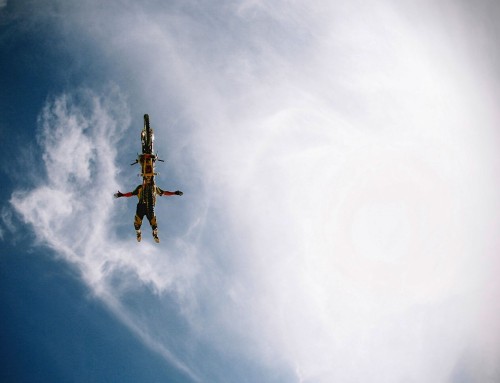
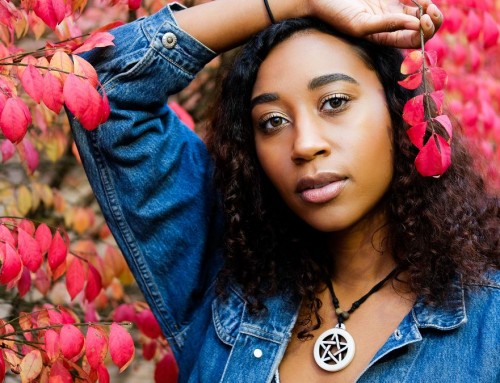
Adding orange and teal color casts in post processing is a popular cinematic grading method. Filmmakers use these two complementary colors to give shots more depth and contrast. The orange tone mixes nicely with skin tones, which will help them pop. The added contrast will further separate the skin tones from the background of the shot.
This video tutorial shows you one workflow for creating a custom Exposure preset with orange and teal color casts. Artistic applications like this are subjective, so think of this as a guide rather than an exact recipe. Control settings will vary based on the photo you are using and your own artistic interpretation.
Learn how to create your own orange and teal preset by following the workflow method in the video, below.
If you haven’t used Exposure before, try it free by downloading the 30-day trial. Subscribe to our newsletter for new tutorial videos, inspiring customer stories, and the latest information about contests and other special promotions.
You can download a copy of the Orange & Teal preset created in this tutorial for Exposure X2, here. Or you can download a version that will work with Exposure X3, here. If you need help installing the preset into Exposure, our Working with Presets video will show you the ropes.[/fusion_builder_column][/fusion_builder_row][/fusion_builder_container]
Try Exposure Today


Brilliant – exactly the effect I have been craving for. Thanks a million guys.
Excellent preset but will not import into X3 (full version)
Hi John!
You are correct. The Orange and Teal preset in this article was made with Exposure X2, so it will need to be upgraded to use with Exposure X3. Presets from one version cannot be shared manually with a different version.
To upgrade the preset from Exposure X2, go to the Preferences panel in Exposure X3. On the General tab, select the Import button.
Or, you can download a version of the upgraded Orange & Teal preset to use with Exposure X3.
Nice, thanks for the tipps
hello there,
i am desperately trying to get a proper orange and teal look on my pictures that are a little more colorfull than this example. unfortunately with poor results only. especially in blue parts of pics. no tweaks help. is there any pre-adjustement required for pictures, where blue, orange and yellow elements are already present? many thanks in advance.
Hi David. Looks like this are subjective, so there isn’t a right or wrong way to do things. The color saturation controls on the Color panel are where I would start making adjustments. You can use Exposure’s layers for additional control of separate effects-such as lowering the saturation of blocked-up colors. Try to start the transformation with an Exposure preset that gets you headed in the right direction.