Photo editing is an art form in and of itself. Some photographers like to use stronger effects; others prefer the subtler side of the spectrum. Regardless of your photo editing preference, doing everything in a single application makes the photo editing process easy.
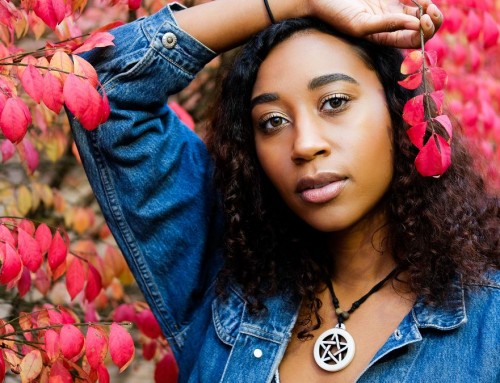
In this tutorial, we recorded a video call with Australian commercial fashion photographer Robert Coppa. Robert took us through his typical photo editing workflow using Exposure on some of his work. He shares his insights into how he makes creative decisions. His photo editing process is easy, and it produces great-looking results.
For example, Robert uses the audition feature in Exposure for quick photo preset comparisons between several looks before he begins editing. Doing so enables him to create a mental goal for how he wants the final image to look. Having a goal in mind improves photo editing efficiency so he doesn’t spend lots of time tweaking sliders.
Robert’s workflow in this video demonstrates how he typically creates a distinct look for all the images in an entire editorial set. He does this by editing one photo from the shoot and then copying those effects to all the images in a batch all at once. Exposure’s easy to use layers provide Robert with a high level of creative control over the effects he develops and their placement.
Learn more about Robert by visiting his website, or follow him on Facebook and Instagram.
Try Exposure Today


Nice tutorial!
Was great getting to see the workflow of a fashion photographer, from start-to-finish.
Would love to see more workflow-based posts in the future, especially if they’re related to fashion, portraiture, fine-art, etc.
Thanks so much! :)
Thanks for commenting, Jonny. That’s not a bad idea, these workflow videos are fun to make.
Really good article. Thanks for taking the time to explain things in such great detail in a way that is easy to understand.