
One of the exciting, fun aspects of working in Exposure is making unique presets with your own personal style. Some presets you design apply creative effects, while others will make editing layers for detailed retouching. This article gives you a few tips for making creative looks that will work well for a wide selection of photos.
Presets are a great way to quickly apply a consistent look across numerous images. Some photographers develop a look for each client or shoot, while others use a single look for all their work. Regardless of the desired use, presets are an invaluable tool for all Exposure users.
Start with Good Photos
Before moving sliders, first locate strong images to use to create the look. It’s important to test the adjustments you make when building the preset on quality candidate photos. They provide you clearer visual feedback of the edits you make.
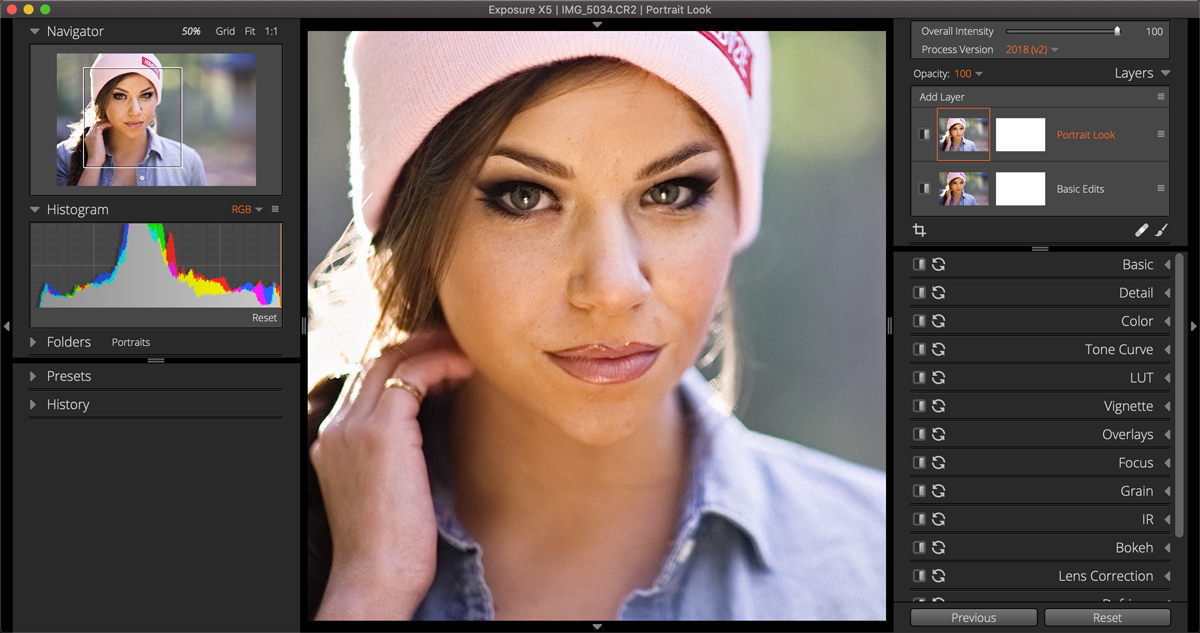
This is a good example image to use for preset looks, there is lots of color information displayed in the histogram. Notice the two separate layers applied to this image in the Layers panel. One layer contains adjustments to Exposure, Shadows, Highlights, etc. The other layer houses the custom Portrait Look preset.
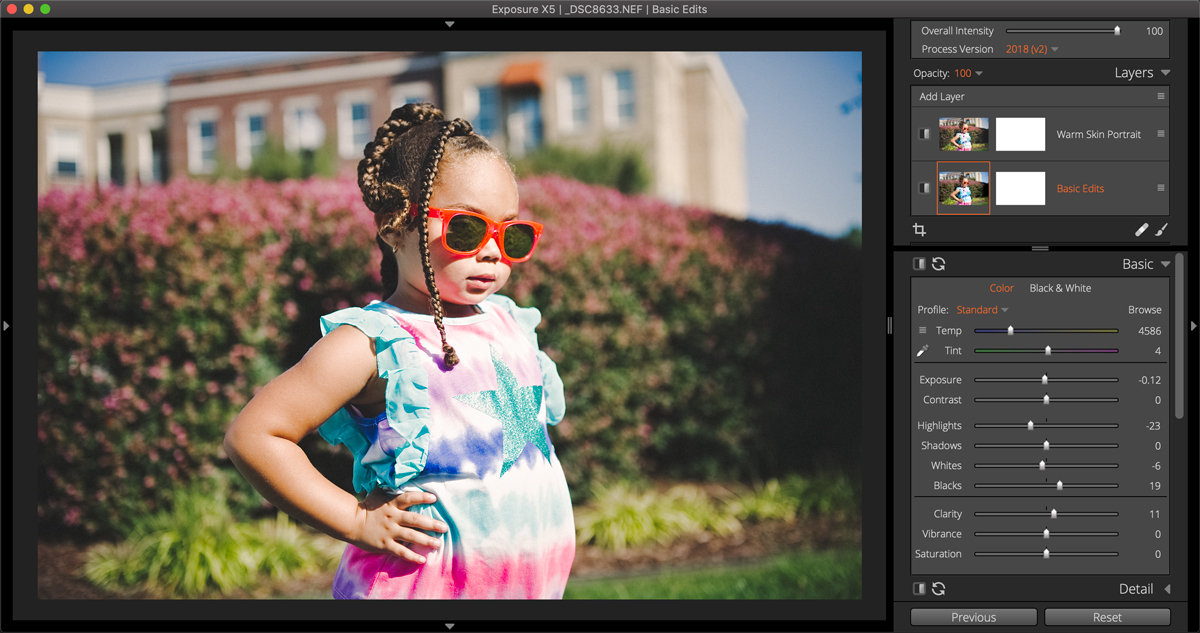
When designing a preset for general use, use images that are sharp, well-exposed, and that contain lots of saturated colors, bright highlights, and dark shadows. Proper exposure is most important. Editing adjustments will affect images differently at various exposure levels.
If a photo needs basic adjustments to exposure or contrast first, perform that before making a color-grading preset. Minor editing corrections like these can be done in a separate editing layer and omitted from the color grading look.
Photos of faces are great to use for visualizing toning effects on skin, but include tones of blue and green as well. The more colors and values contained in the original image, the more precise color adjustments you can include in the preset.
Follow an Order of Operations
When applying edits to make the look, start moving controls at the top of each panel and work your way down through each of them. The order of which control you adjust can affect other controls. For example, the first decision to make is whether the effect you are making is color or black and white.
Adjustments to exposure can affect saturation, which is why the exposure slider is located above the Saturation slider in the panel. If you adjust saturation first, then later you adjust exposure, you will often need to go back and adjust the saturation again. Making adjustments and readjustments is part of the process of creating presets, but following a top-down order when making tweaks will help make it quicker.
Follow a top-down order when making tweaks. In the Basic panel, first make adjustments to the Exposure slider, then refine Highlights and Shadows. Adjust Whites and Blacks as the final step.
Editing Methodically
Adopting a standard editing method will keep things simple. Retracing adjustments on several different panels at a time can be confusing, which is a good reason to follow a procedure. One effective technique is to edit one panel at a time, then close panels after edits are made. Simply move on to make further adjustments and complete the look.
The History panel records all the editing adjustments made in Exposure. Using the one panel at a time method, the editing history is easy to follow. This enables you to walk back through each adjustment made when creating the look. Hover the cursor over the entries in the History panel to preview that step in the workflow.
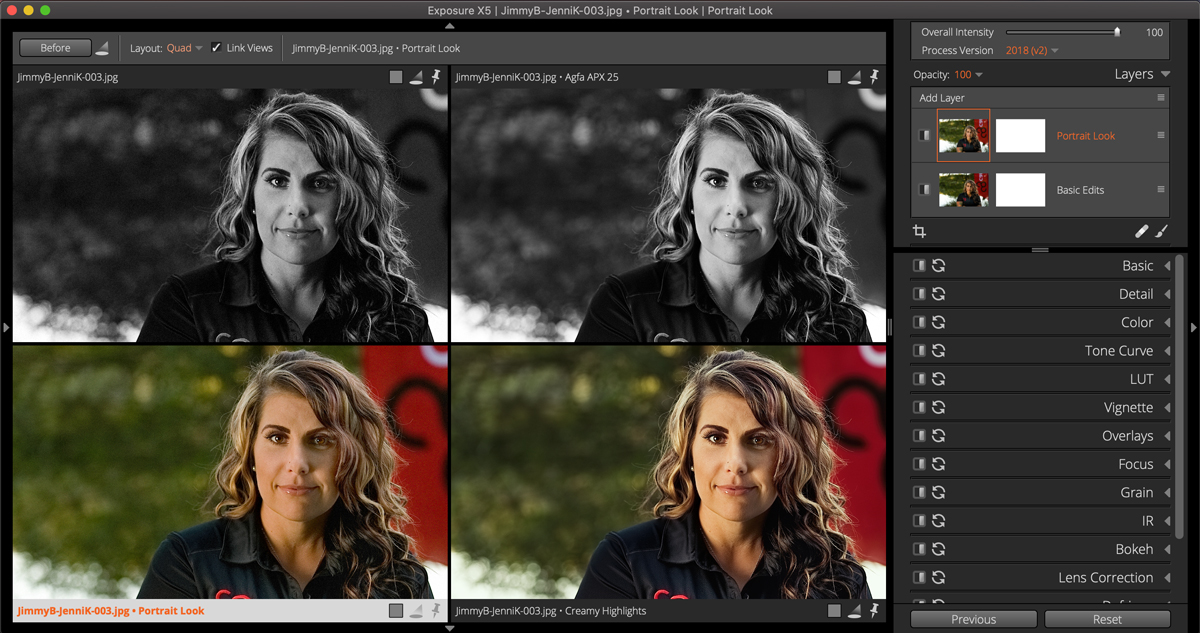
Use the side-by-side layouts to compare variations of the presets you create. Multi-view layouts in the top dock are useful for comparing edits on the screen.
When making presets, save several iterations as you go through the process of creating them. This keeps the focus on the edits you’re making, so you stay in the creative zone. You can easily go back, revisit the looks you came up with on other images, and clean up your preset library when you’re done.
Keep Presets Organized
Be disciplined about using clear preset names, and creating informational categories. There are a lot of presets in Exposure. You don’t want your latest work to get lost in the shuffle. When you build a custom look by first selecting an existing preset, include those details in the preset notes when you’re saving it.
Clear, consistent naming and organization will help keep your preset library easy to navigate. In order to easily find your custom presets later, give yourself numerous ways to locate your looks. Include informative data in names of presets, and give any layers contained in your presets helpful names, too. This is crucial for presets containing numerous layers.
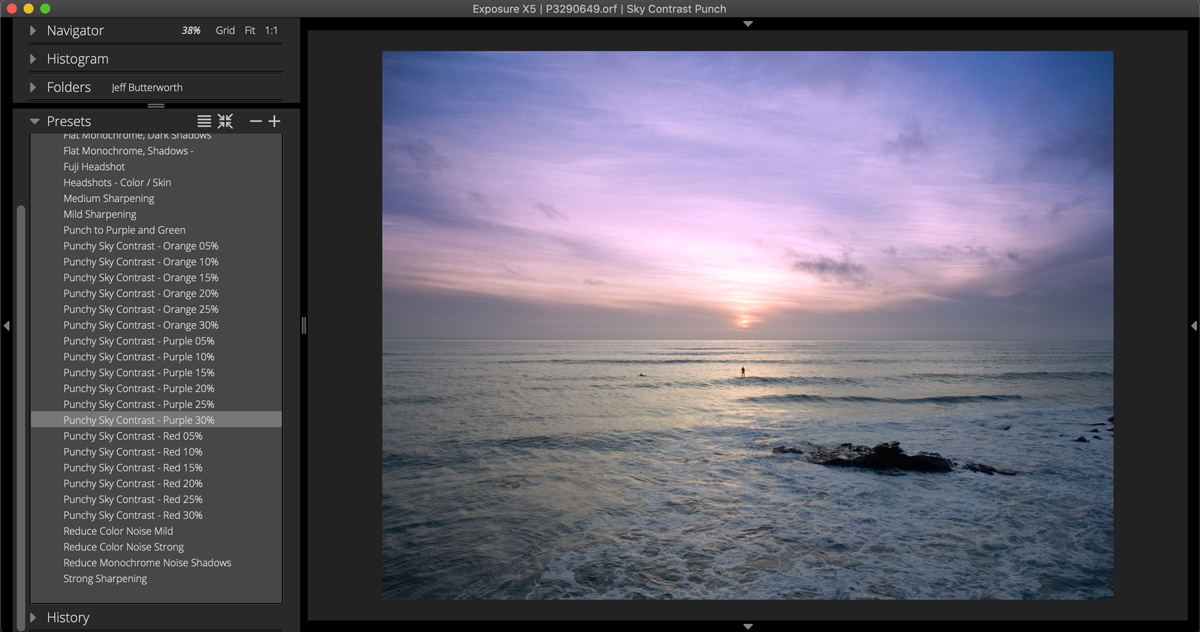
The data included in the preset name, category, and description fields are searchable terms in the presets panel.
Preset Design Tips
Don’t make a preset with sliders that oppose each other. An example would be increasing contrast on the Basic panel and then decreasing contrast in the Color panel. The effects from each adjustment cancel each other out.
Omit unnecessary controls when you’re saving a preset. In the Edit Preset dialog, only the underlined panel names contain editing adjustments. To have the preset leave a group of settings alone, uncheck panels without underlines.
Consider how you’re going to use presets in your workflow. For example, if you first perform basic adjustments to your images before you apply effects, then skip using Basic panel controls in your presets. The film emulation presets in Exposure don’t include adjustments on that panel.
Presets are often best when they create a subtle effect. You can easily reduce the strength with overall intensity or by adjusting layer opacity. Attempt to design presets so they are as strong as you might need them, but no stronger.
There are endless possibilities for making creative looks in Exposure. The next time you’re creating a custom look from scratch, Give these suggestions a try.


