Exposure’s 3D color masking controls easily define detailed selections with minimal effort. Check out this video for a demonstration in creating and editing layer masks. We’ll show you the essentials for targeting specific regions in the image with the mask using the color constraint controls.
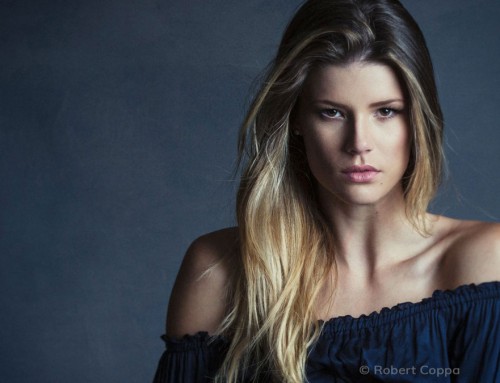
Photo: Craig MacPhee
Transcript
Masks control where the adjustments you make are applied to images. Assigning color dimensions will precisely define the mask edges. We use the term 3D Color Masking because, in Exposure, the mask is defined with three separate color dimensions – luminance, saturation, and hue.
How to target colors
The color constraints presets are useful for common masking situations. They can be used for selecting various skin tones, or skies, or brightness ranges. After selecting a preset, the mask parameters can be refined by hand for more control. You can also save your own presets to this list.
Adjustments made on the layer are restricted by its mask. The masking and layering system enables you to control lots of various effects on a single image. Learn more about using the system in our Working with Layers video.
When defining an individual mask, there are several built-in range presets that are accessible from the 4-lines icon on the left of the panel. These presets quickly get you in the ballpark of the selection you’re after. They can be refined for this image in particular, easily.
Using the eyedroppers
When editing masks, the show mask toggle is useful. When enabled, the mask will display a color overlay as you make adjustments. You can easily make the mask stronger with more opacity, or change the hue to a different color. A helpful keyboard shortcut to display the mask while you work is M.
Simply click the eyedropper and click a point in the image. Use this tool to choose a luminance, saturation, or hue range. Repeat the process to reselect using a different sample. To expand the range with the eyedropper, hold the Shift key. With each click, the range is expanded to include more selected values.
Refining the sliders
To refine the selection made with the eyedropper, use the slider handles. The top handles on the sliders indicate the edge of the full value. The bottom handles control the feathering between the inner edge and the unmasked area. The further the inner and outer handles are apart, the more gradual the edge of the mask will be.
Mask view modes are great for making refinements. Click the icon next to Show Mask to select from view options.
The Hue wheel behaves the same as the other sliders. The inner values denote the fully saturated tones. The outer values control the gradual blend. Hold Shift while dragging the bottom handles to apply the same feathering amount on the other side. Hold Shift while dragging the top handle to move them all together. Double-click to reset slider values to default.
3D color masking makes creating detailed masks simple and quick, so you can easily control where image adjustments are applied. Once defined, a mask can be saved as a preset and reused on other images. Check out our 3D Color Masking video for a demonstration of that process. Masking presets drastically speed up your editing and retouching workflow.


