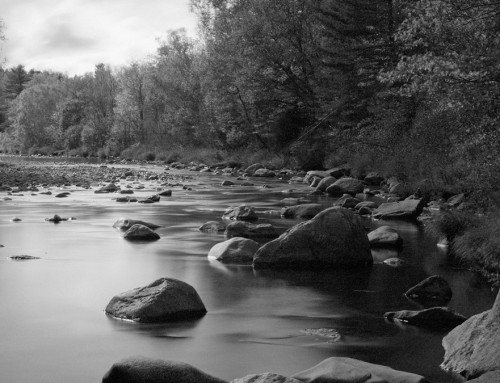
Infrared film photography creates images with a beautiful, dreamlike feel. There are several unique characteristics for this type of look. This video demonstrates how to apply black and white infrared effects and how to strengthen their ethereal qualities.
Photo: Sharon Covert
Transcript
Converting colors
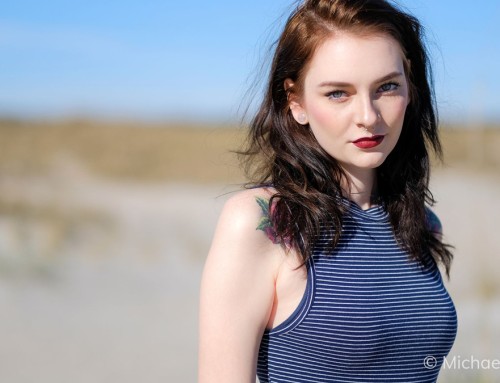
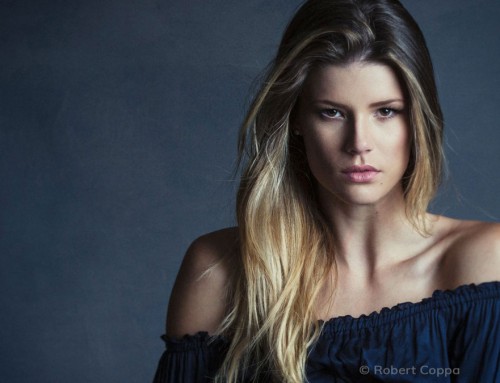
When converting a color photo to black and white, first apply adjustments to the image with the controls on the Basic panel. This can include setting the white balance, adjusting the exposure, highlights, or clarity to bring the photo to a neutral point. Infrared film is often used for shooting landscapes, but it can do creative things to portraits like this.
A simple way to convert to a monochrome Infrared look is with Exposure’s library of analog film emulation presets. There are several black and white Infrared presets. Some simulate the look of real Infrared film, such as Kodak HIE, Ilford SFX, and Konica 750.
Converting the colors to monochrome values can be performed by hand for more control. Adjustments made on the Color panel dial-in the brightness of each color tone with great precision. Learn more about controlling the conversion of color photos in the Black and White editing video on our website.
Enhancing ethereal qualities
There are several unique aspects of creating an ethereal look. One of those specific to Infrared film is a blooming effect called halation. Halation is a glow that occurs around the bright values in analog Infrared film. In Exposure, this effect can be controlled with the sliders on the IR panel. The Halation Opacity controls the amount of blooming visible and Halation Spread sets the distance the bloom travels.
Another aspect of black and white infrared film is a dreamlike appearance known as the wood effect. It’s mainly caused by foliage strongly reflecting light, causing the distinctive glow. Analog Infrared film records radiant heat from objects, so the sky and ocean usually appear dark because they don’t radiate much heat, but greens from foliage appear bright. Use the Color Contrast slider to simulate this.
A strong atmospheric quality like fog, haze, or clouds can emphasize an ethereal mood. Exposure’s overlays panel works great for this. Light effects and textures can be applied, adjusted, and inverted with the tools in the panel. This includes setting a location to protect from the applied effect. Check out our Overlays video to learn more about working with overlays.
Adding a gentile softness can give a photo a dream-like feel. It’s simple to with the controls on the Focus panel. Select a blur preset from the panel dropdown, or adjust the sliders. The Lens Warp control removes blurring from the center of the image, leaving it at the edges.


