Here is an article by Tony Sweet where he jazzes up a photo with Bokeh and Snap Art. He shares plenty of workflow tips as he transforms a good shot into a great shot.
—
A classic dilemma in flower photography is when there isn’t quite enough distance between the subject and the background to vary the focus for your shot. It can happen in any situation, not just flowers. For this image, I was able to capture a soft background, but it was not quite what I had in mind. Let’s go a step or two beyond the lens and build the image I’m envisioning.
I had to stop down to get the flower sharp. Doing so gave me too much detail in the background flowers. If the distance between the subject and the background was a bit more, I could have gotten the shot without it being distracting. This happens all of the time. Normally, we are at the mercy of our natural subjects, but Bokeh can rectify the situation.

Before the transformation, I’ll clone in the small hole at the top edge of the frame. I prefer using a low opacity on the clone tool to tone down the bright edge highlights.
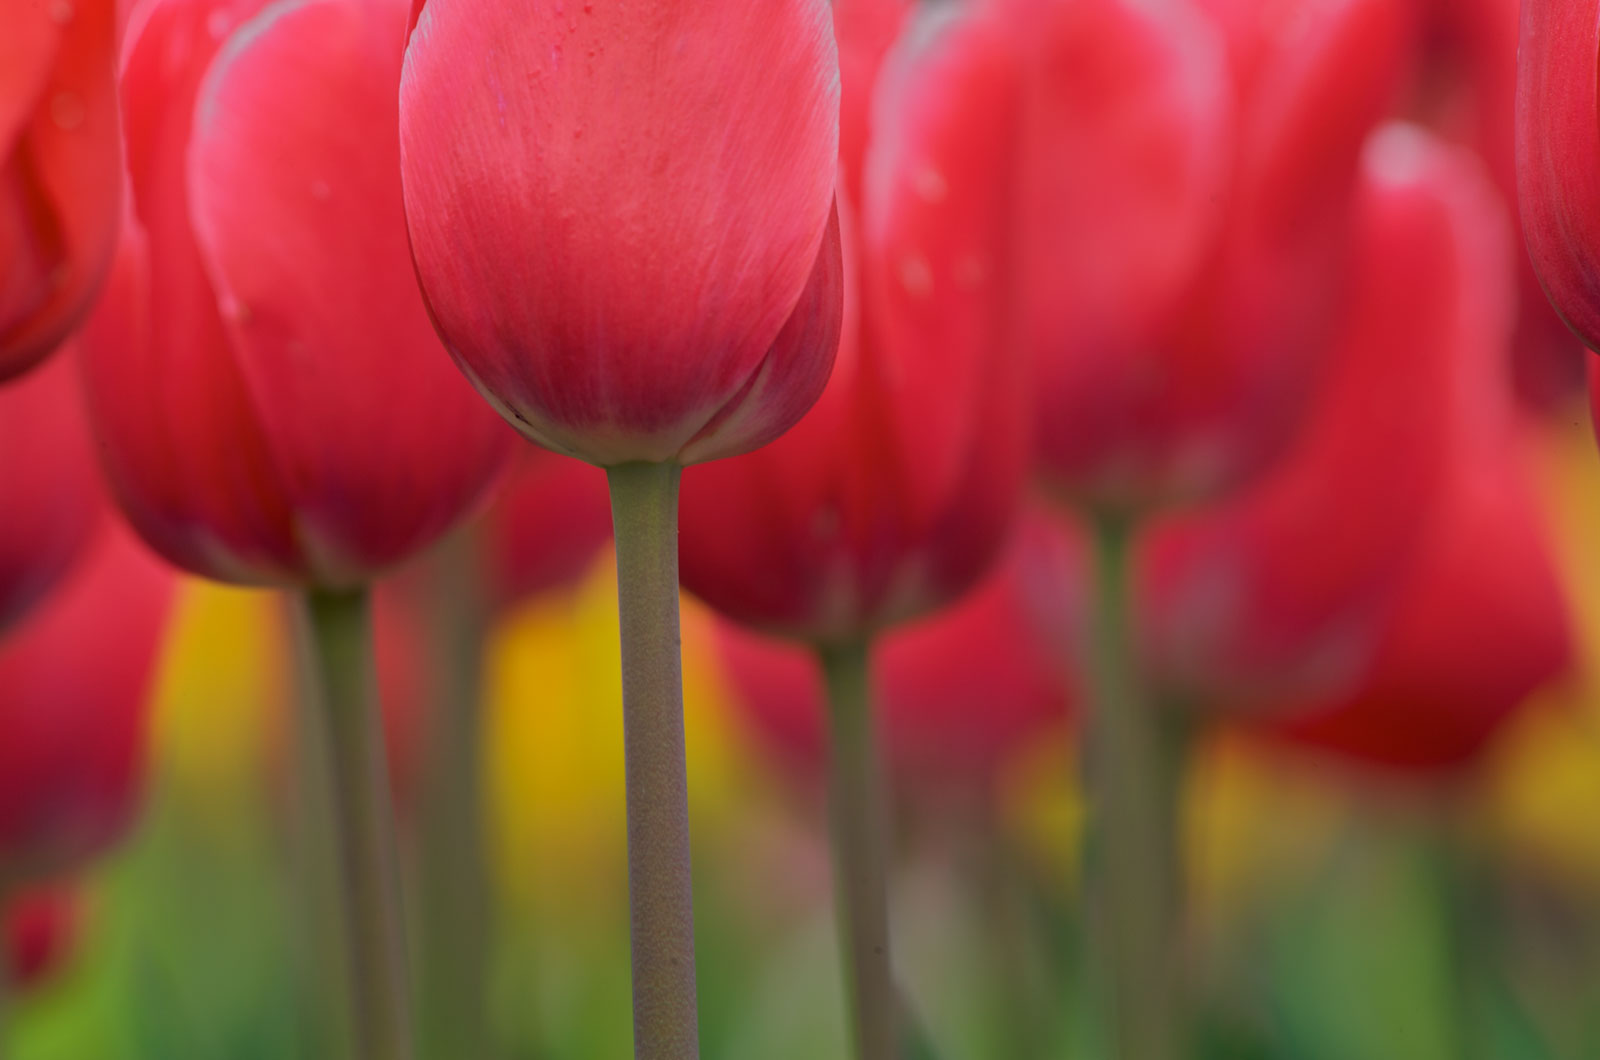
Now that we’ve cleaned up the image a bit, notice how the flowers are too close to get a soft background. I want to separate the foreground flower and enhance the feeling of depth.
Let’s use Bokeh to add softness to the background flower group. First I’ll select the foreground flower with the Quick Selection Tool (W). If you need help making selections in Photoshop, check out this video.
Using a selection allows us to apply the blurring effect to a specific area of the image. With the selection made I’ll open the image in Bokeh and select the preset “Canon 85mm f/1.2L @ f/5.6.” I don’t need to make any adjustments, the preset looks good on its own.
Here’s the output image. See how the foreground flower is beginning to separate from the group?
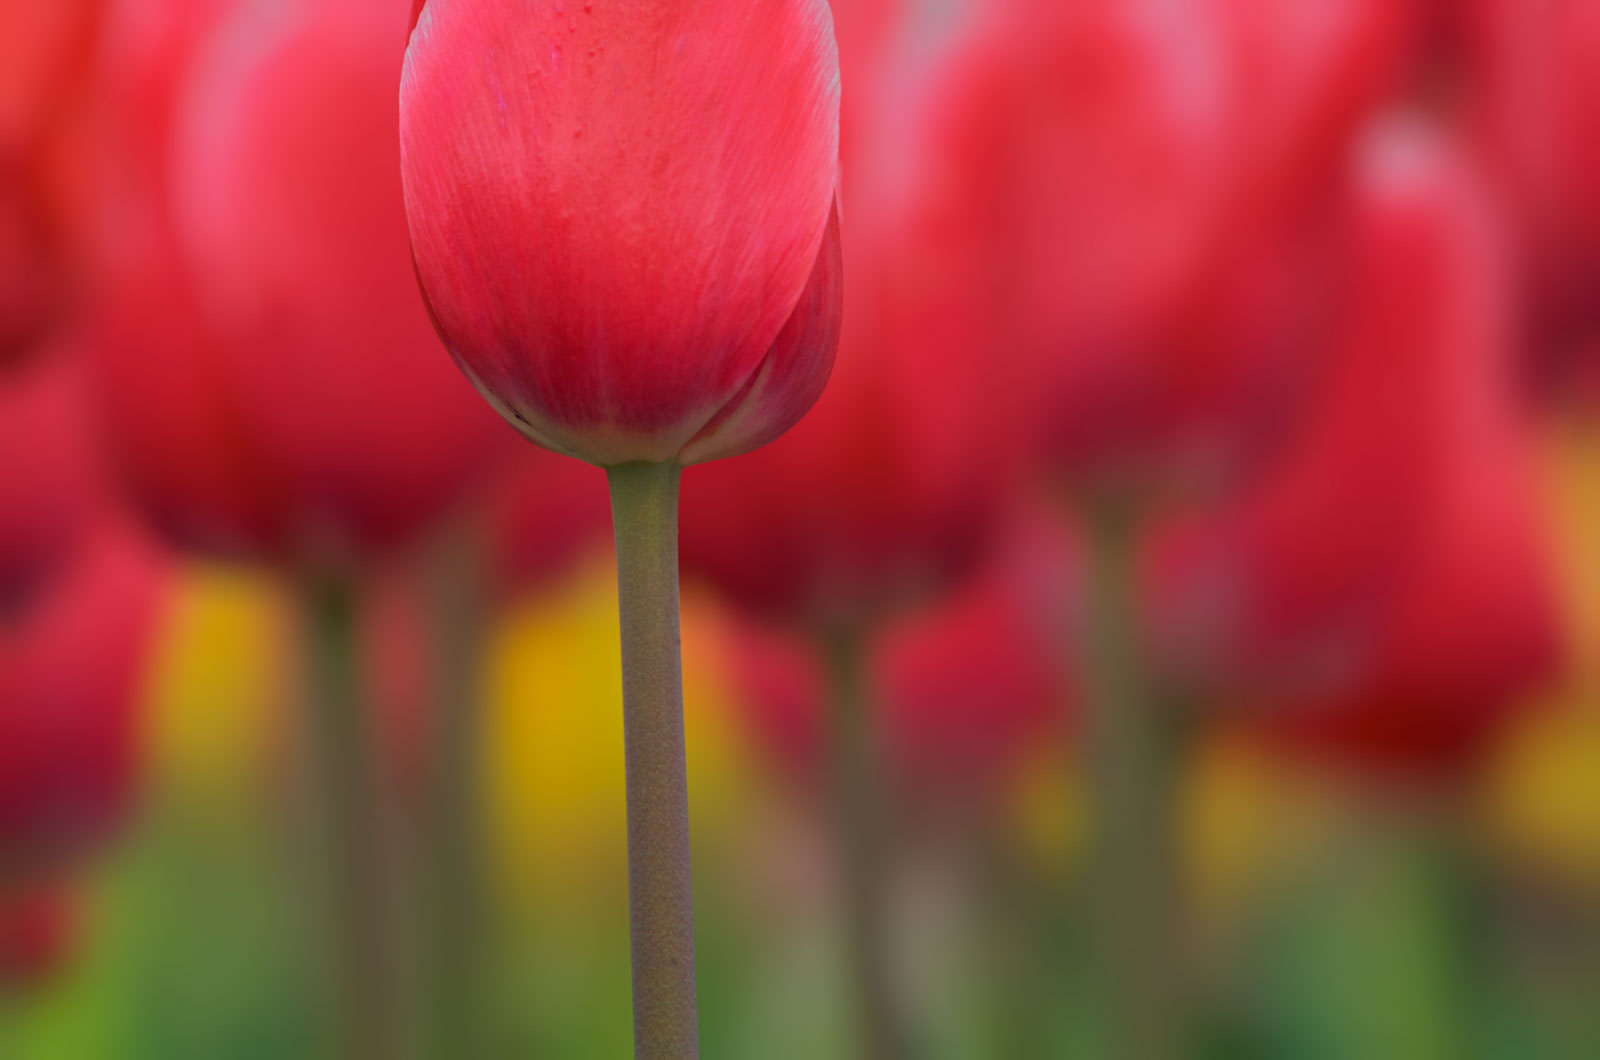
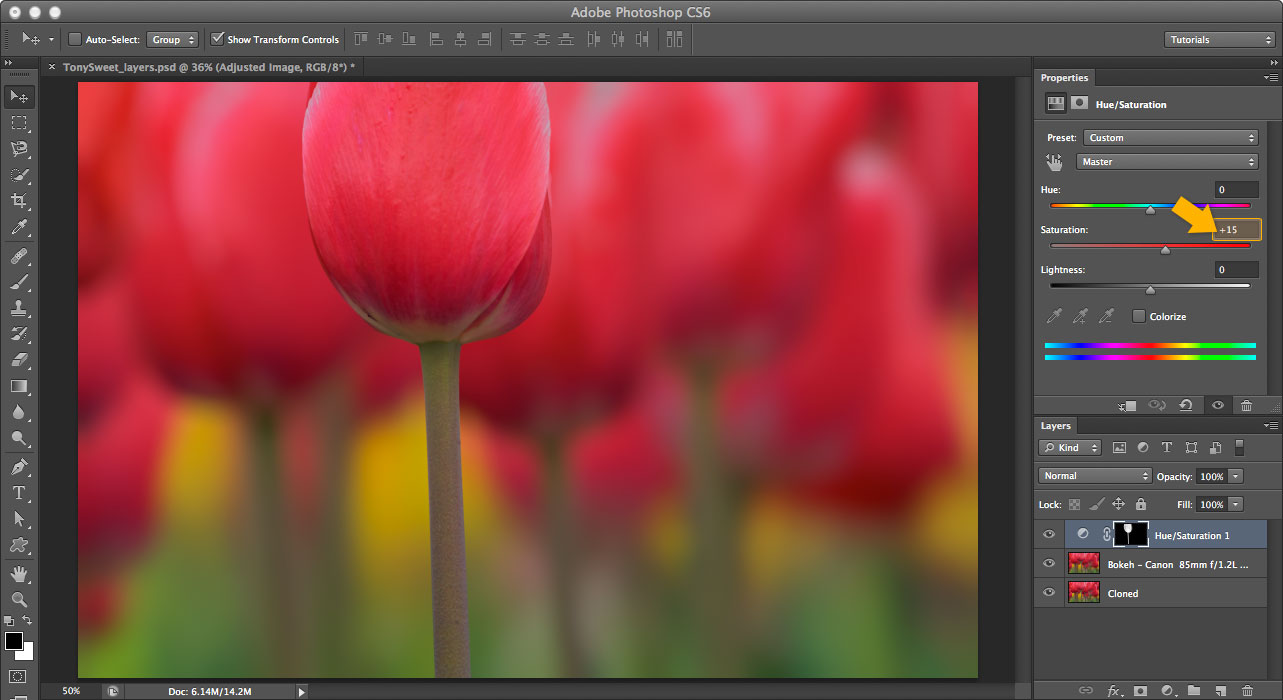
Let’s add some saturation on the foreground flower to further accentuate the depth. I prefer to use a Hue/Saturation adjustment layer with a mask. This gives me fine control over the color that I can still tweak later on.
Now I’ll select all of the layers in the image and convert them into a Smart Object. This will keep all of the controls and adjustments that I’ve made so far, and it will let me add a texture with Snap Art.
Next, select the Smart Object and run Snap Art. Inside of Snap Art, I’ll use a custom Impasto preset that I’ve made. You can download it at the bottom of this article.
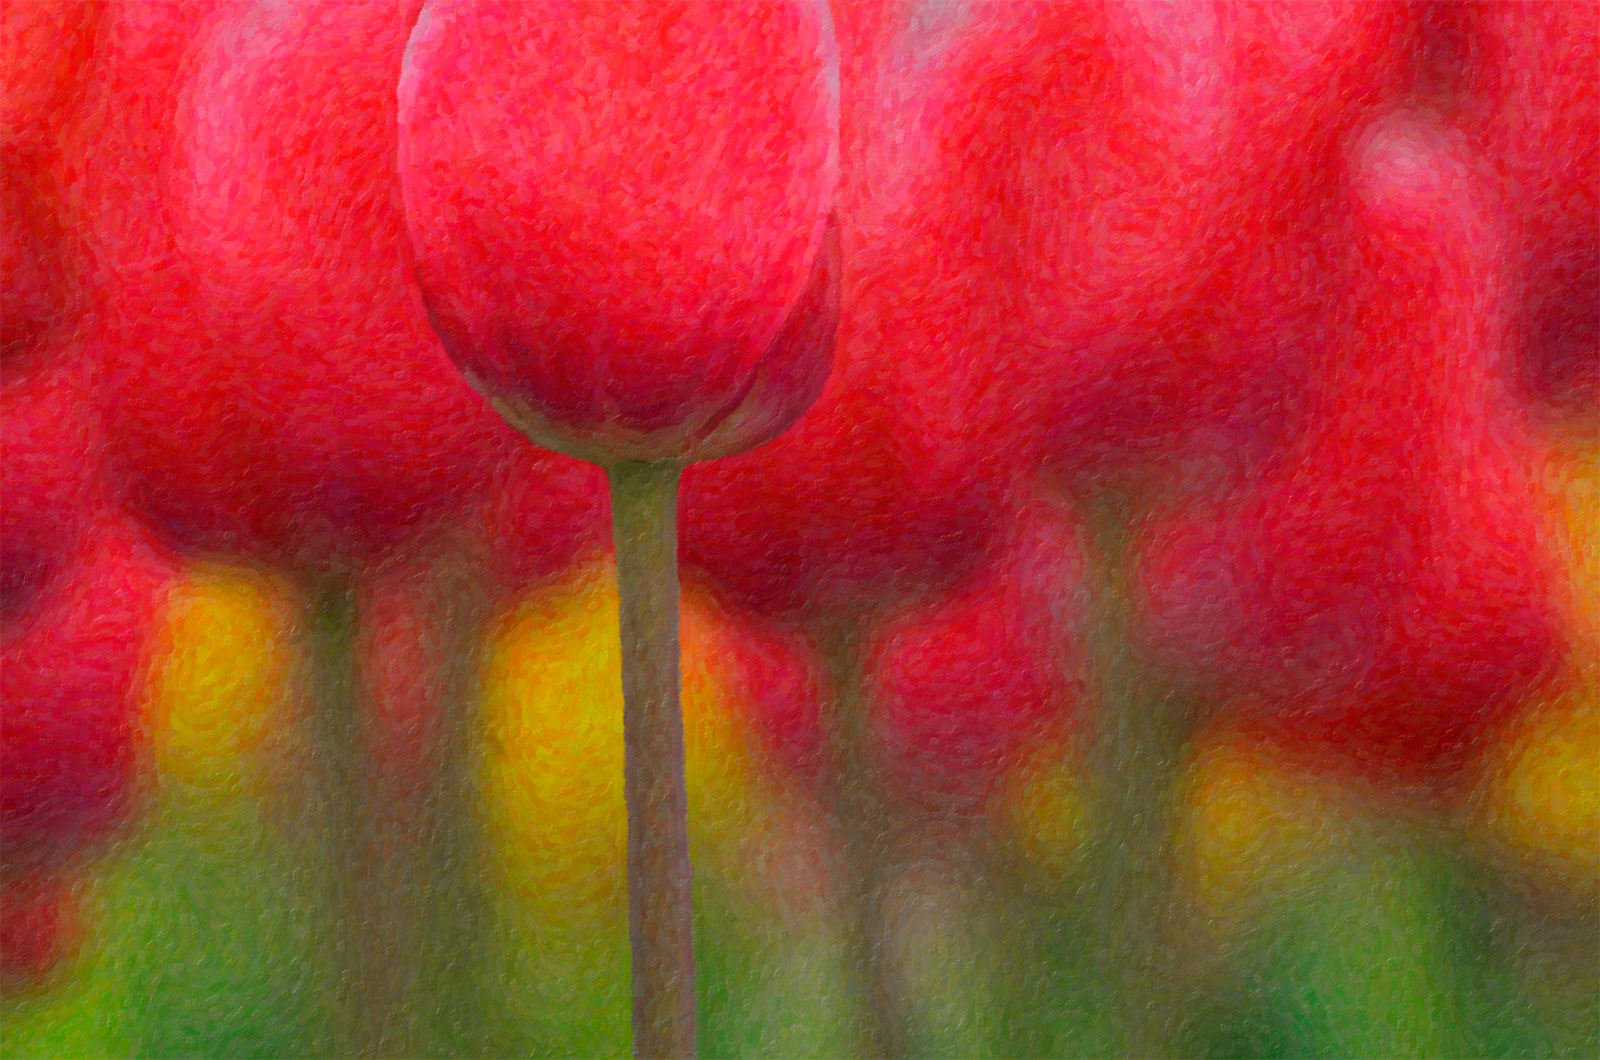
I’ll tone down the saturation of the reds with another Hue/Saturation adjustment layer.
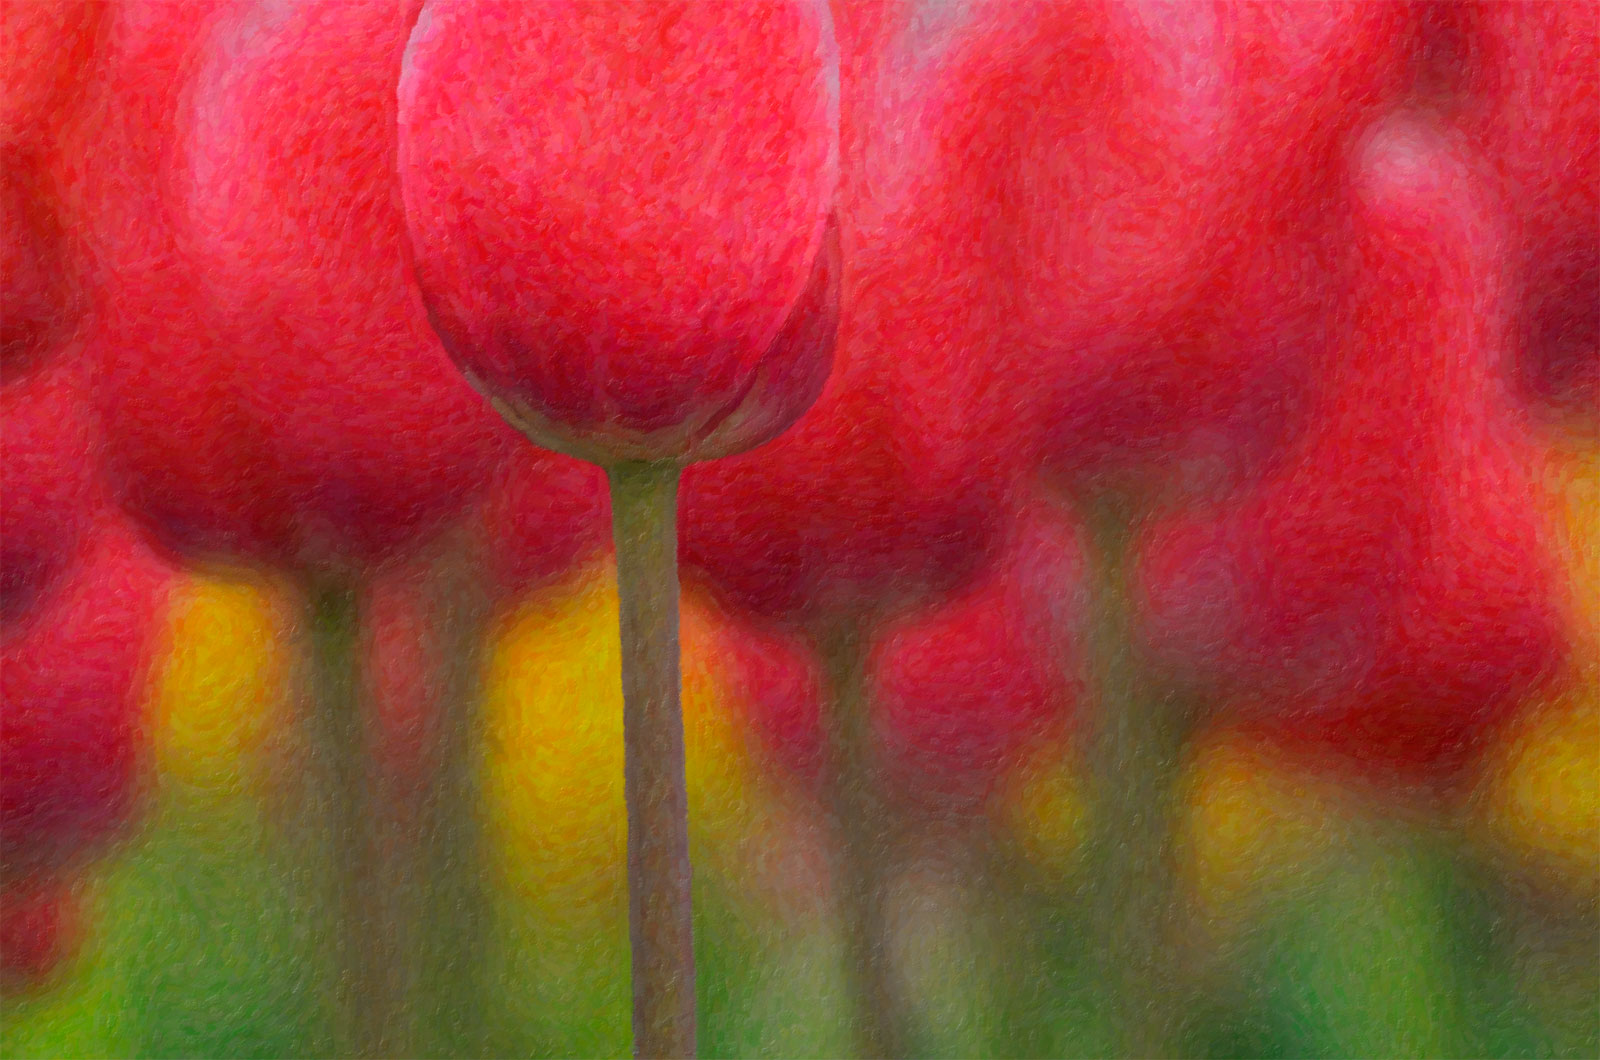
As a last step, I’ll add a mask to the Smart Object. I’ll use a brush at 50% opacity and 30% flow to paint in a subtle mask. This will tweak the Impasto effect just where I want it. I like this look a lot. It emulates shooting through textured glass!
Here’s the final image.
There you have it. As with all things in life, you are only limited by the extent of your imagination! It’s wide open out there folks!
—
Great stuff, Tony! Thank you.
Tony Sweet is a Nikon Legend Behind the Lens. He’s an author of five books, a lecturer, and a workshop instructor. Learn more about him from his website.
—
Here is Tony Sweet’s Impasto preset for Snap Art 3. Just right click the link and choose “Save Link As”. Then, save it to your location of choice. Of course you must already have Snap Art 3 installed for this to work. You can download and use Snap Art in trial mode if you don’t own it.
Save the preset to your desktop first. In most browsers, right-click the link and choose Save As. That should give you a file with the extension .f1s.
Double-click the .f1s file to install and the next time you run Snap Art 3, you should see it in the User Settings list.
Try Exposure Today




Jimmy, It’s a great tutorial, simple yet beautiful.
Am I missing something? The preset download gave a page of text instructions. Otherwise Tony’s article was short, sweet abut useful.
I just updated the blog post with the information. Just right click the link, then click “Save Link As” from the menu. This will allow you to download the file like you intended.
Tony Sweet’s Impasto preset is just a long list of code. How do I download the preset?!
Just right click and choose “Save Target As”. Then, you can save it to whatever location you choose. Just double click it once it’s downloaded, and it will go where it’s supposed to.
I have done everything exactly as you suggested and it “always” downloads as a txt file extension to the fls file. It never has loaded into my SnapArt 3 Impasto User Settings.
If it keeps downloading as a text file, and right clicking the link and choosing “Save Link As” does not work, try changing the file extension of the file you downloaded from .txt to .f1s. Right clicking on the link and choosing to “Save Link As”, is the recommended way of downloading the file.
Whoops! I meant as a txt extension or a webarchive extension to the f1s file.
PS – Here is how you fix it on a Mac. Right click on the f1s file with the txt extension. Go to Get Info. It will open a dialog box with the name of the file with the txt extension. Delete the txt. Voila! you have an f1s file. It automatically changed to the AlienSkin icon. The double click on this file worked perfectly.
When photographing outdoors, you will meet with all kinds of weather conditions. On bright sunny days, you have to consider balancing the harsh sun; use fill-in flash to illuminate the subject and to keep the fore and backgrounds balanced.