Meet Matt Silverlock. He’s an editorial photographer, engineer, and a sometimes-cyclist. He’s based in Western Australia.
Matt shared his editing workflow. He’s a Lightroom user. The rest of this article is from him. Read on to hear how he edits most of his work.
Thanks for sharing, Matt!
—
I hunted around for a while after a tool that could help me replicate the smooth colours and grain of 35mm film. I tried a handful of presets and plug-ins, but few worked nicely with Lightroom, and fewer still gave me natural-looking grain. Lightroom’s grain feature (and any presets that use it) is decidedly basic. It looks more like noise under the right wrong conditions. I was impressed when I first used Exposure. It had a wide variety of film emulations, it fit in nicely with my existing workflow, and it produced great-looking grain.
Lightroom still does the bulk of my library management, so it was easy to add Exposure. I’ve been using Exposure for a while now, and I’m always happy with the results.
Here’s how I edit. I start off with a first pass in Lightroom to fix the important stuff like exposure, white balance, sharpening, and curves. I usually apply a medium contrast curve; I’ll bring the highlights down a bit, pop the light tones, and pull back the dark tones & shadows.
I then apply my preferred Exposure film emulation. I’m a big fan of the Fuji Reala or Fuji Pro 400H presets for my color work. For black & white, my favorites are Ilford HP5 and Tri-X.
I “finish” my images with a solid fill grey layer in Photoshop. I use 54% grey and set the layer to exclusion mode. For colour images, I set the layer to 10% opacity. I set the opacity slightly higher for black & white photos. This flattens the image out a bit, and it lightens the blacks. Keeping the opacity of this layer low keeps the image contrast up; more opacity makes the effect more extreme.
Save, close, and go back into Lightroom. This will automatically “stack” the new file onto the original, so you don’t have a messy library. You can experiment with some other Exposure emulations using the original file. Press “C” in Lightroom to compare different versions side-by-side.
Having the ability to replicate some of my favorite films means that my photos have a final look that’s consistent and identifiable, regardless of whether I’m shooting digitally or analog.
For me, editing is about putting your personal touch on an image. Don’t let the camera’s JPEG engine do it for you. Make the image look the way you intend it.
—
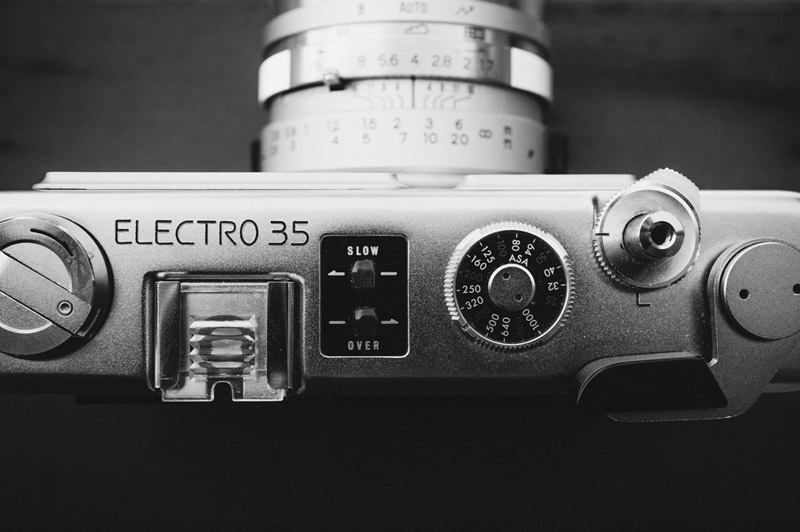
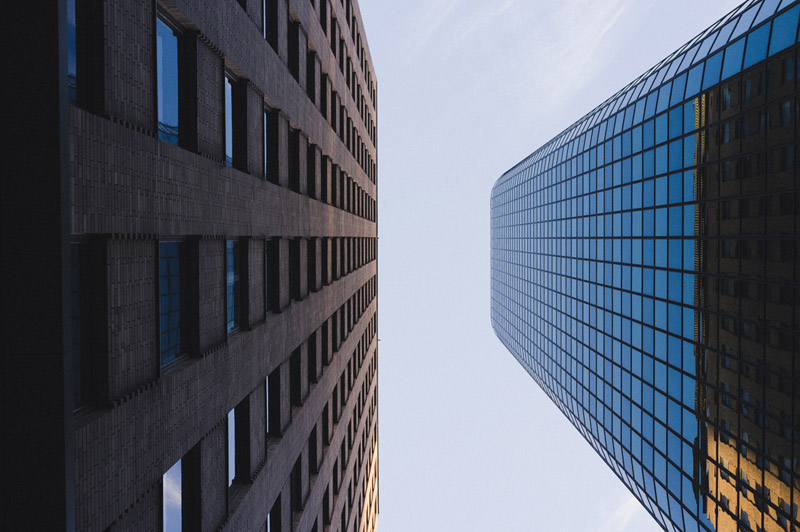
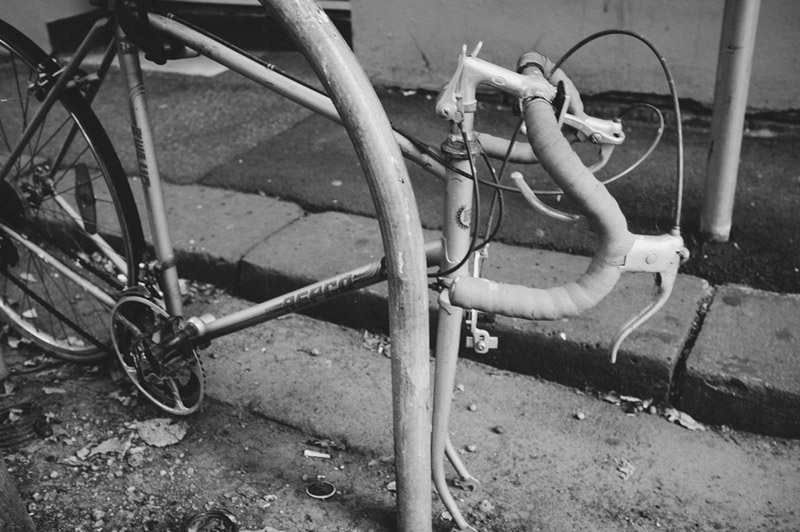
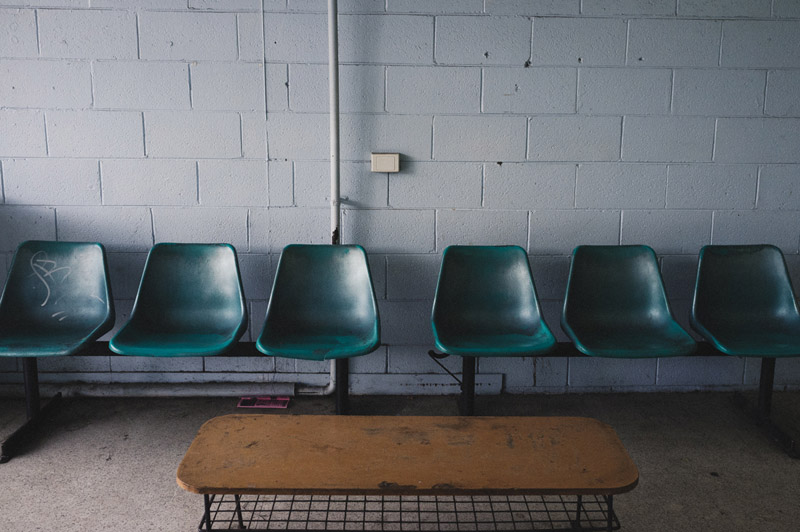
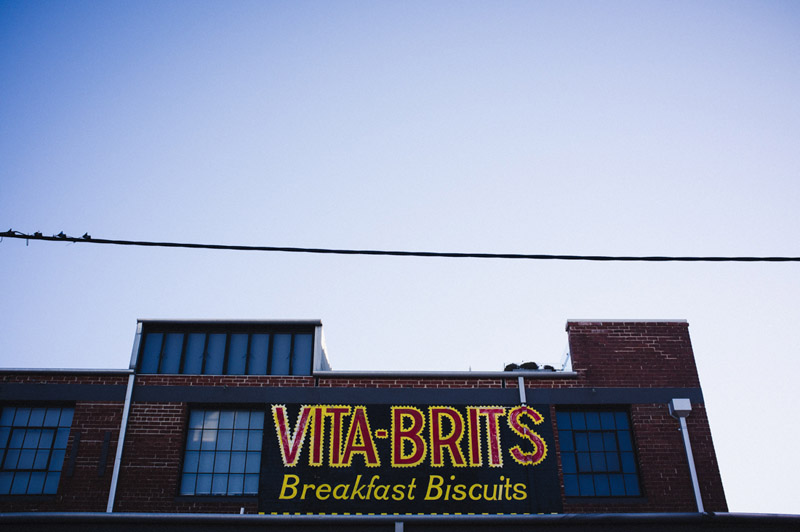
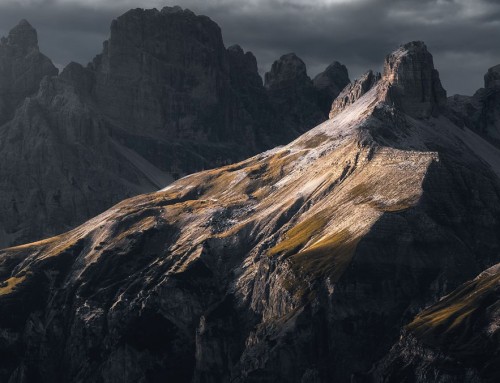
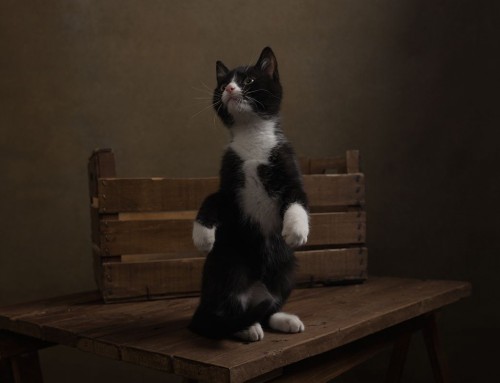
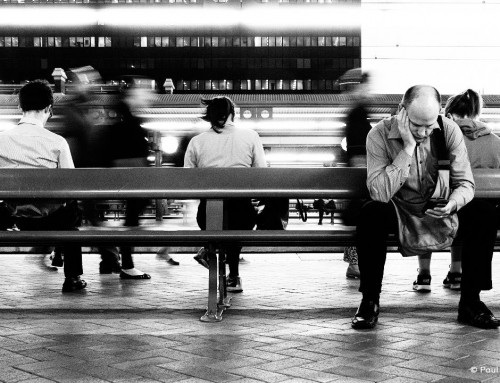
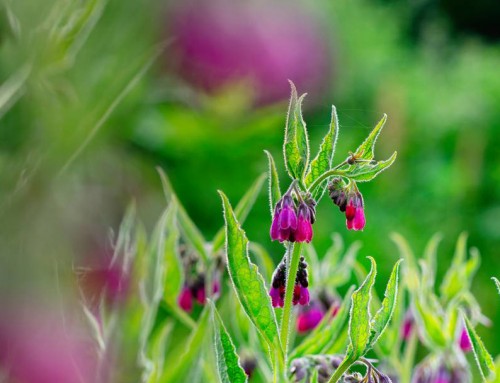
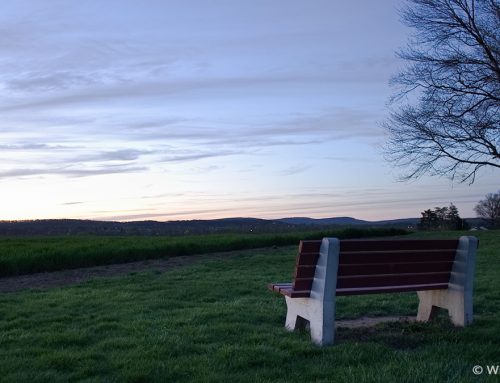
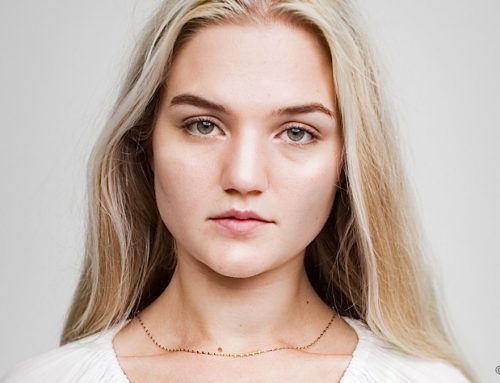
Check out some of Matt’s work below. For more, take a look at his blog and his Flickr Photostream.
Try Exposure Today





super
First shot in particular is very cool, Matt. The tip regarding the grey “finish” layer is a good one – it creates nice look. I have a set of “Ultra Faded” presets in Lightroom that try to achieve a similar affect by messing with the tone curve. The result isn’t as smooth as your process. although it works with some images. I find it creates a nice, “smooth” look with monochromes. Thanks for sharing…
Can you please explain the steps to create the solid fill grey layer in Photoshop?
Hi Chris,
No problem, it’s a simple process. In Photoshop, go to Layer–> New Fill Layer –> Solid Color. Press OK after you name the layer and it will bring up the Color Picker. Set the “H” and “S” values to zero; set the “B” value to 54%, or whatever value you choose, and press OK. If you want to use an exclusion layer, like Matt suggests, set the blending mode at the top of the layers panel or press Shift+Option+X or Shift+Alt+X with the layer selected. Then, you can adjust the solid layer’s opacity to taste.