Denise Ippolito is a professional photographer, a workshop leader, and an artist. She has authored plenty of eBooks, too. Most of her work centers around the idea of blending together her love for nature, art, and photography. Naturally, she’s a big fan of Snap Art, especially the oil paint effect that it provides.
She has a good grasp on what she wants her images to look like, so her workflow usually includes a lot of customizing and even some fancy Photoshopping. Below is a easy-to-follow tutorial that she wrote about using the oil paint effect in Snap Art to turn one of her flower shots into a work of art. With that said: Denise, you have the floor.
—
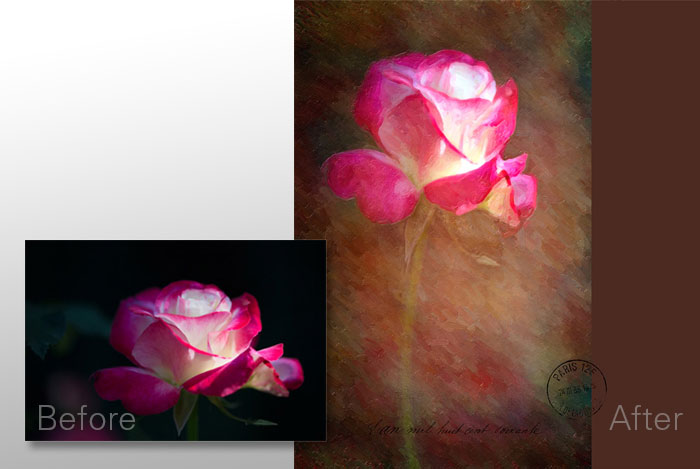
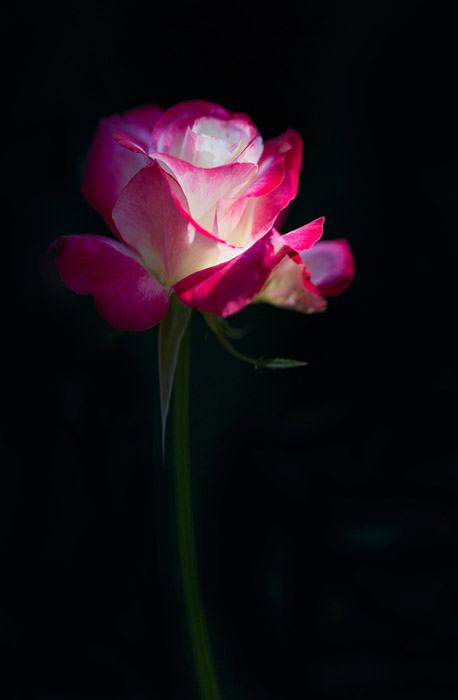
When choosing an image that will work with Oil Paint effect filter in Snap Art 4, I look for something that doesn’t have many intricate lines. Tiny details can get lost when using painterly effects. Sometimes details don’t render well, either. My original shot illustrates a good starting point for when I want to create a “painting” from one of my photos. My original shot is horizontal, but I will add to the canvas and elongate the stem. It’ll work better as a vertical composition.
It is important to note that this original image would work perfectly on its own in Snap Art 4. I am just showing some different possibilities for what can be done.
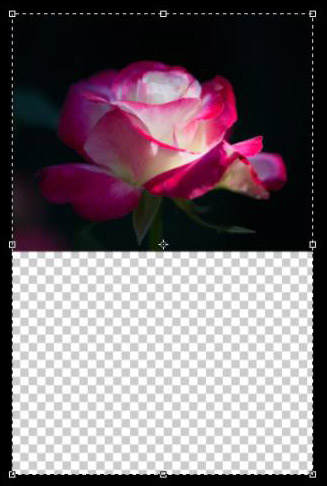
The first thing I need to do is add the canvas. I do that with the Crop tool in Photoshop. Just select the canvas and drag the bottom handle down to where you want the image to end. Alternately you could go to Image> Canvas Size, but it’s much quicker to use the crop tool.
To fill in the blank canvas, I’ll use content aware. You could add a solid color fill, but content aware looks best to my eye. First, make a selection of the area to be filled. It doesn’t matter which selection tool you use. Just go with something easy like the quick selection tool or the magic wand. Next, go to Select–>Modify–>Expand and choose 5 pixels. These extra pixels will overlap the selected area enough to cover it up, which will take care of any unwanted extra lines.
Next, Edit–>Fill and choose “Content Aware” from the drop down menu. Normal blending mode at 100% opacity is what you want. Don’t check Preserve Transparency–it won’t work for us, here. At this point I’m not concerned with the way the background looks from the content aware fill. I will make tweaks after I get the stem in place.
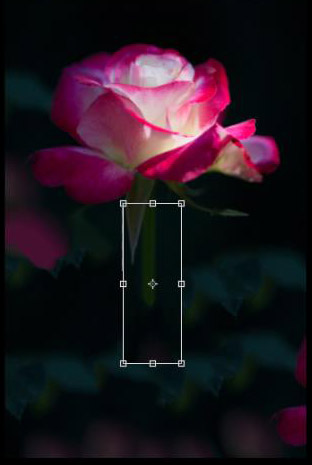
Now I am ready to elongate the stem. I start by selecting the small portion of the stem that is visible with the Rectangular Marquee tool. Then engage Free Transform (Cmd/Ctrl+T) and drag the stem downward. I repeat this step until I have a long enough stem. After that, I use the brush tool with 0% hardness and 100% opacity to smooth-over any straight or distracting lines in the background. This is to prepare my image for the texture overlay that follows.
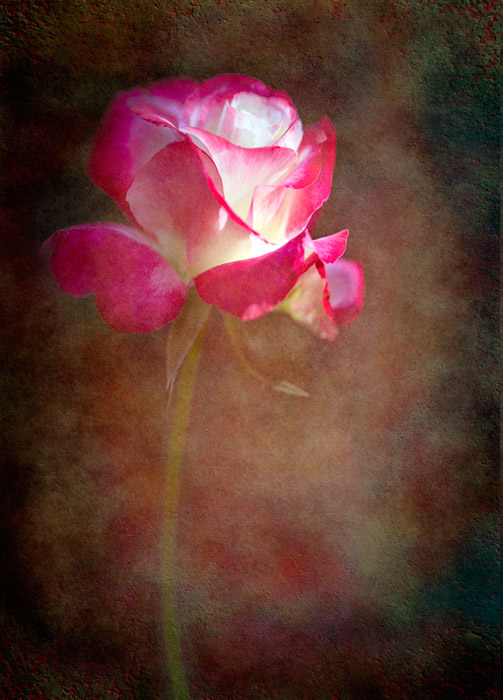
I like to apply a texture overlay before putting my image into Snap Art 4 so that the brushstrokes of the program will be more visible and add dimension to my background. To add a texture I go to File–>Place and select the texture from my files that I want to use. The transform tool will be engaged when you place an image and the texture will come into Photoshop at the top of the layer stack. By having the transform tool engaged, I can quickly fit the texture layer to match the size of my base image. Then set the blend mode to screen because this texture is so dark.

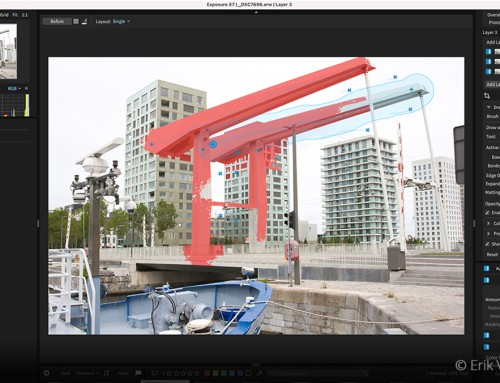
Now my image is ready to go into Snap Art, so I can apply an oil paint effect. I quickly choose which preset I’d like to start with–which is almost always Oil Paint. Next, I’ll customize it for the image. Everyone has personal preferences when it comes to sliders. For an oil paint effect, here are a few of mine: I like a brush size between 30-40, and photorealism between 15 and 30. I like extra thick paint thickness, so I usually crank that up all the way. Stroke length varies anywhere from 30-80.
I almost always use the default brush, even when using masking. I like to mask the effect out of the center area of the image more often than not. As for the canvas, I usually end up using Transparent or Hot Press Paper.
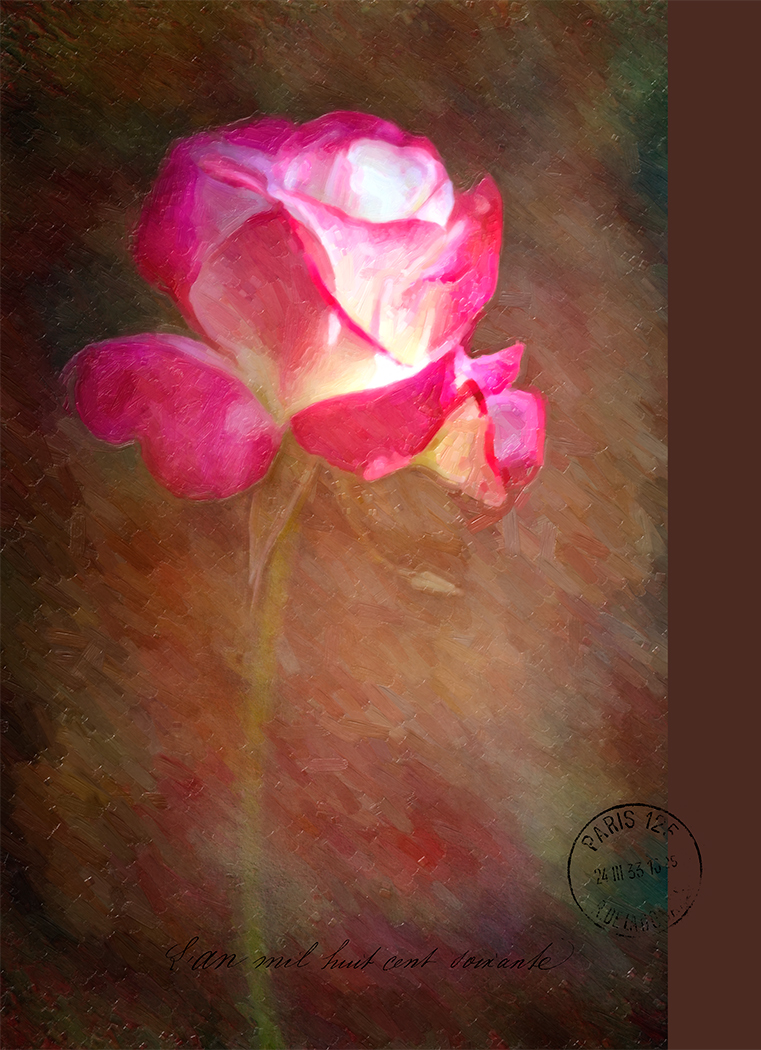
After I apply Snap Art to the base image I apply simple tweaks in Photoshop to intensify the oil paint effect in a way my eyes like. I’ll adjust the color, the contrast, add some sharpening–only after I have resized my image–and I’ll occasionally do a little cloning. Sometimes the filter will produce outlines. so I clone a few, not all, of them out.
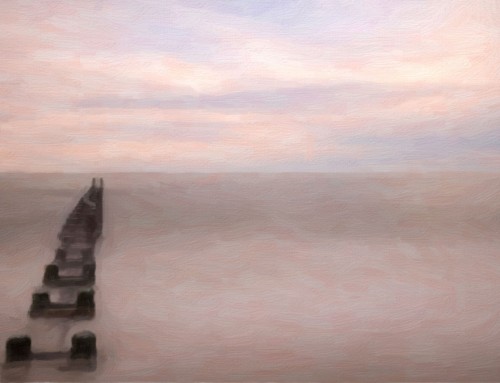
Be as creative as you like to when it comes to finishing touches. Below is my final shot. Hope you like it!
 —
—
Check out more from Denise on her website, on Facebook, or on Twitter.