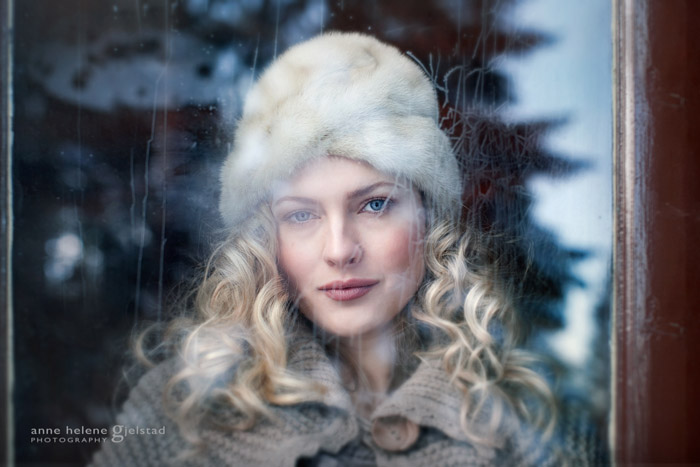
Crafting the perfect look is daily practice for photographer Anne Helene Gjelstad from Oslo, Norway. She first popped up on our radar because of her consistent sharing of great-looking photos in our Exposure Users group on Facebook. Her work has a distinct style to it, an ethereal quality. It turns out that the looks she builds are formed from a detailed process of layer opacity editing.
Anne Helene uses many Exposure layers set at low opacities to build up a custom look. There are plenty of steps to her layer opacity editing, and we’re happy to share them with you. So her basic workflow is outlined at the end of this article. Each layer opacity is adjusted by eye, but the overview should help get you working in the right direction.
I reached out to Anne Helene to learn a little about her. Her story is below.
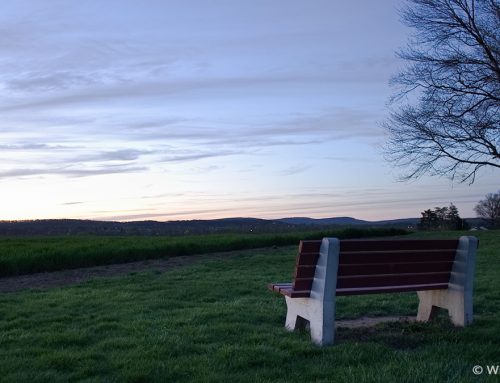
My quaint photography studio is in a barn, on the edge between a forest and a field near Oslo, Norway. I draw much of my inspiration from the natural landscape that surrounds it. Being enveloped by beautiful scenery feeds my passion for shooting “inner landscapes” of people. My childhood dream was to be a photographer. To make it happen, I took a two-year course at Bilder Nordic School of Photography. When I graduated from my studies, I opened my studio.
Before photography, I had a long career as a fashion designer. I had my own design studio in Oslo with private clients, among them several celebrities and even our Queen Sonja. When I started studying photography, I realized that I didn’t have 20 years to develop my own style. So I have learned from photographers such as Joyce Tenneson, William Ropp, Greg Gorman, Emily Soto and Lindsay Adler. I was even so lucky to work in Mary Ellen Mark’s studio in New York City.
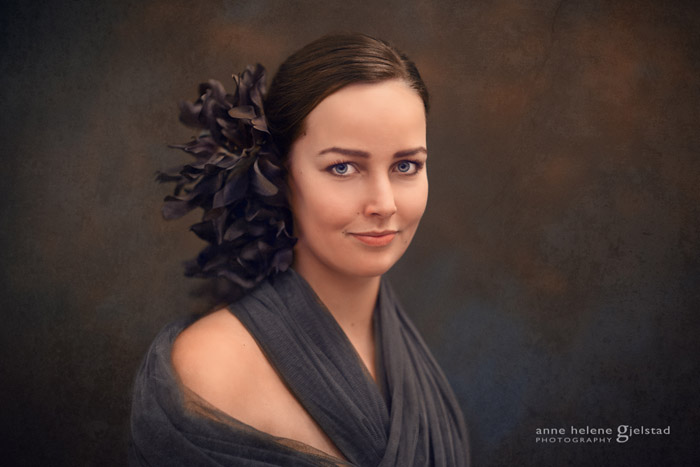
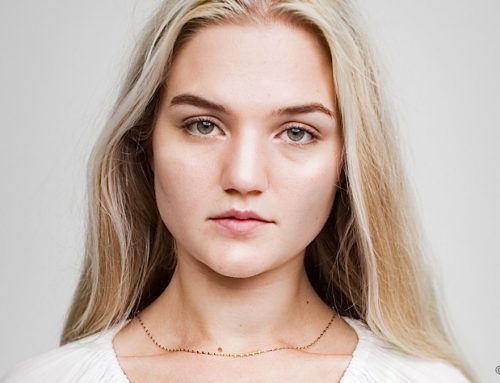
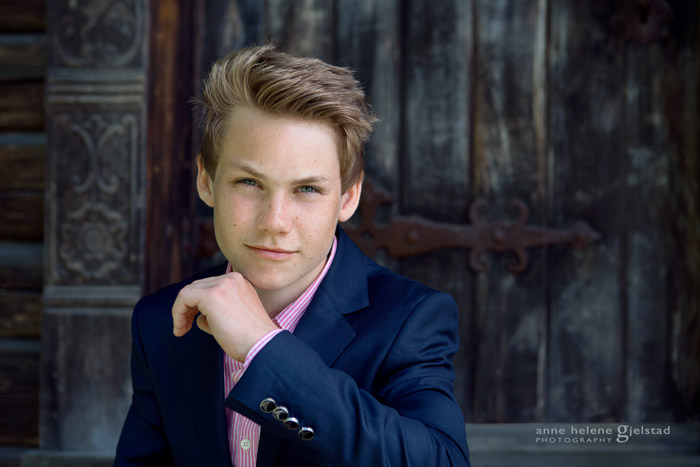
I love to take photos of people. I think that everyone deserves a great portrait, so I aim to capture these inner landscapes–the kind of photos that mean something to both the model and the viewer. I especially love photographing the young. It’s such a joy to capture who they really are. Kids put forth no pretensions and simply are who they are.
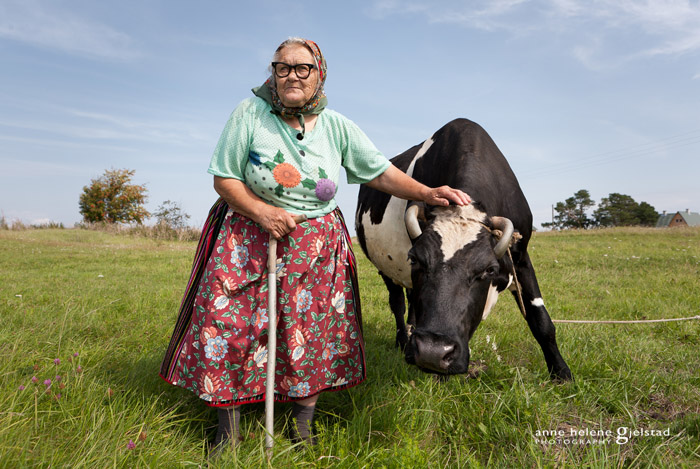
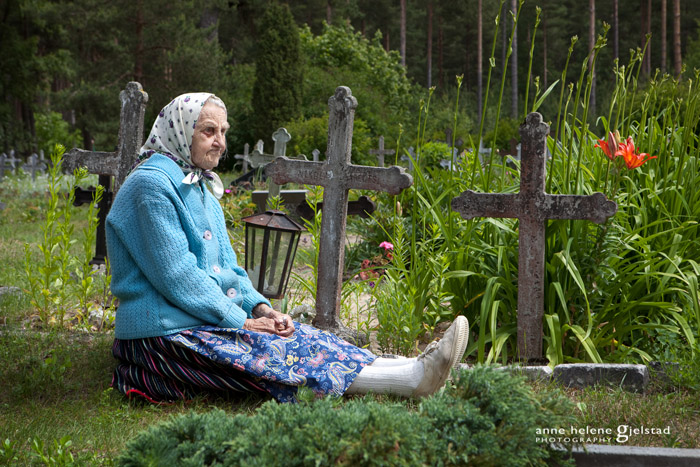
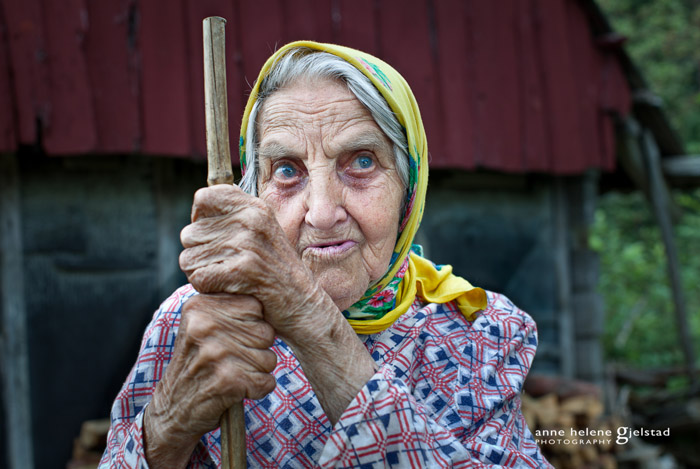
Since 2008 I’ve been documenting the lives and heritage of the remarkable elderly women on the small Estonian islands of Kihnu and Manija in the Baltic Sea. True to tradition, they still live the old-fashioned way by wearing traditional costumes and by passing handicraft skills down through generations. There is plenty more information about the project on my website. It has been an on-going art documentary project of mine. Have a look through the gallery, here.
My solo exhibition ‘Big heart, strong hands’ is still on tour in Estonia after four years. It was even been exhibited in the National Museum in Tartu and the lobby of Parliament in Tallinn. Two of my images were also part of the exhibition Intangible Cultural Heritage in National Art Museum of China in May 2014. I was invited to the grand opening. Can’t wait to go back and photography the elderly in rural China!
I shoot mainly with a 5D Mark III. If I had to choose one, my favorite lens would be my Canon 24-70 f2.8. I love its versatility and its sharpness. My favorite accessory is my Lastolite TriFlip reflector. Reflectors have played a key role in the development of my portraits.
My Kihnu images are an art documentary project shot in natural light. The photos were edited with newspaper standard, which means there is only room to make basic adjustments and no manipulations. For other kinds of projects such as portrait and commercial work, Photoshop is essential. I start my first pass of culling photos in Photo Mechanic–which saves me a lot of time. Then I edit in Lightroom, choose finals, and adjust the image as much as I can. I use Fashion Skin Pro–a frequency separation action from Emily Soto. Then, Exposure.
I love to use Exposure 7 to layer up its effects. I’ll use several layers at varied opacities with masks on almost every one. I make sure to keep what I want and remove what I don’t. I also love to add flares and light leaks sometimes. Recently, I started to add subtle textures to portraits, and offer Fine Art edits to my clients.
Visit Anne Helene’s website, 500px, or on Facebook.
***Workflow***
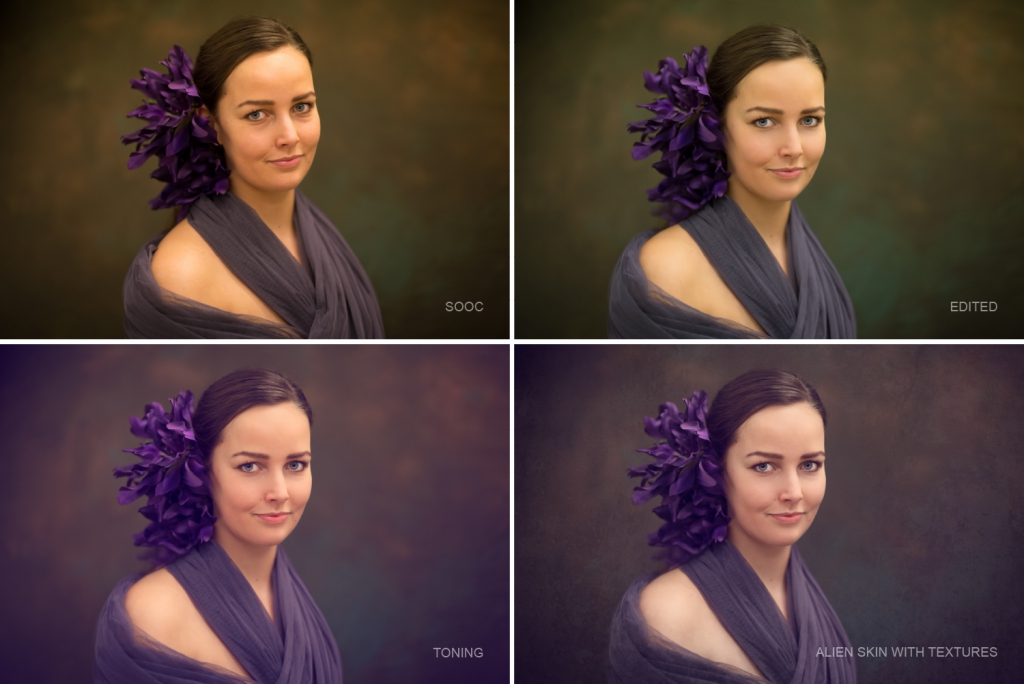
- Layer 1: Starting point
- Layer 2: Slight rotate and crop. Add in missing background.
- Layer 3: Removed distractions, then used Liquify to shape her a tiny bit.
- Layer 4: Retouched her skin, added reflections into the eyes and carefully sharpened details.
- Layer 5: Color grading in Photoshop.
- Layer 6: Exposure 7 – B&W Films – Kodalith (modified) with texture. Used B&W on color image to tone down colors and to change the mood.
- Layer 7: Duplicate of layer 4.
- Layer 8: Exposure 7 – Cinema – Technicolor Process 2 – Soft Vignette (modified).
- Layer 9: Gradient fill to add some light into the background.
- Layer 10: Dodge/Burn with curves to sculpture face and body.
- Layer 11: Desaturated the skin as it was way too orange.
- Layer 12: Final sharpening
—
Let me know if you’d like to hear more about her workflow, beyond the layer opacity editing. Thanks again, Anne Helene!