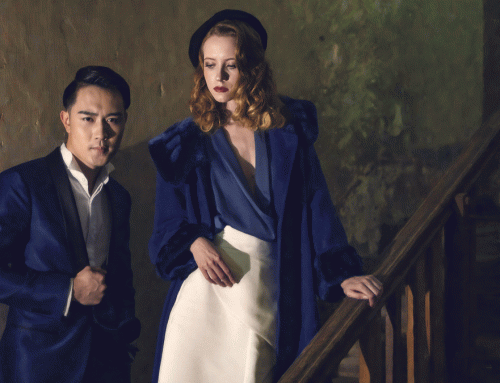
Sony Artisan Jeremy Chan is the Art Director of JEZA Photography. His signature photo retouching skills have earned him plenty of industry fame. He teaches at major international photographic conventions such as ImagingUSA, WPPI, IWCPP, and PCU, as well as events for Adobe, Microsoft, and he is one of SONY’s official speakers. Jeremy trains professional photographers to take their photography and retouching skills to the next level.
Jeremy recently spoke to us about how he uses Snap Art to create unique offerings for his clients. His processing alone has won him over 30 awards, so when it comes to making gorgeous transformations in post processing, Jeremy knows how to make it happen. Thank you Jeremy for sharing your insight about your photo to art workflow with Snap Art.
How long have you been using Snap Art?
About a year, I’d say. I worked with the software for a while and enjoyed every minute of it. I kind’ve feel like I use the software differently than most people, at least from what I’ve seen. I love Snap Art.
How did you get introduced to using it?
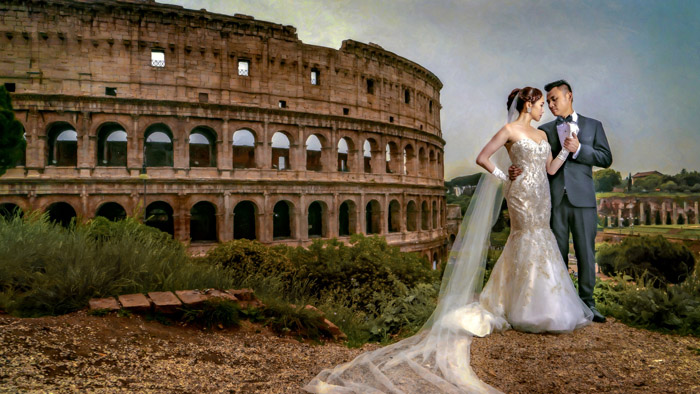
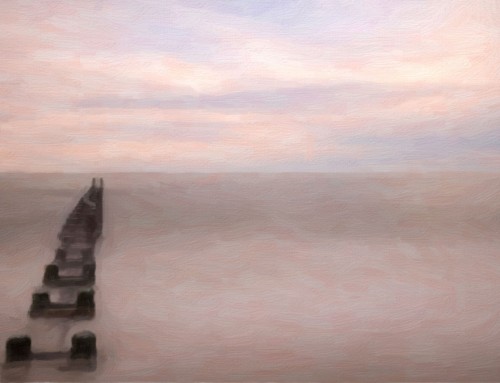
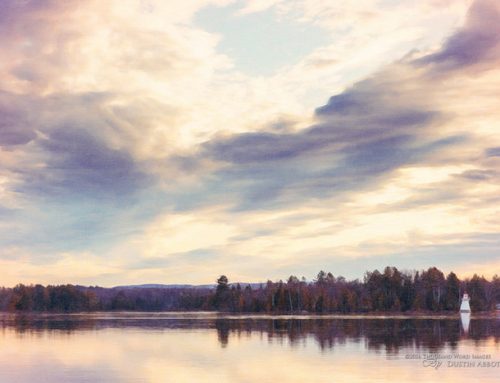
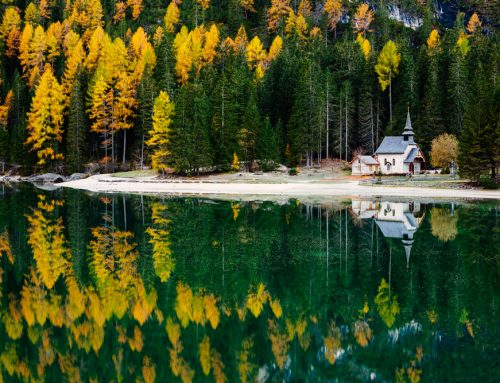
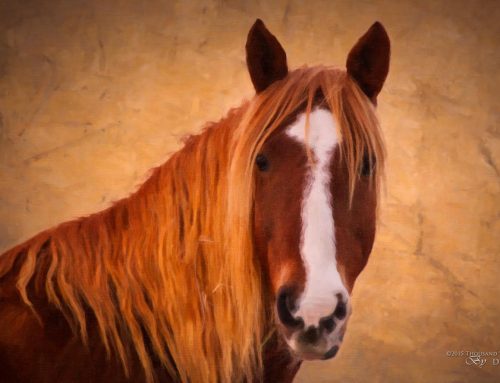
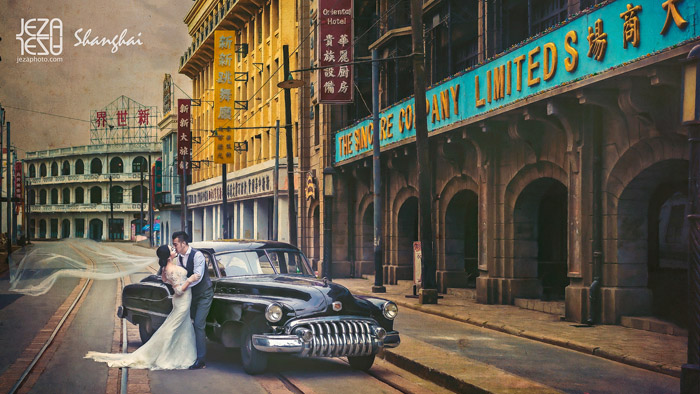
In the past few years I’ve been working to develop a style of edited images that is more oil painting-like than photo-like. The idea behind this is that I want to create images that you can’t make with the camera alone. As technology advances, the latest state-of-the-art camera will eventually be able to take photos without needing a photographer. I want to make something that involves my artistic senses through manipulation with software and post processing, which insures that my work will always depend on my abilities to make. It’s a style choice, and it’s become a unique selling point for my business.
Do you use Snap Art along with Exposure? What order works best?
Yes. They work great together. My workflow is Photoshop heavy. I mix and blend multiple layers to retain ultimate control over brushing effects. For example, I’ll have up to 10 layers from Snap Art, each with varying brushing effect looks. Then I’ll have a number of layers containing adjustments from Exposure such as color grading, grain, noise, borders and textures. I use custom masking and opacity settings to blend and mix these customized effects into a unique painterly effect for each image.
Is there a certain effect or look from Snap Art that you prefer?
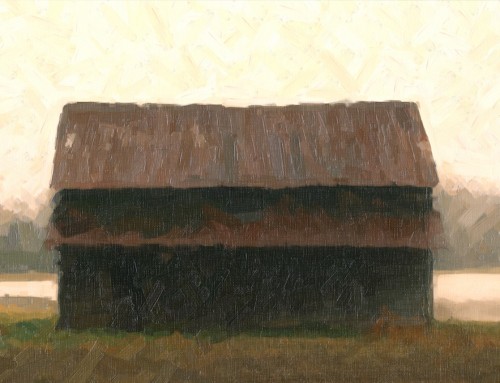
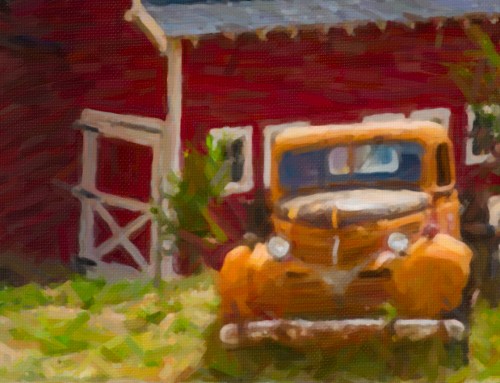
Oil Paint and Watercolor are the most common painterly effects that I use. I’ve made several presets for each of these effects in Snap Art that I normally grab from. Some with larger brush sizes that work well on big features or out-of-focus areas, others that work for finer details, and some that work with everything in between.
What type(s) of images work best with Snap Art effects?
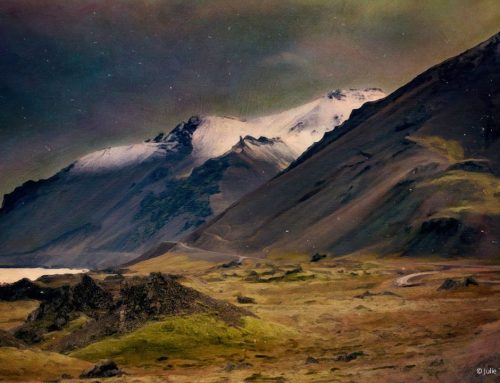
I like Oil Paint for example, so I study oil paintings in museums and art galleries. One common thing I see in oil paintings are vibrant colors, so when using Snap Art, I look for images that have a lot of saturated color. In my mind, oil paintings always have more saturation than photos, so that’s what I use as my guide. Once you understand where you want to take the look of your photo with Snap Art effects, you can make it read more believable.
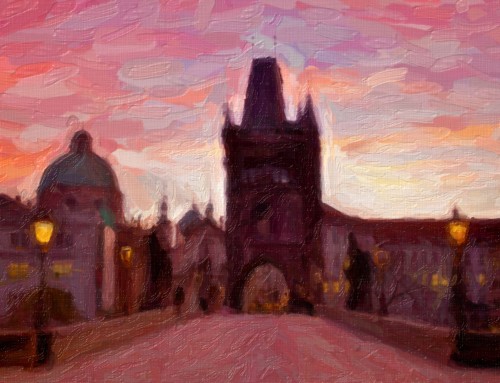
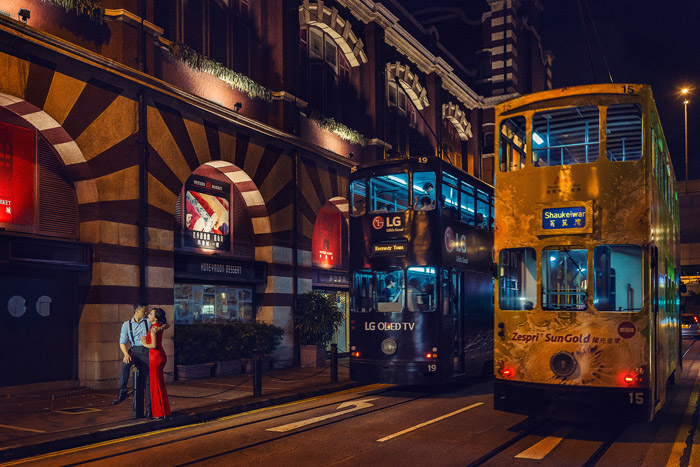
Any picture can work, but you have to know where you’re headed with the look. For example, take a portrait image with a shallow depth of field, so the background is out of focus. Areas that are out of focus do well with large brushing effects and thicker paint. On the other hand, small details such as lights in a nighttime cityscape will work better with smaller brushing effects.
What’s your effect strategy with Snap Art?
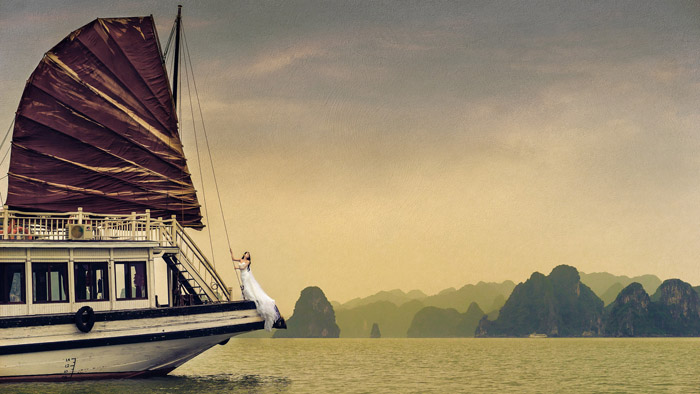
Snap Art is awesome because it has the perfect balance between workflow production speed and the quality of the rendered effects. It’s still software and not an artist’s hand, so I like to use Photoshop to fine tune the effects and customize them for each image.
How do you know when you’ve gone too far with an effect?
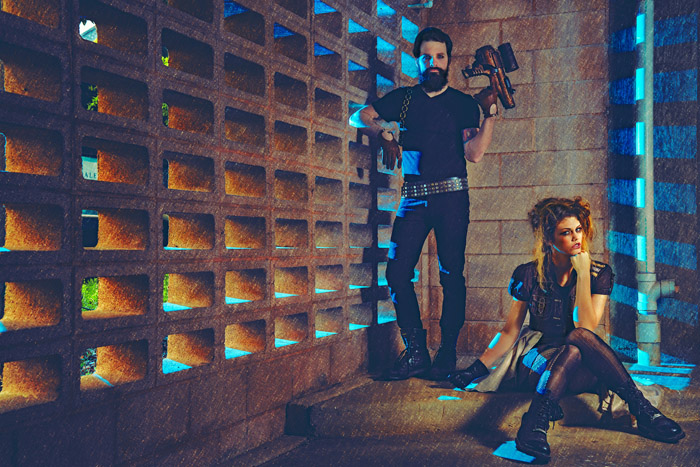
It’s personal preference, of course. So I always ask myself If I like what I see. If you don’t, simply fine tune the effect to better meet your needs. If you have more color, or colors from using mixed light temperatures in an image, embrace them. Photographers typically want to remove extra colors like these from their images. For me, oversaturated skin, or obscure color casts can make an oil painting look even more beautiful. So I base my effects off of what I feel works best for the shot rather than listen to other people’s opinions.
What does Snap Art provide for your workflow that makes it a must have?
I’m a texture guy, so I have a lot of texture files that I like to incorporate into my work. I use Exposure to apply my custom textures to my images, which when combined with effects from Snap Art really make a great looking hand-made painterly effect.
What advice do you have for people wanting to use Snap Art effectively and tastefully?
I warn people not to just walk blindly into clicking buttons in Snap Art. Study real paintings so that you have an idea for the look you want before you start developing it. Don’t just let the software make your artistic decisions for you, but rather allow it to be the digital heart of your process. You don’t want to make a cheesy knock-off of the original shot. You want to transform the photo into something else that’s believable and real. Use the tools that artists would use when they’re working with paint. Think about contrast and saturation, about deep shadows, and about highlights. A lot of painters use elements such as shadows to create dimension in a flat canvas. Make sure that you look at your creations for a long time, too. You don’t want it to be so vibrant or saturated that it hurts your eyes.
I would say ‘go wild’ for any new user. It’s software, and the effects are instant, so don’t be afraid to try something you haven’t done before. You can make changes and see new results in no time. Snap Art brings something unique into your photography, so do as much exploration and experimentation as you can.
What was the Snap Art learning curve like?
It’s like a snap. No, really! It took just a few minutes to acclimate to working with the options in the software. It was intuitive to use, and really fast! Snap Art allows you a lot of control over the effects in the software, so looking through the offerings for the different media types really got me inspired and ready to dial in the effect.
Does Snap Art help your business? Does it help you make more in sales?
There are two ways that using Snap Art helps my business, I use it for marketing and for my product offerings. My social media shares really gain traction and they help my business have a unique look. This really makes my work stand out from the noise of online sharing — especially because everyone out there is a photographer. So using Snap Art just for branding and marketing gives me a leg up on my competition.
If you’re able to create more unique products than your competitor, you will get more clients. Especially if your price and the caliber of your work is similar. When you offer something more unique, clients will remember you and, because of that, they will choose you as their photographer. Converting photos into art is a lucrative practice for my business. My clients love them and they will often buy large prints of them. Not every client does, but it’s a very common upsell. So making these paintings helps raise my bottom line and makes my business more successful.
What type(s) of photographers do you think benefit most from using Snap Art?
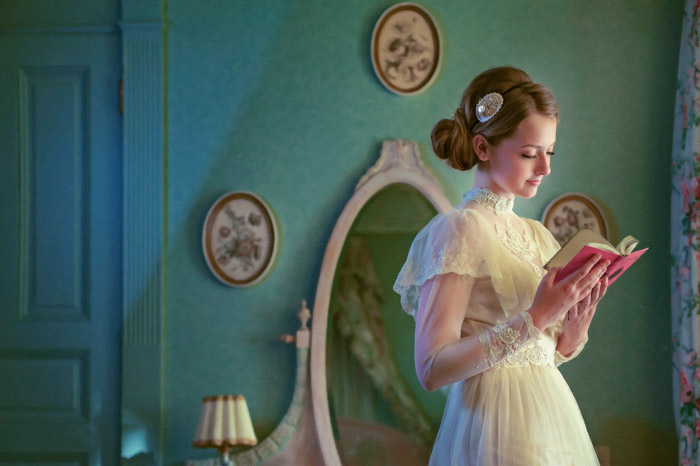
Wedding clients is a good place to offer a unique product like a painting, but that’s not the only area that it would work as a profit center. Portraits are easy to apply effects like these as an additional option for sale. Because the marketing and business benefit so much from these unique works of art, it’s something that I’d recommend do more than less. It’s worth the time, especially when you have fun making them.
—
See more from Jeremy on JEZA Photography’s website, or follow him on Facebook, or Twitter.
Try Exposure Today


